
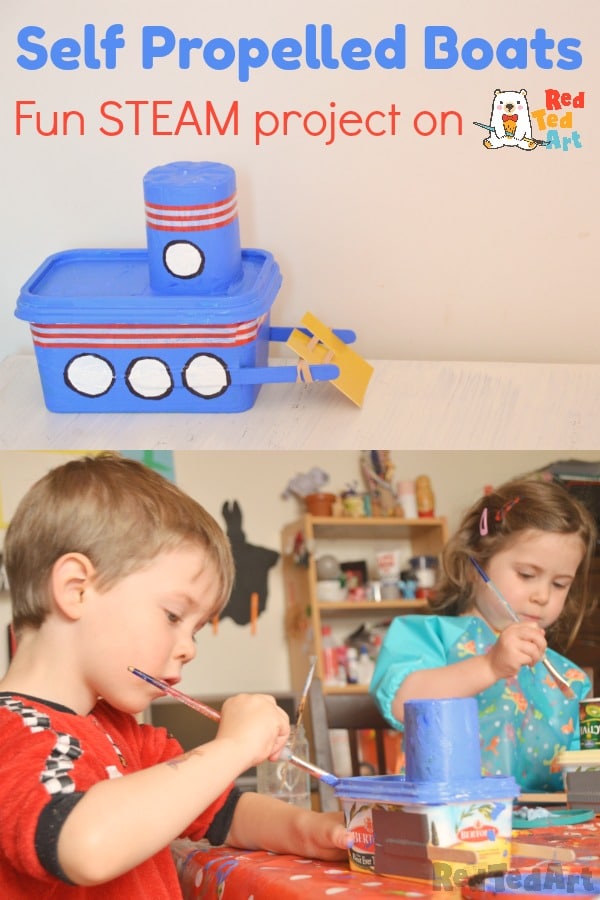
How to make a self propelled boat craft from a magerine tub!
As the kids get bigger, they become more demanding. This week they wanted to make a boat that floats AND moves. So we made this easy self propelled boat craft!
A homemade boat DIY is one thing.. a moving one is quite another. But we got there in the end. Pop over to Life At The Zoo to discuss the Science element of this craft! A great STEAM craft for kids this Summer!
Homemade Self Propelled Boat – Materials
- margarine tube,
- yoghurt pot,
- 2 craft sticks,
- super glue (!) or strong hot glue gun,
- duct tape,
- acrylic paint,
- elastic band and
- another piece of plastic (lid of an ice cream tub)
How to make a boat that floats and moves
The basic boat structure
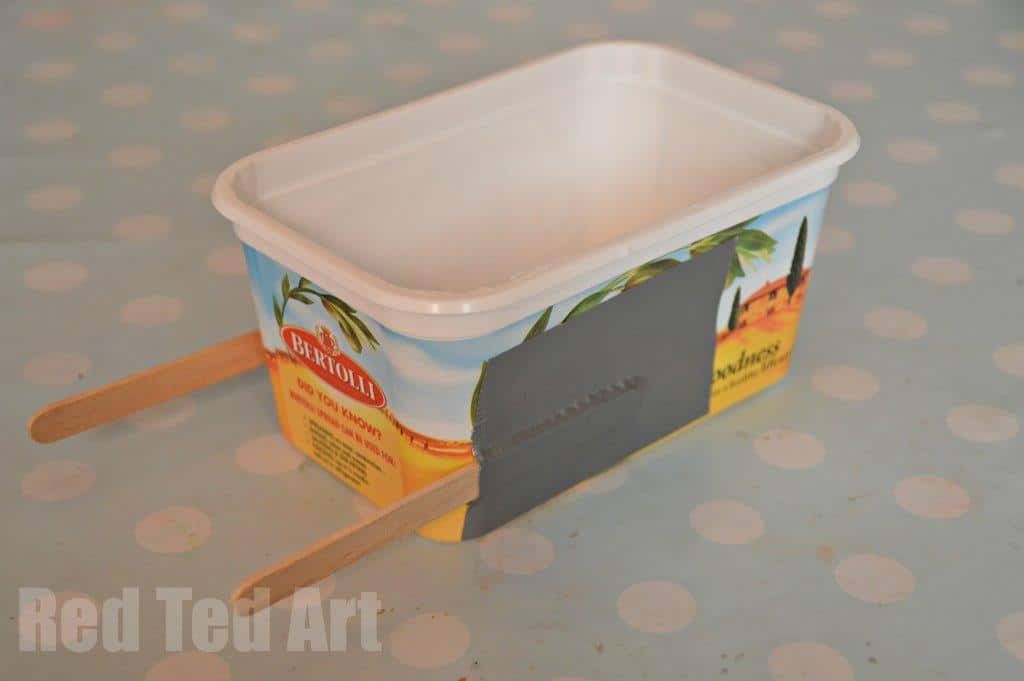
1) The first challenge is to secure your craft sticks to the side of your margarine tub. PVA glue is actually very good, but often not that water resistant. A hot glue gun, can’t grip the surface of the tub very well and may come off. So I opted for superglue, which is also not ideal, as wood absorbs the glue. But it worked well enough. I did the superglue-ing over night, so the kids were well away from it all. And then I secured it with some strong duct tape.
I repeated the same for the yoghurt pot stuck down on the lid – a little bit of superglue and then some duct tape to secure it.
Painting your self propelled boat
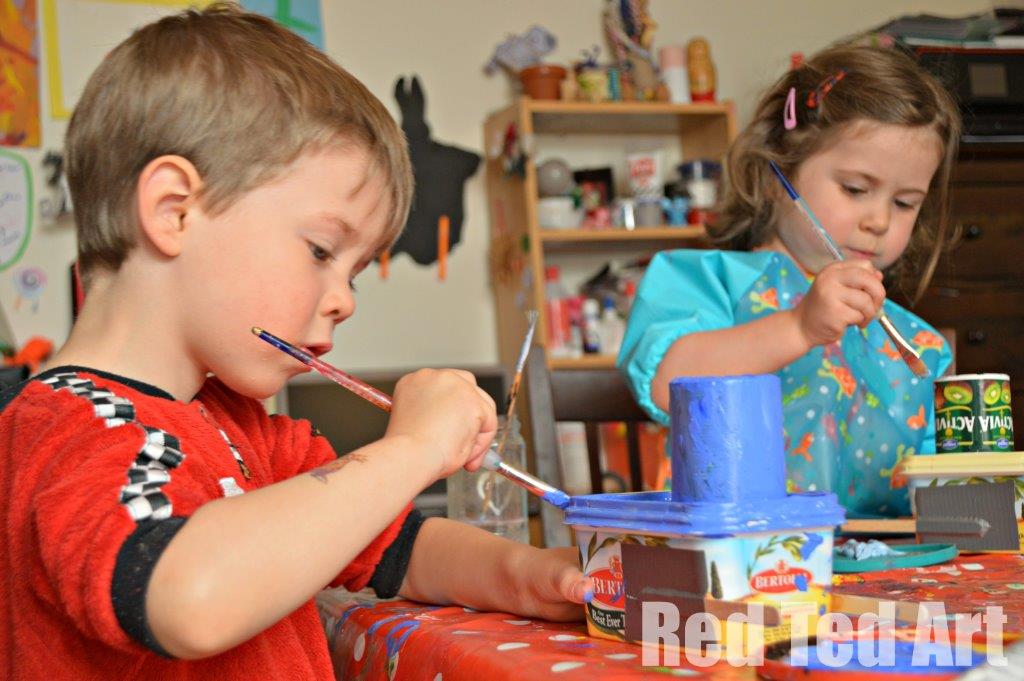
2) The kids then painted the boats in chosen colours. I was amazed that for once, Pip Squeak did NOT choose pink (though it was a close call).
3) Once dry the kids chose some tape as decoration and I added some windows for them. They did have the choice to do the windows, but they wanted me to do them.
The self propelled boat “paddle”

4) Then cut a piece of plastic from your extra lid for the paddle. Make it fit the width of your craft, but not too wide, so that it gets stuck as it goes round. You may want to trim it. Cut slits through and then put ONE piece of the elastic through it. By trial and error we found if ONE elastic is woven through, it spins better than if you do both.
Finished margerine tub boats!
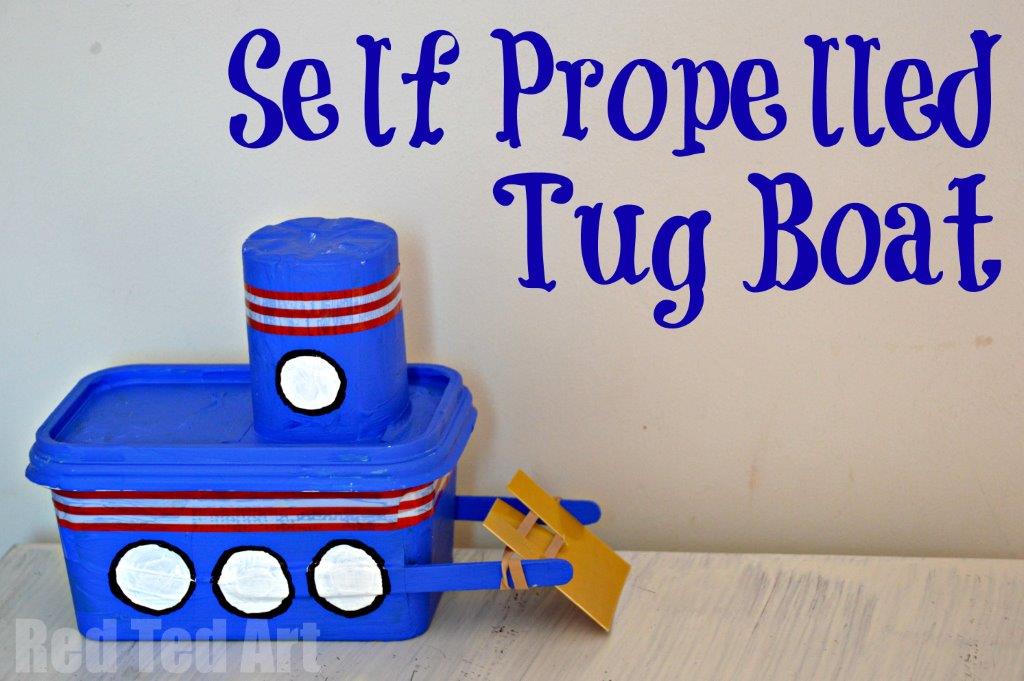
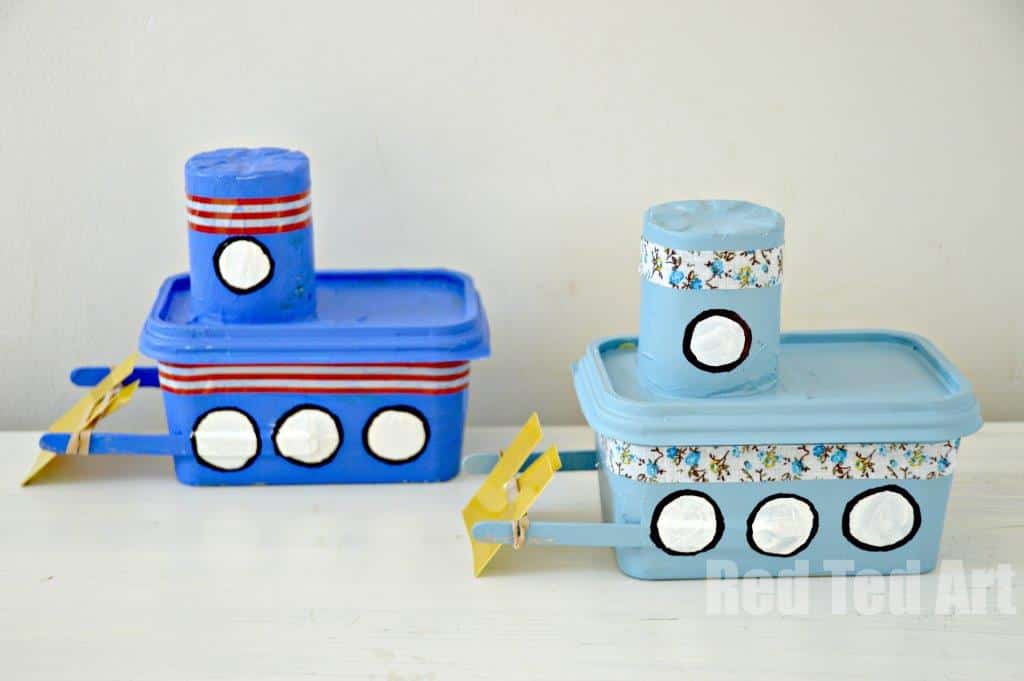
5) Wind your craft up and let it swim!
Just so you know – the boats DO work. But the “wind” in the elastic means that it will probably only go about 50-100cm before it stops and needs “winding up again”. But you can experiment with different elastics (some with more tension) and sized pedals and see how well they all do!
Watch it move (and I know it is moving in the wrong direction.. we quickly learnt that you have to wind the elastic band in a certain direction!):
Have you made any self propelled boat crafts? Would love to hear about them!
More great Boat Crafts to inspire you here:
