Easy Salt Dough Recipe: Toy Bakery
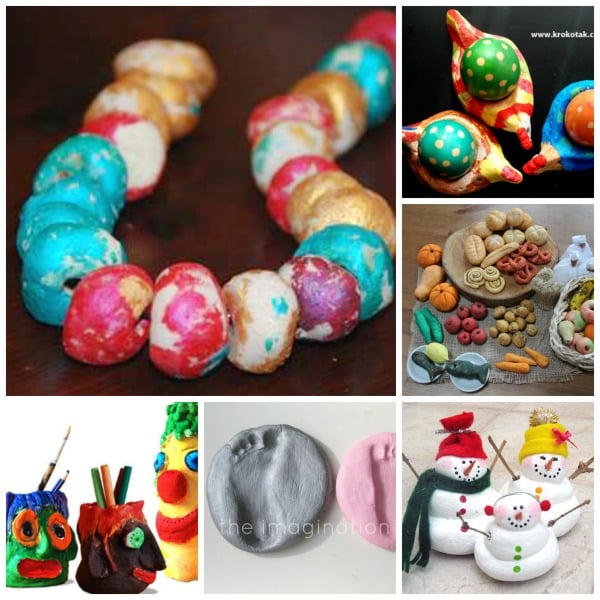
Yes, you can tell that we have been busy with salt dough recently, right?! It is easy to make up a big batch of either plain or coloured salt dough and then store it for a couple of weeks and use it up a bit at a time. Salt dough is perfect for your own DIY Salt Dough Toy Bakery!
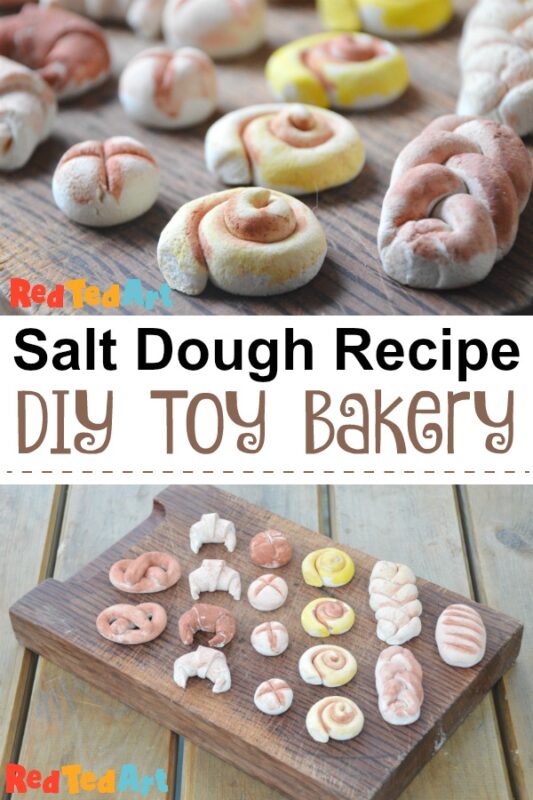
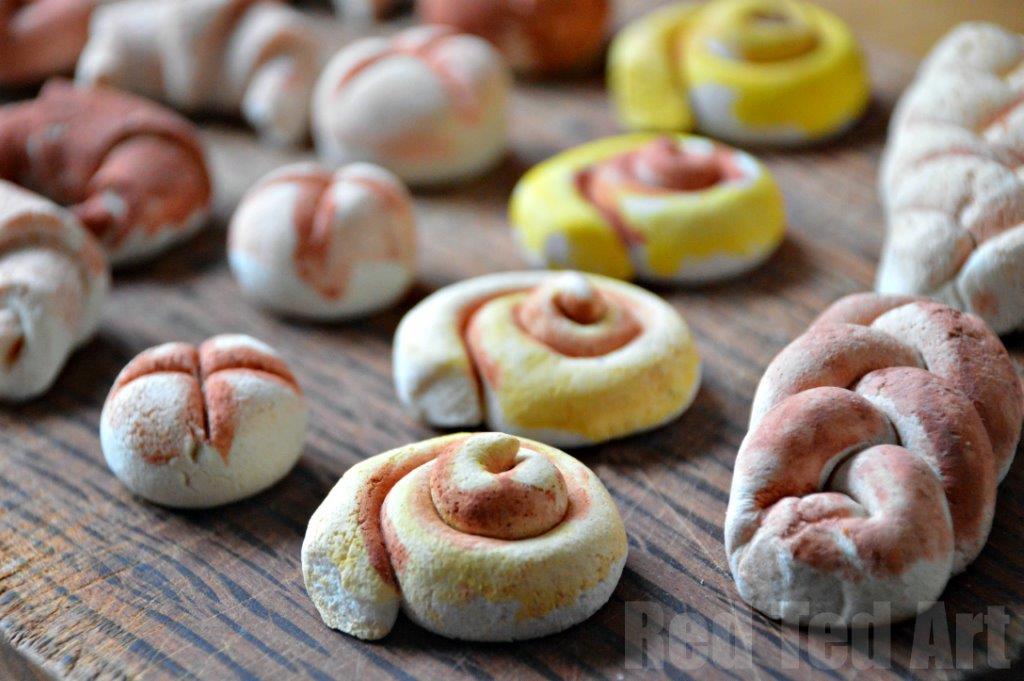
Today, we used the traditional plain salt dough recipe and made a childhood craft that I have fond memories: we made toy bread… great for playing with in toy kitchens, or toy shops or at a picnic with your teddies and dollies. We made all sorts of different salt dough bread, from salt dough pretzels to salt dough cinnamon swirls and traditional “plait bread”. Mmmh (well, pretend “mmmh”! clearly you can’t eat Salt Dough!).
Easy Salt Dough Recipe:
- 2 cups of flour (plain)
- 1 cup of salt
- upto 1 cup of water
Check out our coloured salt dough recipe too – so vibrant and fun and “saves” you having to paint things afterwards too!
Easy Salt Dough How to Make a Toy Bakery:
1) Mix your flour and salt and gradually add your water. You are likely not to need all of it. The salt dough should not be too sticky.
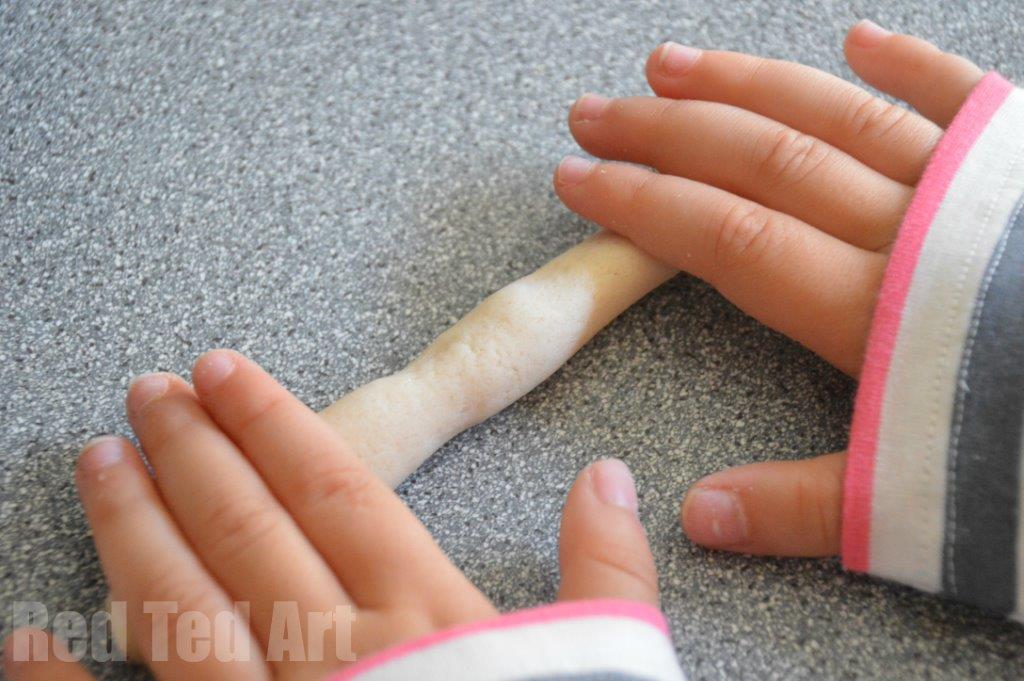
2) Once you have your salt dough ready, start making! For the pretzels we rolled out long “sausages” and folded them over.
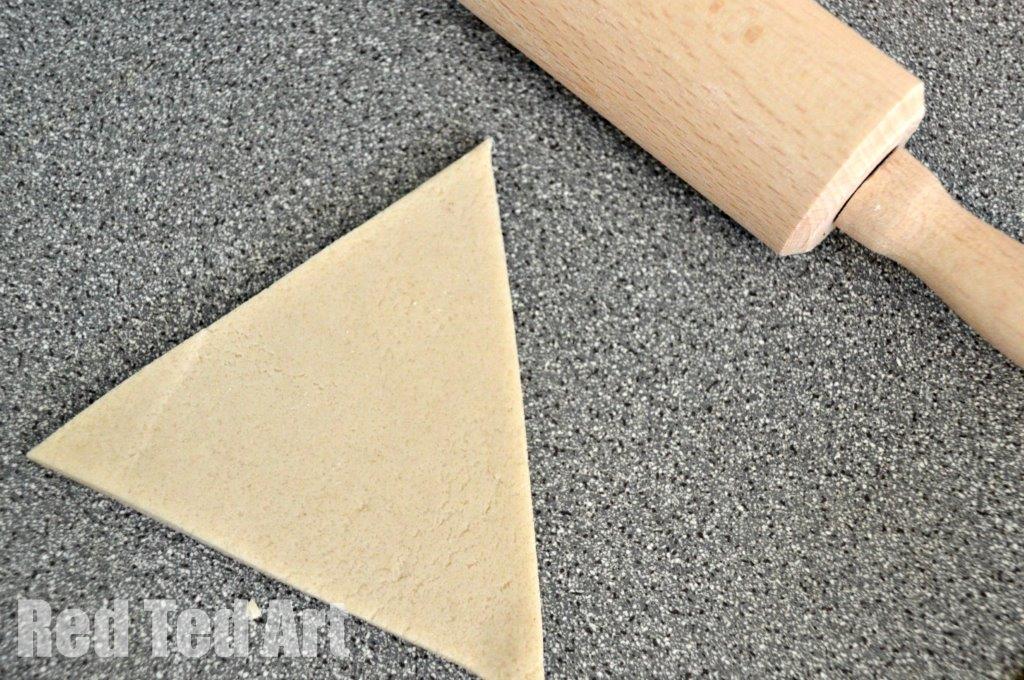
3) For our croissants, we cut triangles and rolled them up. We made little buns, cinnamon swirls and loaves. We always place our finished items straight onto an oven proof tray, so that we don’t handle them too much before drying.
4) Place your salt dough in the oven at low heat (50-80C) and turn after 5-10min or so. If it is a hot day, you can dry them outside.
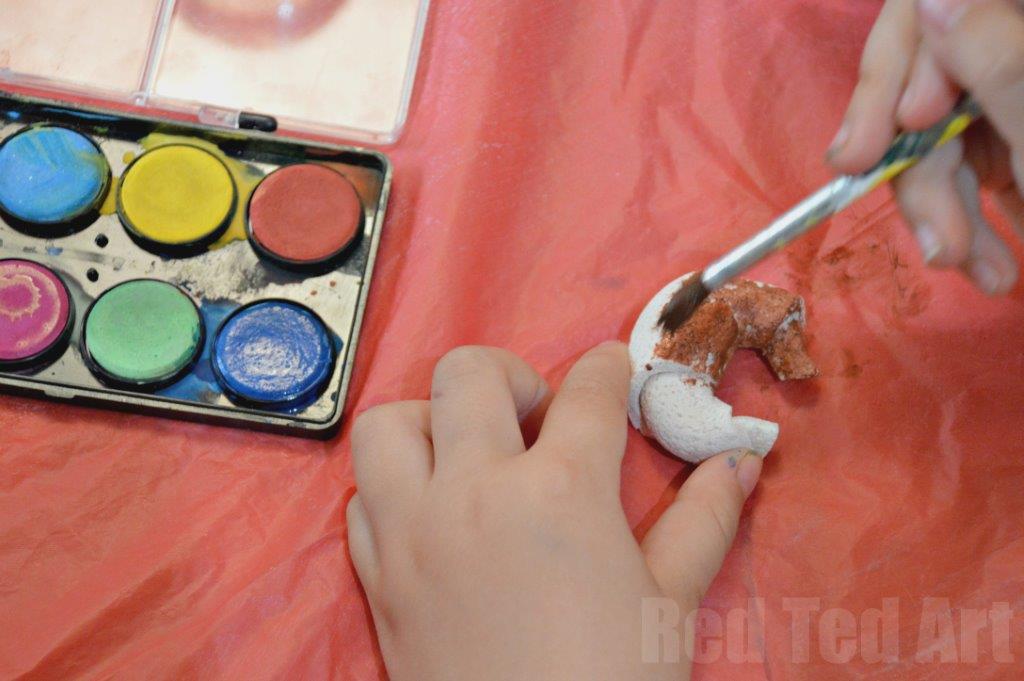
5) Once the salt dough fully dry (we like to leave them an additional 2-3 days, you can paint them. We used simple water colours for this.
And finished!!
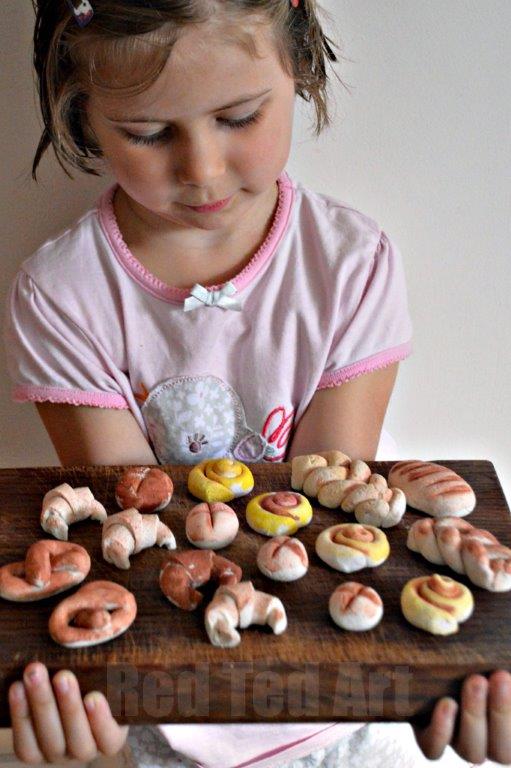
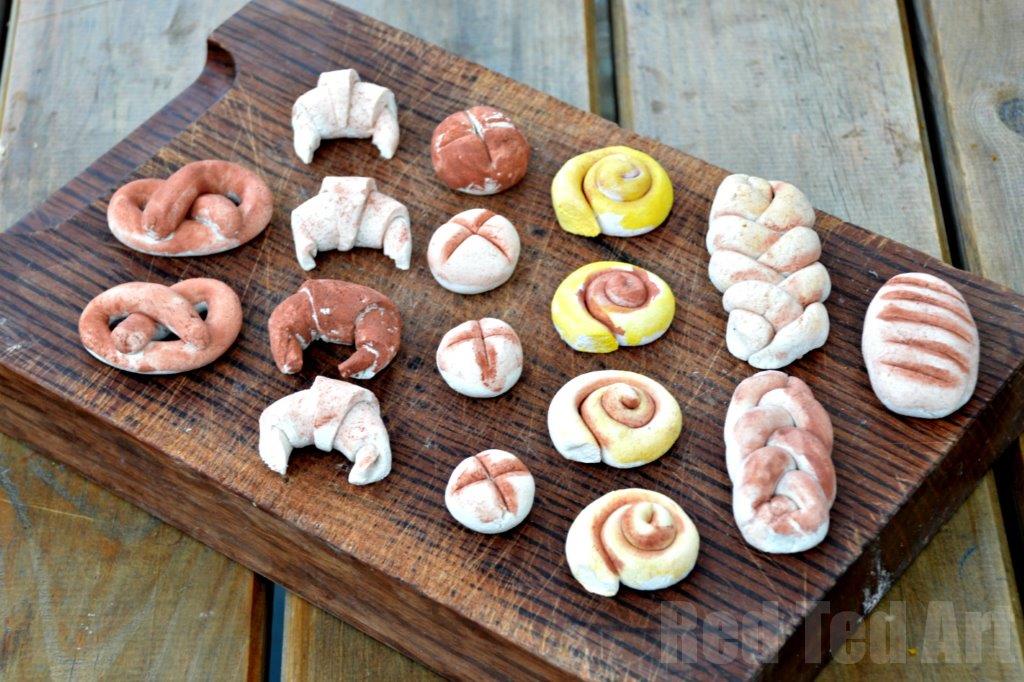
Roll up! Roll up! Anyone want to buy some baked goods? We have Pretzels, Croissants, Buns, Cinnamon Swirls and loaves of bread. Roll up! Roll up!!
Have you made anything from salt dough recently? Would love to hear about it!!