
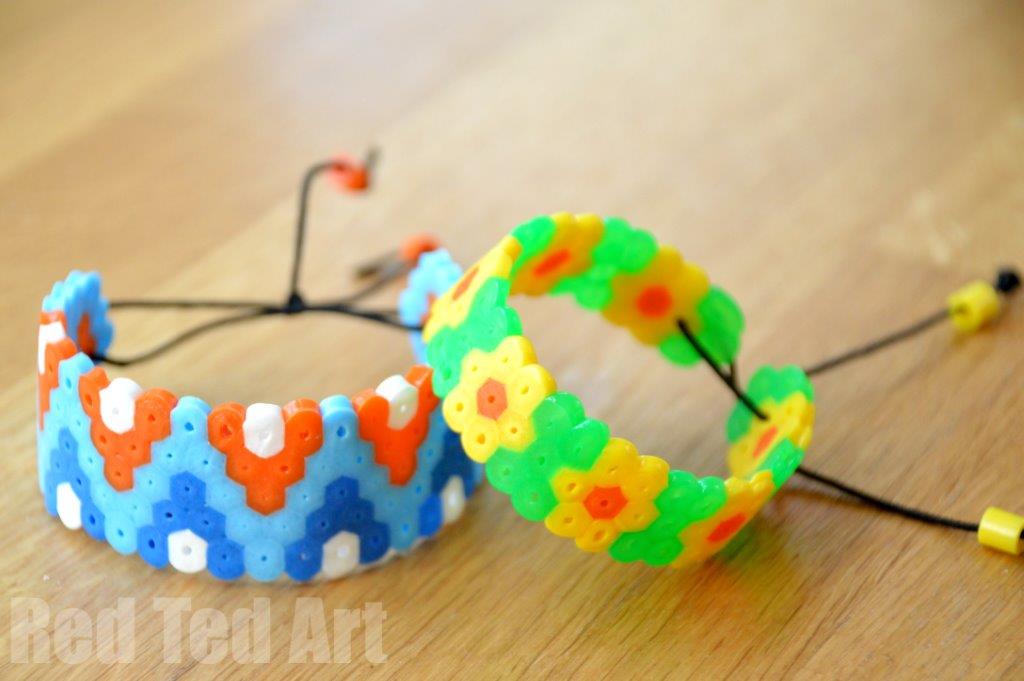
Hama Bead/ Perler Bead Bracelets
We do love Hama Beads in our house (also known as Perler Beads) and though we love making the “traditional” patterns and shapes (we love making gift coasters or gift key rings – both of which make great gifts to uncles, aunties or teachers), we also love looking for Hama Bead/ Perler Bead crafts that are a little bit different. This week we made some Hama Bead Bracelets – they turned out so well and the kids are so pleased. I think these make LOVELY gifts from kids to kids or maybe for Mother’s Day! So sweet. And before you ask – these Perler Bead Bracelets do NOT BREAK if you make them “properly”…
Perler Bead Bracelets – Supplies:
- a large peg board, ours is a hexagon which measures 16cm across. You can use a large square too – but you will end up with a slightly different pattern.
- Hama Beads/ Perler Beads in desired colours
- grease proof paper
- iron
- scissors/ something point
- elastic
- a glass or similar
How to make Hama Bead Bracelets:
We have a video tutorial for you on auto play or follow our step instructions.
Hama Bead Bracelet Patterns
Begin with measuring your child’s wrist and creatin a nice pattern to copy and repeat!
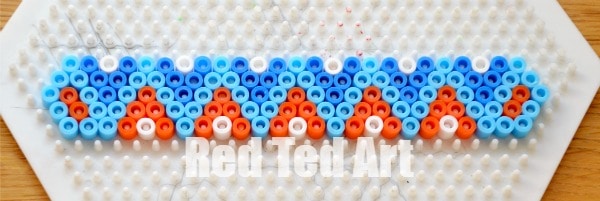

1) Create your Hama Beads pattern. I have shared our two patterns above – we have made many more since, but not photographed them all.
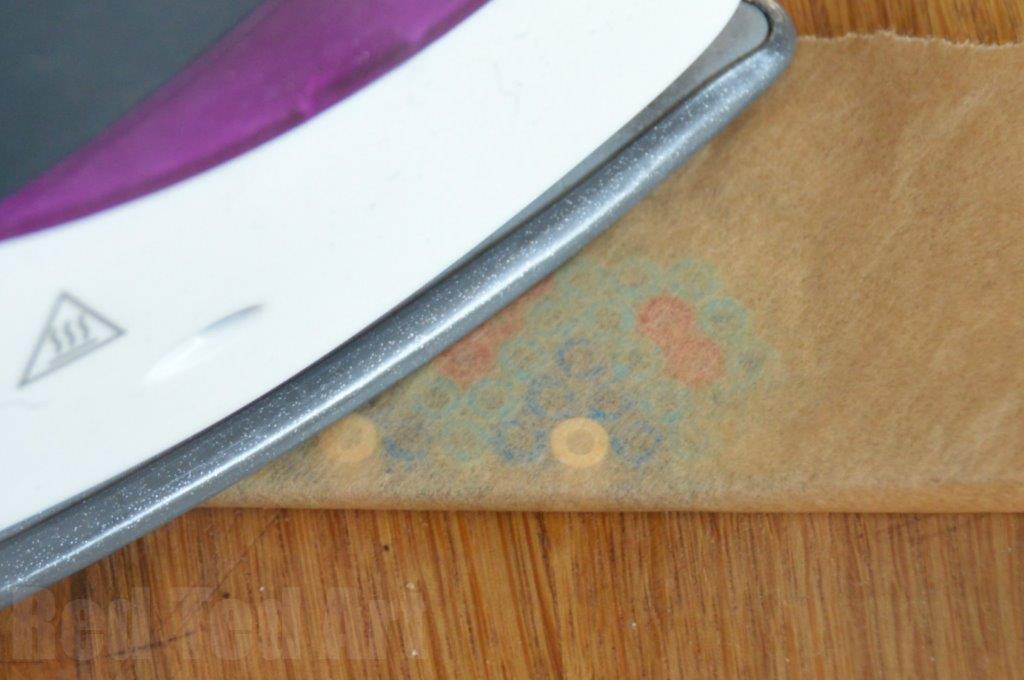
2) Adults should do this step: Iron your Hama Beads, as per usual one side. Carefully lift off the tray, fold the baking paper over on the other side and now iron the reverse of your bracelet. I really melt the perler beads as much as I can and keep turning it until it all looks well melted together.

3) This is the important step: whilst hot – hold it to a glass or similar to shape – we used a small glass, so it will fit the kids too. Take care, as the bracelet will be hot! I mainly hold the PAPER.
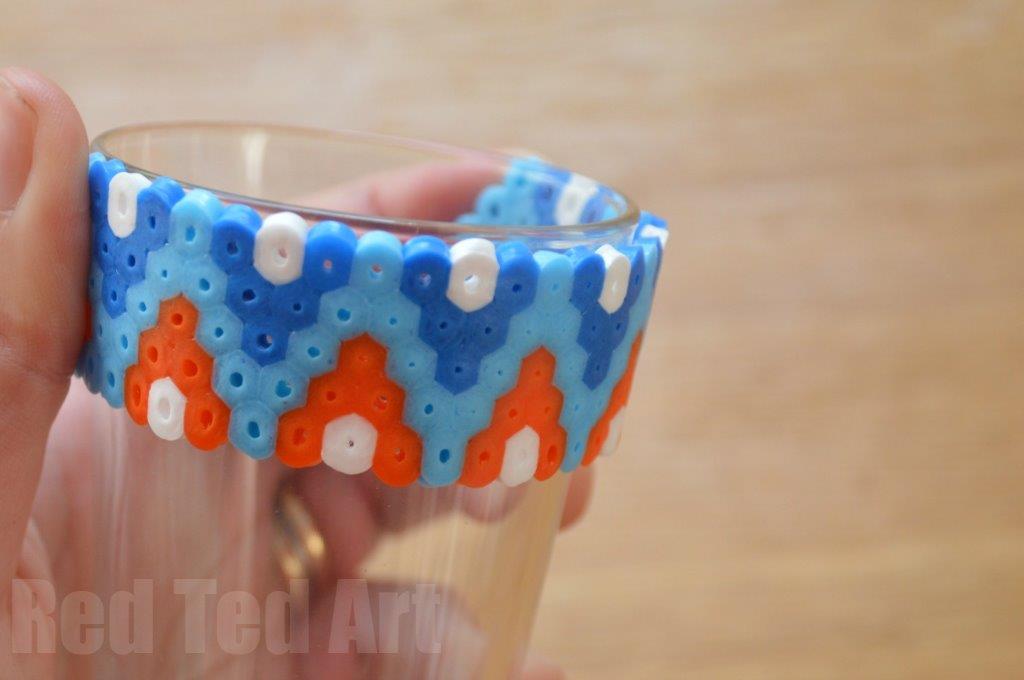
4) Once cool enough to handle (but still warm), remove the paper and also hold to the glass for shaping again.
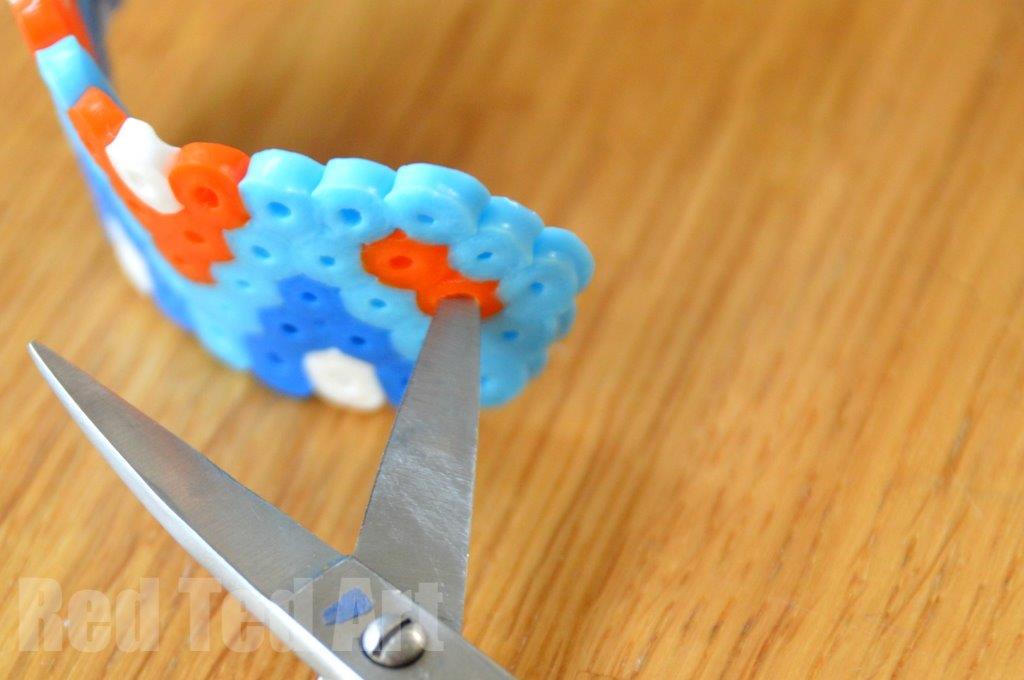
5) Widen one of the existing Hama Bead holes to allow for an elastic.
6) Push through some elastic. Knot to fit a child or grown-ups hand (looser or tighter) and then add some little Hama Beads to the end as decoration. Your Hama Bead Bracelets are finished!!
Have fun!!
Want more Hama Bead Craft ideas? Check these out:
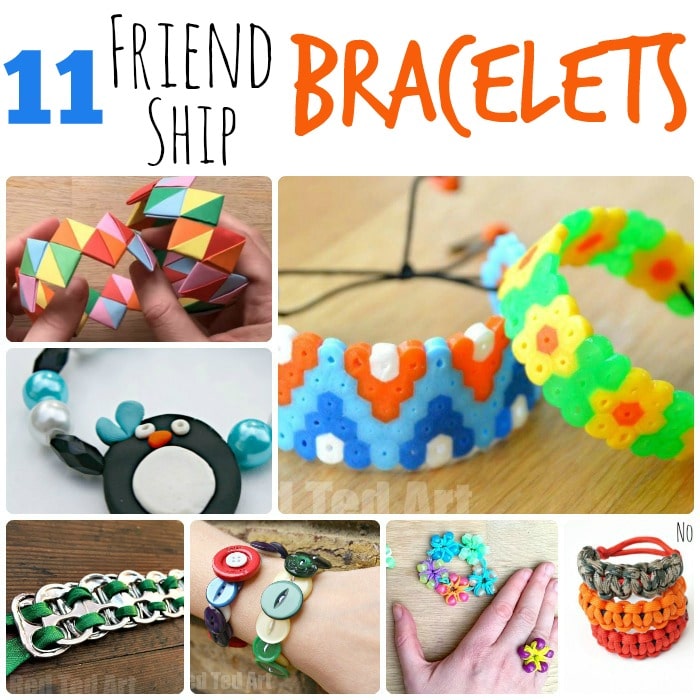
Looking for more DIY Friendship Bracelets ? Here are some great ones for Summer Camp and beyond!
Hope you like our Friendsip Bracelet ideas!
The video tutorial is also available on Youtube