How to make a Paper Boat – Easy Kids Origami
I LOVE paper craft, as you can do it whenever wherever with whatever piece of paper you have! Get the hang of it and you can entertain your kids on a bus, a plane or in the car. Making these easy origami paper boats is such a wonderful “childhood classic activity”. Let’s learn how to make a boat!
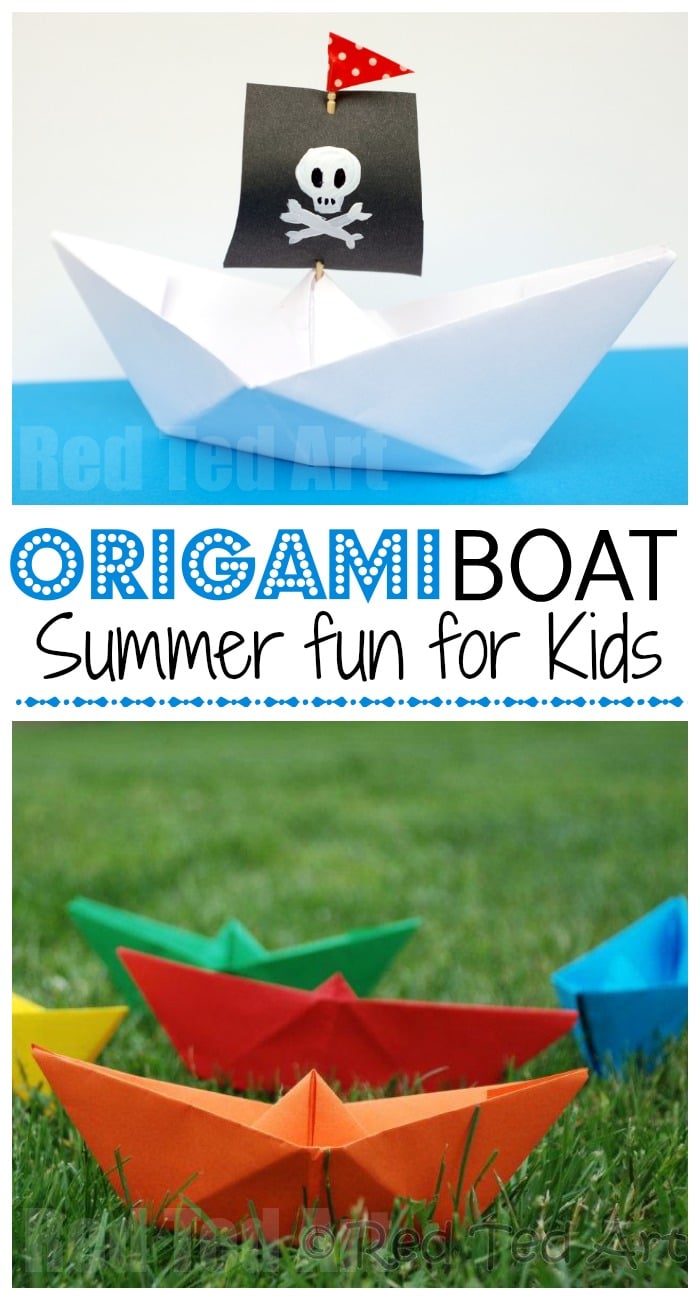
Make these paper boats out of any piece of paper any place at any time (I remember making these origami boats out of my bus ticket, whilst waiting to arrive at my destination)!
Make them HUGE or make them small. All you need is a sheet of paper of ANY size.
Not only only are the paper boats a fun craft, but they are also a great introduction to origami and following instructions! We love Easy Origami for Kids and this is a great one to get kids interested!
One Easy Boat Origami.. so many options!
No kits needed. Just one sheet of paper! Construction paper works too, but if you want to float these, “printer” paper or a magazine paper better, as they slightly less water absorbant, so will last longer!
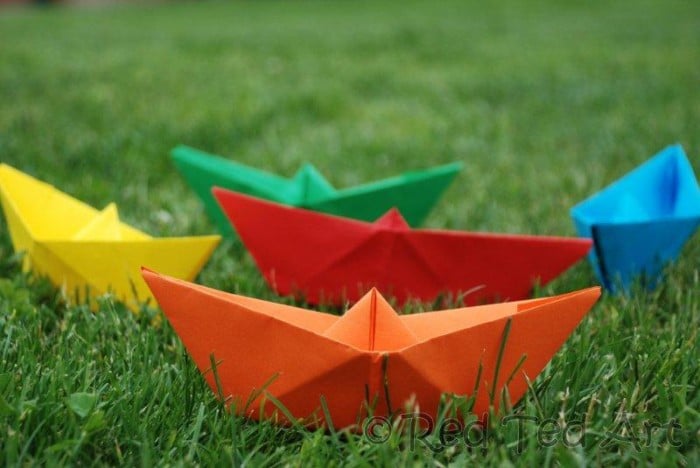
Yes that is right.. learn how to make the one boat.. and you can decorate and use it in so many different ways. Here we simply too colourful paper and created an army of RAINBOW Paper Boats. They make great little canoes for playmobil mean and small toys too (squish down the middle to make space for sitting).
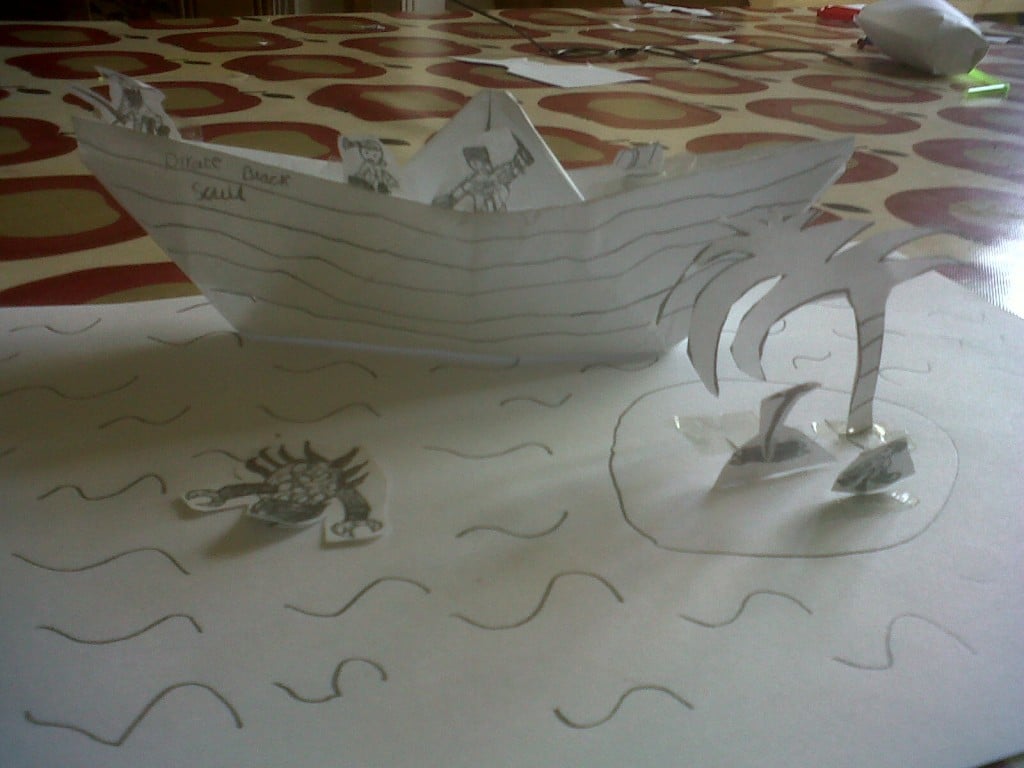
Next. We took plain white paper, and turned it into a pirate ship, with the quick addition of a Skull and Crossbones Toothpick Flag. Harr. Harr. Gotta love a Pirate Craft!
The great thing is, that these Paper Boats, also float. Kids can colour it in and take it in the bath or play with it on a small river (it will dissolve, should it float away). I have also used it to make a cute Father’s Day card!
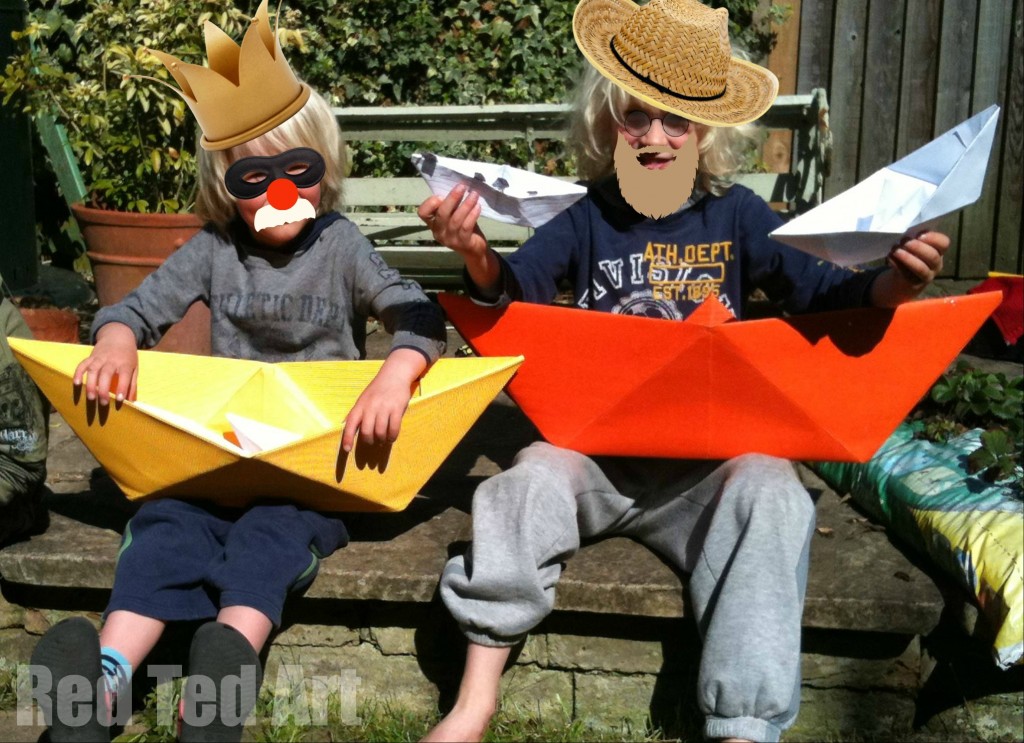
My neighbours boys (5yrs & 7yrs) saw my draft video and after that they couldn’t stop – we made about 20 paper boats over the weekend – including to two MASSIVE ones. The 7yrs REALLY impressed me with his Pirate Ship and Island. This is what “How to..” is all about – getting stuck in and having fun with crafts! So chuffed!
Just check out their Giant Paper Boats How to:
Aren’t they simply fun?! (My Paper Boat Craft Models are in disguise)
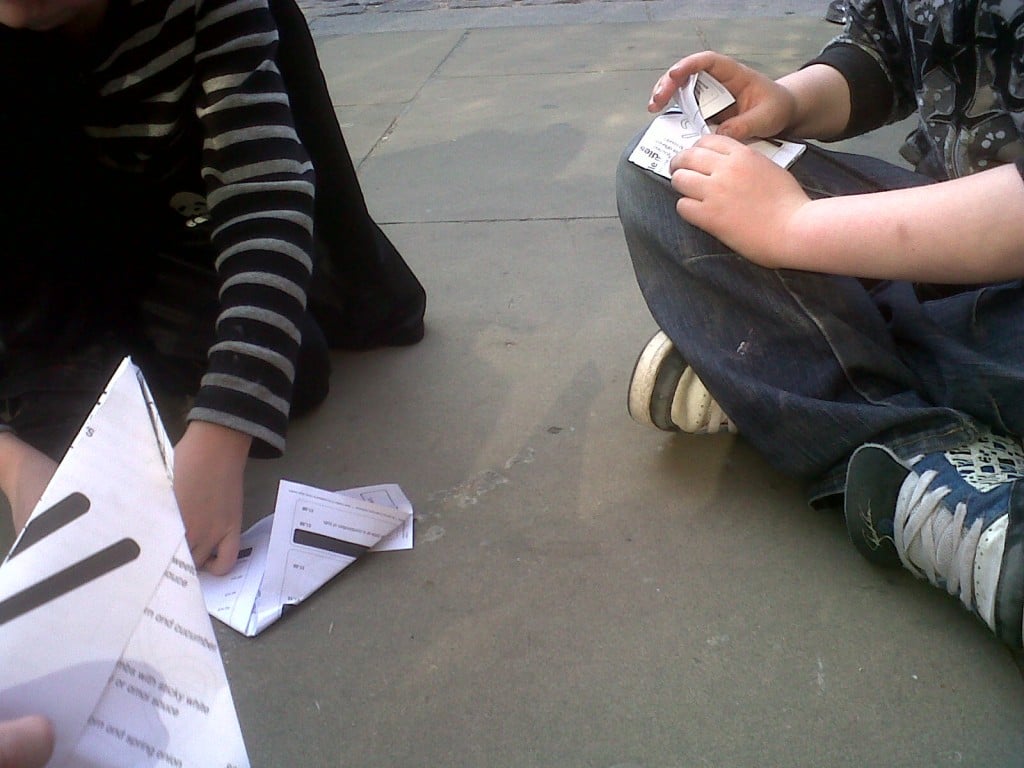
Teaching Friends How To Make Paper Boats
Then it got better, they then went to a party… and ended up TEACHING their friends how to make boats. Here they are teaching each other to make their paper boats. **Bless**.
This is a little trickier than the paper cup craft from a couple of weeks ago, but once you know how to make one, you can make it anywhere out of any scarp paper (even a bus ticket!!). Keep your kids entertained on the go! Make one!!!
Origami Paper Boat – supplies
- a sheet of paper – it needs to be a rectangle!
Any size goes. It really doesn’t matter!
Easy Origami Paper Boat How To Video:
Though paper boats are super easy to learn how to make, it is great to watch this How to make a Paper Boat video. Seeing really is the quickest and easiest way to learn this wonderful Origami for Kids!
Step by step origami boat – written folding instructions
An A4 sheet of paper is ideal – you do need a rectangular sheet of paper… and most sheets of paper work. But we like the dimensions of an A4 or A5 sheet of paper. They are the perfect rectangle for a paper boat.
Start off making what is the classic origami hat (don’t worry the boat bit is coming)
The first fold follows the basic pattern for an origami hat.
Fold your sheet of paper in half. Make a neat crease. (So if using an A4 sheet of paper, you now have an A5 sized paper infront of you – like a card that opens and shuts).
Turn the paper round, so the closed edge is along the top. And the open edges along the bottom.
Fold the paper in half again and make a middle crease. Open back up. You just wanted to create a perpendicular guide line.
Now you need to work on both top corners: Fold the top right corner down, to meet this middle crease and create a triangle flap.
Repeat with the top left corner. Now you have two triangle shape flaps that meet in the middle.
You should now have two triangles with a banner along the bottom made of two sheets of paper.
Take the bottom of the paper and fold up. Two small triangles will overlap. Fold these down to make another eat edge.
Flip the origami over and repeat for the other side.
You should now have what looks like a “classic paper hat”.
Turning the classic paper hat into a boat that floats
Take the two points one either side and bring to the centre and flatten.
You should have a diamond with equal sides in front of you (or a square shape on it’s side).
Take the bottom corner and fold up. Flip over.
Repeat for the other side. You should now have a traingle again.
Take the point on the left and right and again, bring them together to meet in the middle.
And flattern. You should have another diamond.
This time, you can pull it appart and make our final boat shape.
And finished! Now decorate it in any way you wish! And as we have shown you above you can have lots of fun with this basic paper boat.
The paper boat does float – it is perfect for the sink or puddles, but will eventually get soggy. If you want to play with it for longer, you may want to make it from waxed paper. Or maybe add some clear tape to the bottom of the boat to water proof it a little.
More Easy Origami for Kids here:
See all our fun DIY Boat Crafts here, incluing other fun boat crafts that float:
This video tutorial is also available on my YouTube channel

