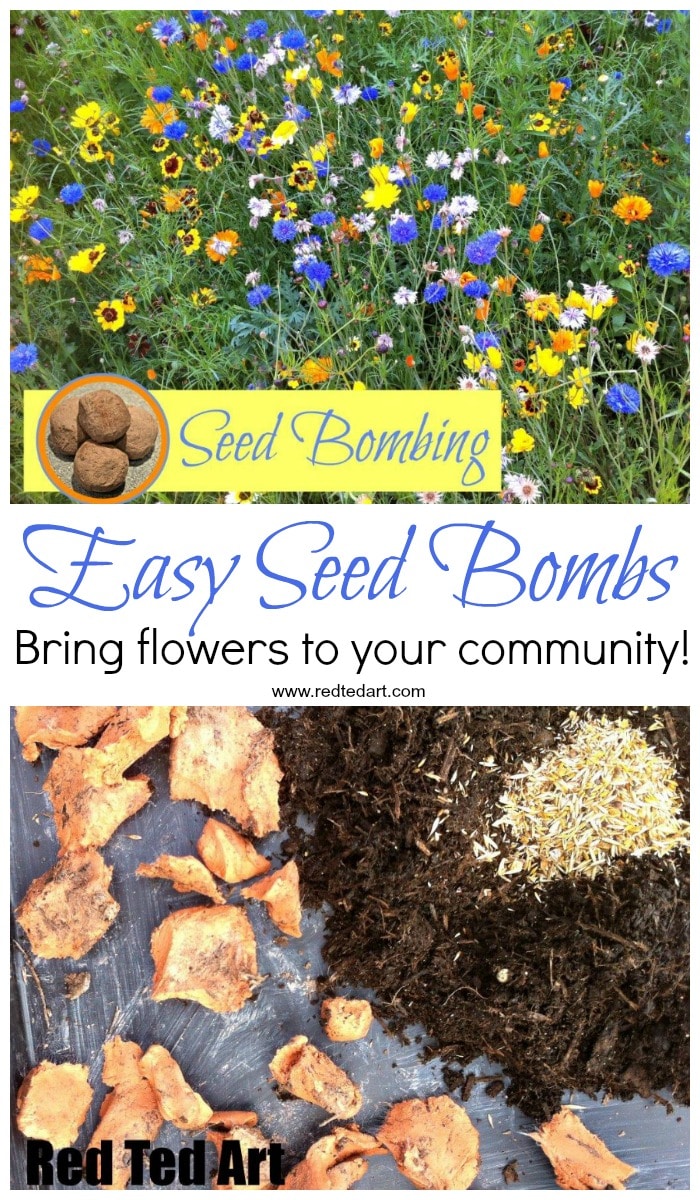
How to Make Seed Bombs Recipe
Making this Seed Bombs Recipe is quick and easy – it is a great gardening for kids activity and also makes a good gift that kids can make. I particularly like to give Seed Bombs as Easter Gifts, as an Earth Day Activity or for Mother’s Day! You can actually make these at any time of year, but you “use” the seed bombs depending on the flower type you have chosen – usually early Spring to late Summer – check your seed packets!
Guerilla Gardening with Homemade Seed Bombs
Seed Bomb making also is a great sensory activity as you encourage you kids to get stuck in! These are diy seed bombs are a bit different to papier mache seed bombs popular online.. you will need some earth and clay and they are totally natural.
If flowers are you think.. you may also love these Flower Inspired Craft ideas! Hope you have a go at this how to make wildflower seed bomb craft! Enjoy!!
Before we begin and important note
It is really really really important, that you are mindful or your local area and what naturally grows there already. Ideally, you should seed bomb in your own garden etc.
If planning to guerilla seed bomb – please do not introduce NON NATIVE species that could be considered INVASIVE. Always always think of the local eco system. E.g. in our area, we find a lot of wild poppy seeds and cornflowers, so it makes sense to use these seeds when seeding (we are also a very urban area, so less likely to disturb local plants).
Don’t seed invasive species in parks and natural areas. They are usually fine as they are 🙂
Want to learn more? Here is a great video explaining why wild seeding could go horribly wrong.
DIY Wildflower Seed Bomb Recipe:

- A cup of compost
- A cup of clay or potter’s powder (this can be store bought or dug up from your garden if you live in a clay rich area)
- A generous handful of wild seeds
- Water
What wildflower Seeds do you need?
You can use any types of seeds really – but you should aim for a combination of seeds that grow at the same time of year. And then “lob” your bombs in the appropriate season – i.e. add Spring seeds and distribute in early Spring, or add Summer seeds and distribute in late Spring etc.
If making Wildflowers in the UK, these are great wildflowers that grow locally. Do look up what common wildflowers are found in your area!
Wild flowers for sunny areas in the UK:
- poppies,
- cornflower,
- marigolds,
- cosmos,
- hollyhocks,
- verbena bonariensis,
- viper’s bugloss
Wild flowers for shady areas in the UK:
- use a woodland seed mix;
- foxgloves,
- tobacco plant,
- honesty (lunaria)

How to Make Seed Bombs for Kids:
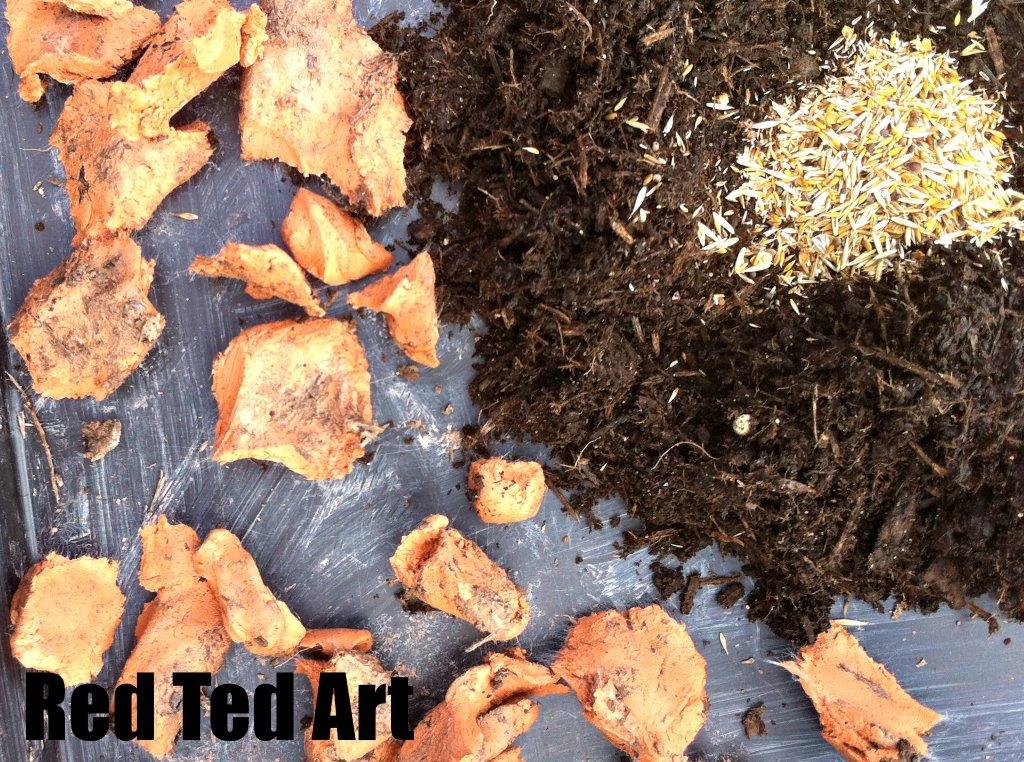
1) Break your clay into lots of small “bits”.
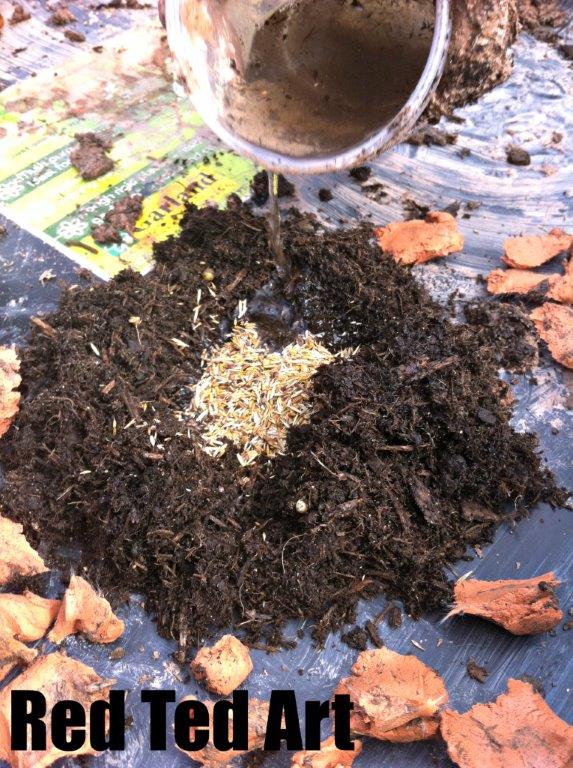
2) Pile your compost into the middle of your work surface and make a “dip”.
3) Pour your seeds into this dip.
4) Pour a little water onto the compost and seeds. Enough to make it moist enough to mix, but not too wet (if it is too wet, it may trigger the seedling into thinking it needs to sprout – although that is also linked to temperature)!
5) Then rapidly mix the clay, compost, water and seeds into a consistent mixture.
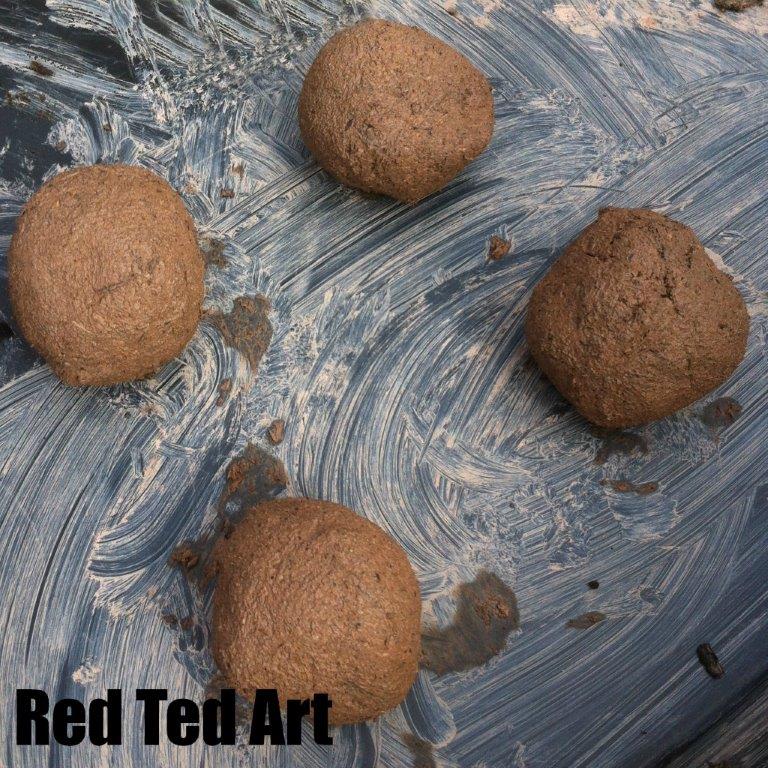
6) Once it is all evenly mixed, separate out into four equal pieces and roll them into balls. Ours were approximately 5cm in diameter.
7) Leave in a cool place to FULLY try out.
8) Bag up prettily and GIVE!

Hope you will have a go at this great Seed Bombing activity for kids. It is a great way to spread flowers in your community and attract bees, butterflies and other insects!!
I think this would make a wonderful Earth Day Activity for kids – or a fun Mother’s Day gift too. If you need more ideas for Earth Day, why not check out these:

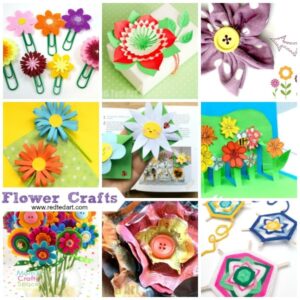
More great FLOWER inspired crafts for kids: