Leaf Lanterns
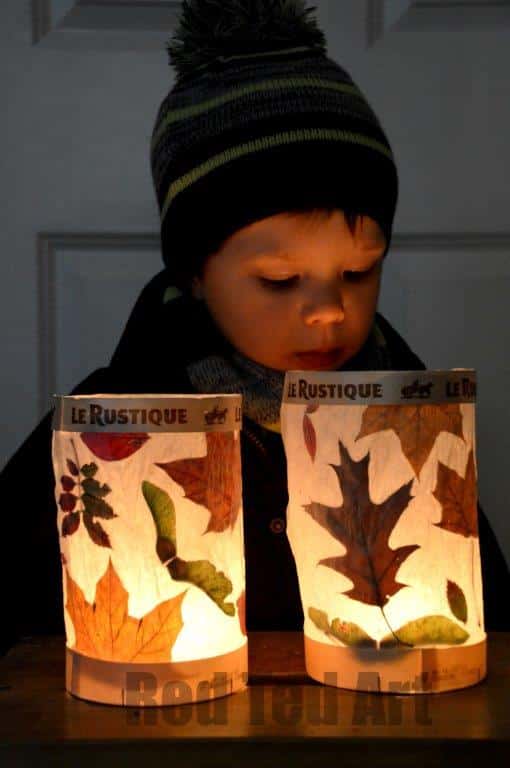
We first made these Easy Leaf Lanterns about seven years ago at German Toddler Group – one of the other carers with tons of group crafting experience showed us how to make them – making this a great Autumn Craft for Preschoolers as well as Autumn Craft for kids!!! Find some Fall Leaves, come back inside and make this lovely decor with us today!
When we first made this leaf lantern, I totally fell in love it! Especially as they were SO easy to make and even the little ones could enjoy joining in. Finally, 3 years later, we had another go making lovely craft using fall leaves. Of course, mine are a little neater, crafting with two kids is much easier than crafting with 10, but the principle applies and lends itself to a group environment! Such a cute fall decor to make and a great way to observe and enjoy the leaf colors!
We make these for St Martin’s Day and I first shared our St Martin’s Day lanterns a few years ago. We try and make a new one each year as I try and instill the love for this tradition in my kids whilst living in the UK! Clearly, you can still make these lovely Leaf Lanterns WITHOUT celebrating St Martin’s Day! Just leave them on the mantle piece of take them out for your own special lantern walk!
PS The BEST thing about this craft, is you do NOT HAVE to press your leaves to do this. You can make them on the day you collect your leaves, so long as they are not wet!
I do think these make a gorgeous Thanksgiving craft too!
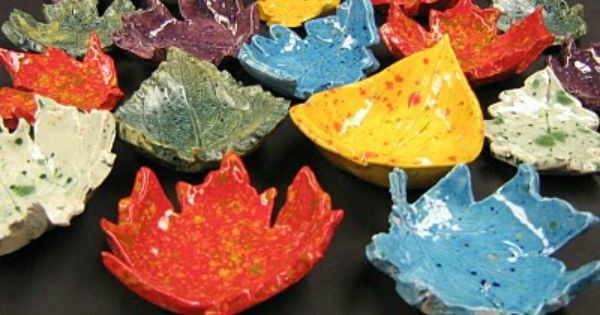
Another leaf craft favourite of ours are these Leaf Bowls – do take a peak
Fall Leaf Lanterns – Materials
- Autumn Leaves in different colours and sizes (smaller is better),
- grease proof paper – any will do, but if you can find white, even better,
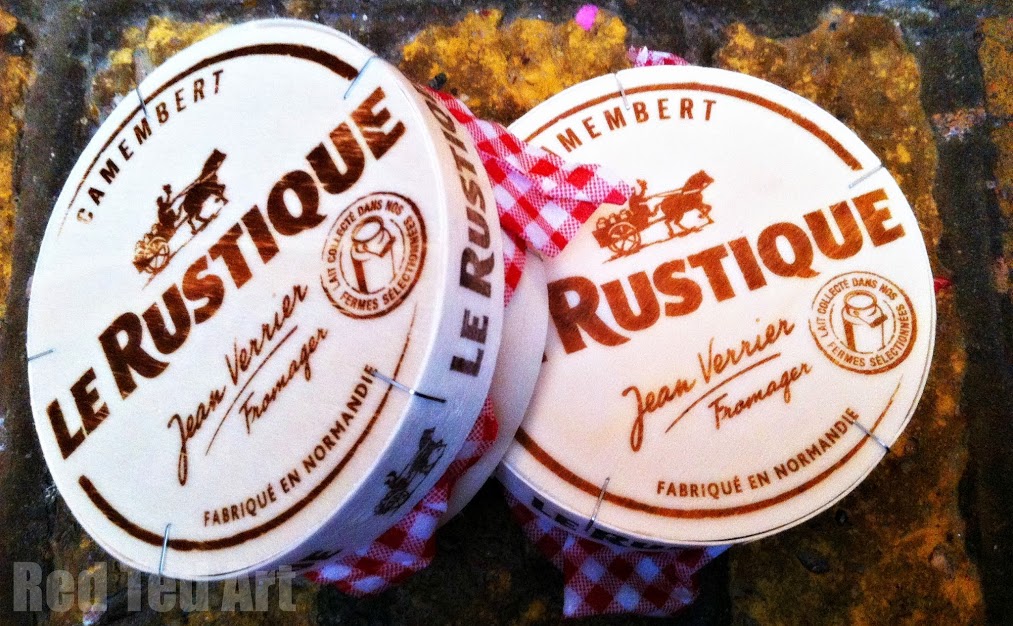
- cheese boxes (to give the lantern structure, but of course, you can make your own base etc from card),
- glue (mod podge is great for this) or stapler,
- scissors to cut the grease proof paper
- if turning into a St Martin’s lantern – wire and a stick,
- electric tealights (safer with the wax paper)
If you can’t get hold of the “cheese cartons” – check out the auto play video tutorial for an alternative method !
Top tip: smaller leaves are better – as you can fit more on!
We bought some lovely camembert for the boxes! But cheese like Dairy Lea, also come in good boxes. You and your little nature lovers and much on some cheese whilst you craft! Yum. The boxes are great for the bottoms of the lanterns, especially if you want to be able to hang them up! But as per the video, they aren’t strictly speaking necessary, you can always pop a glass jar at the centre!
How we made our Leaf Lanterns
1) We happened to collect our leaves on a wet day. So I pressed them between sheets of newspaper for a couple of days. This has two effects – the newspaper absorbs the damness and also flattens the leaf a bit, which gives you a nice finish. Note: if you leave the leaves damp and went in the paper longer than 2-3 days they MAY start going mouldy. All we aimed for, was for the paper to absorb the dampness and also to flatten the leaves a little. Not to fully dry and preserve them!
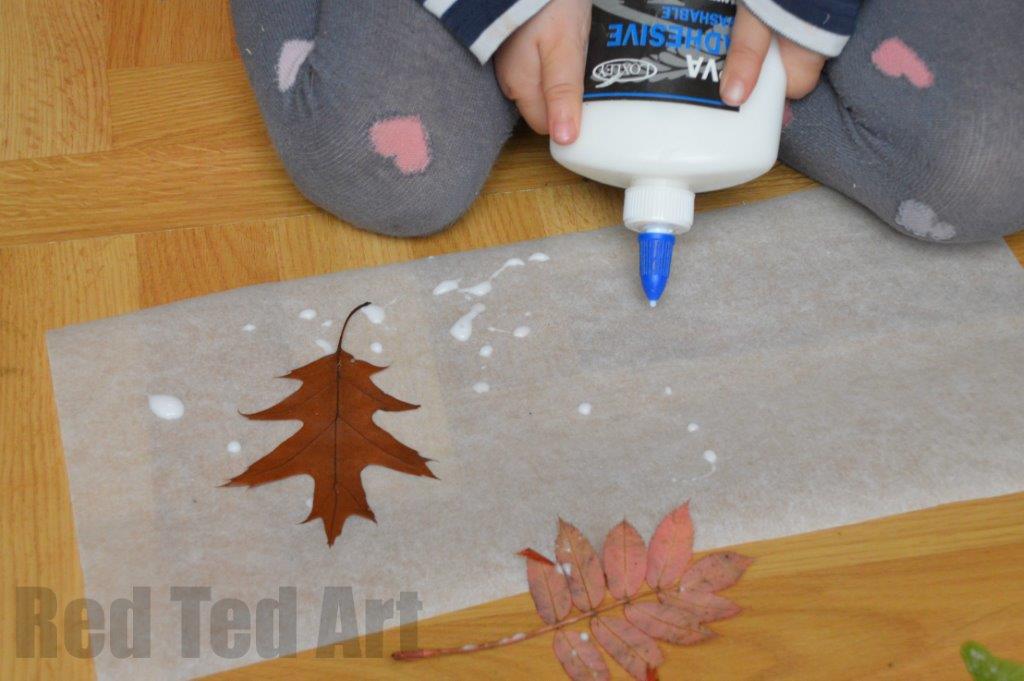
2) Cut two sheets of grease proof paper to fit around your cheese base and at a height that you want. Lay one sheet flat on the floor and add glue.
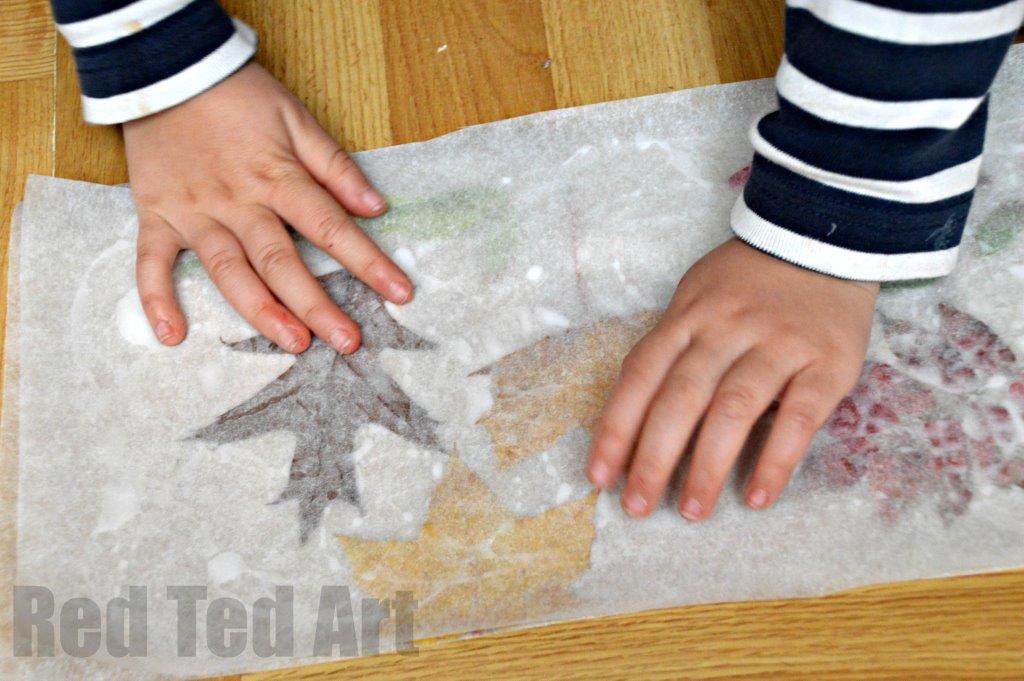
3) Add your leaves – let the kids do as they wish, more is more I am sure! But I also find you will get a better glow if they don’t overlap too much.
4) Add more glue and then press the second sheet of grease proof paper ontop. At home we placed some books on this for an hour or so to give a nice smooth flat finish. At playgroup we went straight to the next step.
5) Take your cheese boxes. I removed the “top part” of the lid, so you have access for the candle. At playgroup we now stapled in the the lantern. At home glued it in for a neat finish. Then repeat for the bottom (admittedly the bottom is a bit fiddlier as harder to get there.. but it worked ok).
6) Add wires or string so you can hang you lantern off a stick.
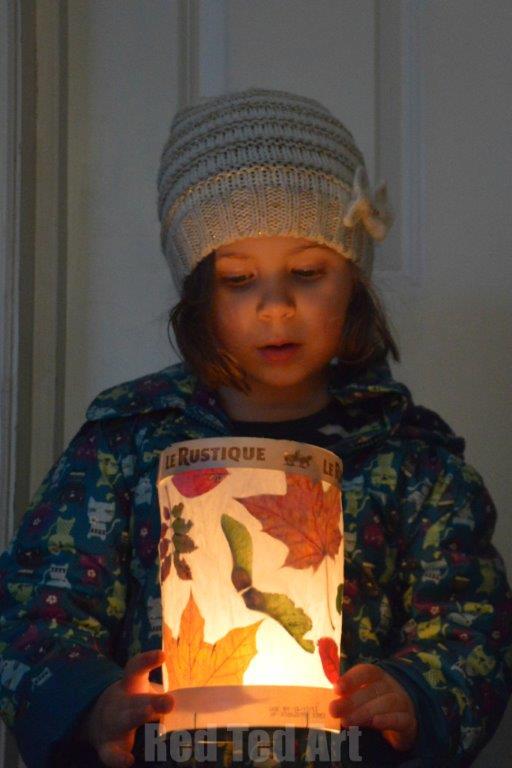
Add lights to your Leaf Lantern and ENJOY the magic! Just a fun thing to make this fall! And a great way to explore autumn leaves, colors and shapes with your little nature lovers!
And if you have a Germanic Background, sing some St Martin’s Day songs:
Learn how to preserve Leaves
If you love these lanterns.. I am sure you will be interested in our Preserving Leaves STEM activity – looking at 6 different ways for preserving leaves!
Featured blogger of the week is Wild Flower Ramblings, who has some great FREE Leaf Identification Printables. Something I definitely need! (Though I also loved the Leaf Men & Creatures over on Inspiration Laboratories)
Leaf Lantern
Equipment
- Baking paper/ transparent paper
- Leaves
- Glue
- Cheese box or cardboard
Instructions
- Press leaves between newspapers for a day or two (to allow them to dry off fully and flatten a little)
- Cute paper to size and add glue
- Add leaves
- Add second sheet of paper on top
- Curl in on itself and glue into the base of a cheese carton (watch video for cardboard method if no cheese carton available)
- Repeat for the top cheese carton lid
Video
Check out the rest of our Autumn Crafts for Kids fabulous easy kids crafts for you here:
The lantern video is also available on YouTube


