Easy Paper Flamingo Decor DIY – Summer Room Decor
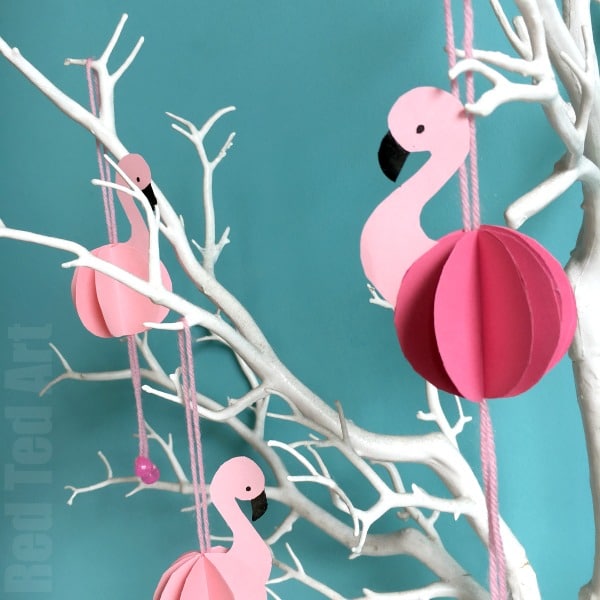
We are a huge fan of Paper Crafts for Kids. Paper comes in all colours and is just so so versatile. There are so many fun things to make from paper all year round – from paper corner bookmarks, to seasonal paper crafts such as Christmas baubels.. which brings me onto today’s topic and our lovely little Paper Flaming Decor. Yes, you have guessed it, our flamingo DIY is based on our popular paper baubles (we love them as paper chick decorations too) and are just as easy to make. I think this little paper flamingos would look great strung up as a DIY flaming garland, as a small room decor, or make them larger and use them as a summer party decor DIY idea! Whatever you choose, I hope you CHOOSE to make at least one of these little cuties.
I think these could quickly and easily be addapted into gorgeous DIY Flamingo Cards – check out the similar Pop Up Chick Cards! A flamingo craft for kids!
Paper Flamingo Decor – Materials
- Pink paper
- some pink wool/ yarn, string or ribbon (white is fine too)
- beads (optional, you can just knot the wool)
- Pen, scissors and glue stick
Paper Flamingo Decor – How To
Yes it is video time once again – but of course we have step by step instructions below the video too. I just love the video format and find that kids (ahem my kids!!) particularly love to watch a video how to. So here we go – how to make paper flaming decorations.
How to make Paper Flamingo Decorations Step By Step Instructions
The body of your paper flamingo diy –
- Find something ROUND! We used the top of our PVA Glue – but a small cup ia great too.
- We layered up our pink paper to form 8 layers, so I could cut 8 discs at once. If you find cutting multiple sheets tricky (they can slip), then trace and cut each circle separately.
- Trace the circle and cut all 8 layers at the same time.
- Fold each circle into half.
- Add glue to one half of your paper circle.
- Glue this to another half circle. Add glue to the next half of the circle and add the next layer. Until you have a stack of all 8 circles, folded in half and glued together (you can see photo instruction from our original paper baubles here).
Put to one side
Your paper flamingo parts
- Next cut out a flamingo’s head and long neck from paper – colour in the beak black and add an eye
- Also cut a piece of pink wool or yarn (approximately 30cm – but it is not an exact science). Fold in half.
Assembling your paper flamingo ornament
- Glue your neck and head piece to the top of your paper circle stack.
- Add lots of glue to the “spine” of your circle stack and place the pink wool – a loop at the top, with “tangly bits” at the bottom.
- Now glue your first circle to your either circle, creating your pink flaming body!
- Finally tie some beads to your tangly pink wool.
Your lovely paper flamingo decoration is done! Isn’t it lovely? And really IS easy to make. I promise!
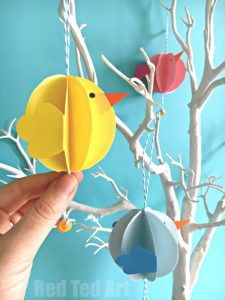
I think you would also enjoy our Paper Chick Bauble version here –
Check out our other paper ornaments in this style –
- Kids art bauble (there is also a Christmas Tree version)
- the photo baubles,
- the heart baubles
- rather darling snowman baubles
- and there is a bunny bauble version too
We have LOTS more Paper Crafts for you to explore here!


