How to… make a dolly (from onesies?) (Guest Post)
I have been wanting to make a dolly for Pip Squeak for a number of weeks now. The idea was to use some her onesies and make them into a keepsake doll (as much as a keepsake for me as for her!!). And although, I don’t think making a doll is hard, you do need to come up with a lovely design – design, in this case is everything! And I just haven’t had the time to sit down and “draw”. And then I saw Nicole at 60 Piggies.
Oh my oh my oh my. Why design something new, when a gorgeous little doll is already there? Nicole kindly agreed to share it with us. Now… if you haven’t been to 60 Piggies, you really must go and take a look. Nicole is wonderfully creative – she bakes and crafts with her kids, she shares with your her thoughts AND takes gorgeous photos in the process. A really lovely blog to browse through and be inspired by! Go on. Hop over and take a look. You will not regret it!
Now to Nicole and her lovely Keepsake Doll Pattern:
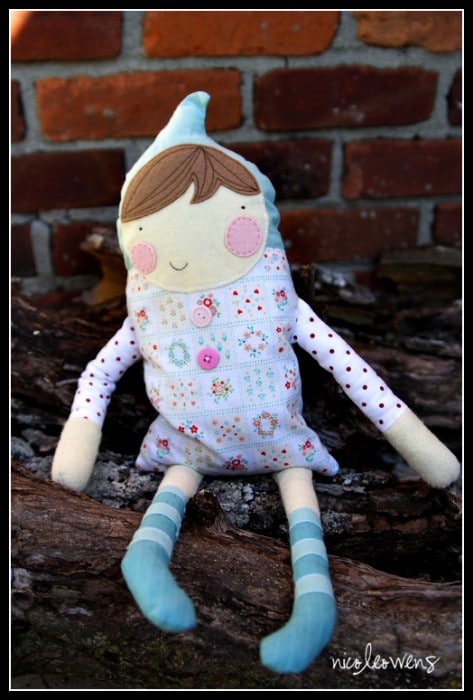
as you may recall, a couple weeks [now a couple of months] ago i stitched together this doll for elle’s birthday.
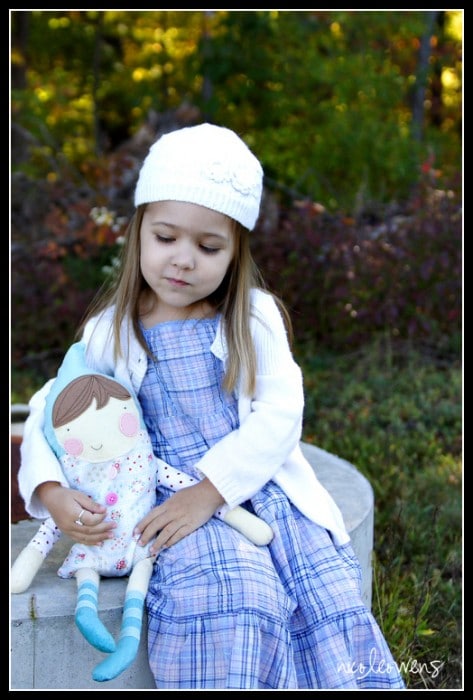
they have become fast friends. elle calls her softie “frost” and totes her along just about everywhere.
want to make your own? here’s a basic doll making tutorial…
materials:
- felted wool (3 colors for skin, cheeks, and hair)
- variety of fabric (printed cotton wovens, corduroy, etc)
- variety of colored thread
- stuffing material
- dried beans, optional
- fusing material, such as heat n bond [or bondaweb]
1. sketch and cut out the pattern. i use heavier stock magazine/catalog pages for durability, but you may prefer tissue paper for ease of pinning.
here’s the general pattern i’ve drawn up; feel free to use this one or alter as desired.
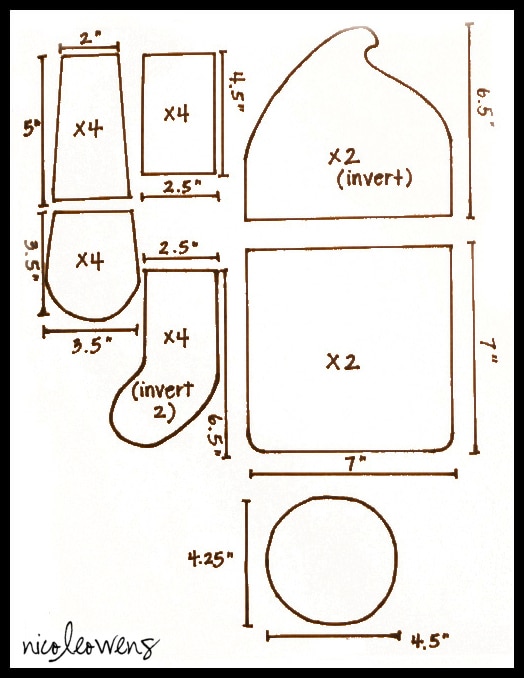
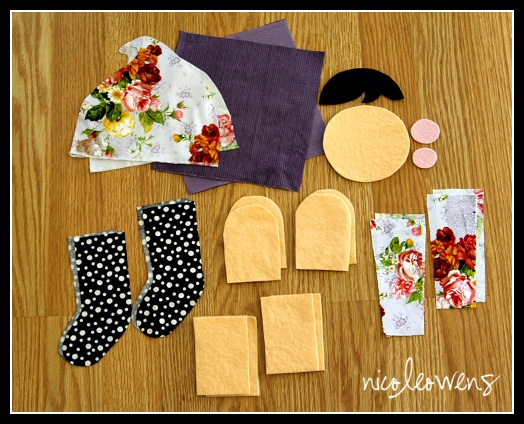
2. pin your pattern pieces on the fabric/felted wool and cut out each piece (unless you’d prefer to go this route** in step 5, as i often do). you’ll also need to cut out a wool piece for the hair, as well as two cheek rounds. i like my rounds to be different sizes for a touch of whimsy, but if the type-A in you brandishes a heavy stick at the thought of this, feel free to make yours identical.
(note: seam allowances are included, so no need to add your own unless you’d like a slightly larger doll.)
you should end up with something like this:
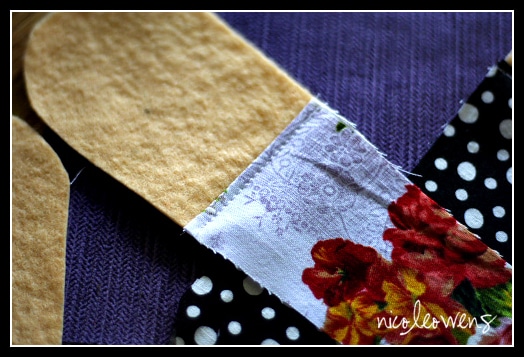
3. pair a hand piece with a sleeve piece; pin right sides together and sew.
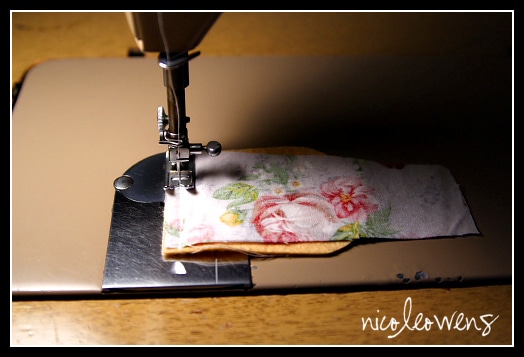
open, press the seam flat, and topstitch.
the right side should look like this:
and the underside like so:
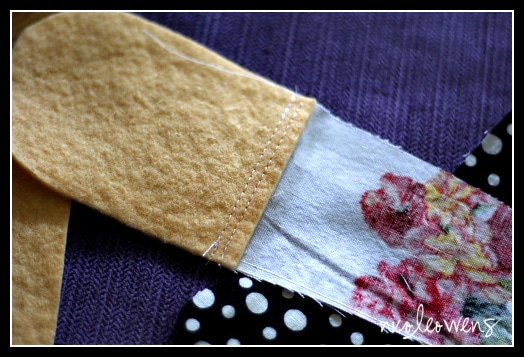
repeat with the remaining arm pieces and the leg/sock pieces.
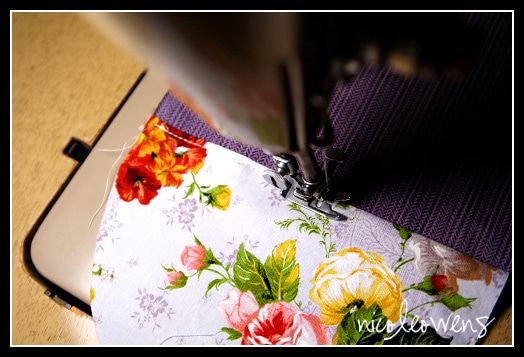
4. pair a hood and body piece, right sides together, and sew. open, press, and topstitch. repeat with the remaining hood and body piece.
5. fuse one side of the heat n bond onto the backs of the felted wool face, cheeks, and hair pieces. **instead of cutting out the wool pieces separately (in step 2), i personally like to trace the pattern onto the heat n bond, cut out the pieces with a slight margin, fuse them on to felted wool, and then cut out the fusing and wool together.
peel off the waxed paper backing from the face, fuse to the doll’s front piece, and topstitch around the perimeter. repeat with the hair and cheek rounds; topstitch decoratively as desired. (on elle’s softie i hand-stitched the cheeks; on penelope–below–i machine-stitched a circular swirly.)
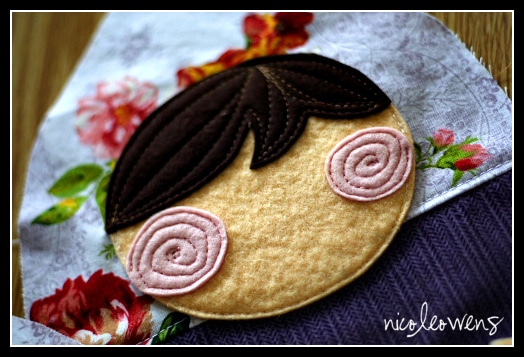
now you should have this:
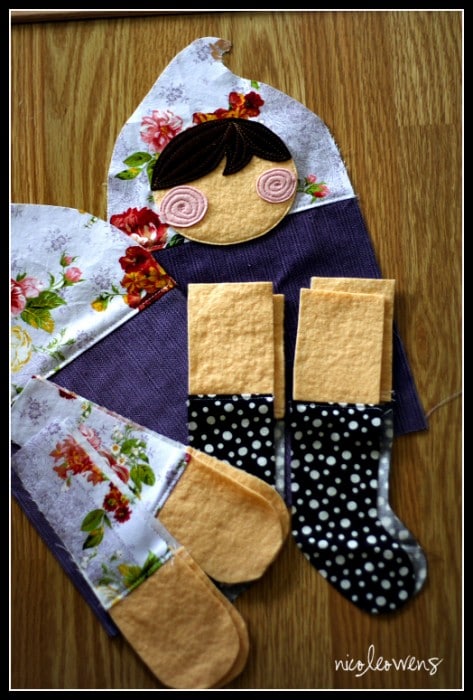
6. pair up the arm pieces and sew right sides together. sew a second seam to reinforce the stitching. trim seam allowances and flip right-side out. repeat with the legs.
with cotton-ball size puffs, stuff the arms and legs with your stuffing material. push each piece in with a pencil firmly to the end of the appendage; if you try to stuff too many puffs at once or too large of a piece of stuffing, you’ll end up with lumps.
7. baste stitch the arms and legs where you’d like them to attach on the right side of the doll’s front piece. the appendages should all be sewn facing inward at this point.
8. pin front and back pieces, right-sides together, with the arms/legs sandwiched in between (the sandwiching is the tricky bit). sew together along the outer edges, leaving about a 3 inch space to turn the doll right side out. reinforce your stitching by sewing back over the seam.
9. turn the doll right side out and say hello to your almost-completed softie.
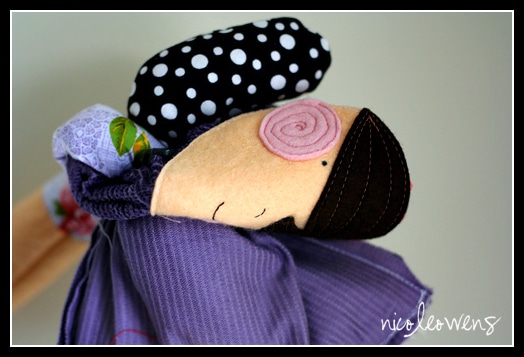
10. stuff body with small tufts of stuffing (if you want the softie to be self-sitting, you can fill the bottom fourth with dried beans or a similar weighted filling).
11. hand stitch the gap closed, and voila. meet penelope.
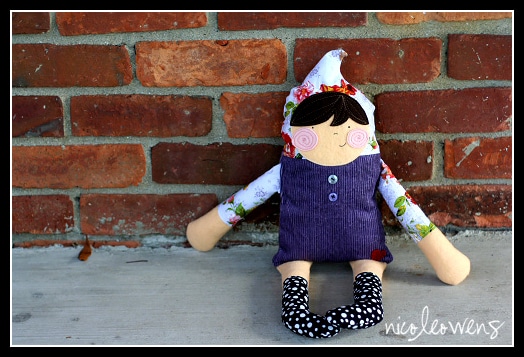
All I can say is aaaaah. I want one… and will be making one (but maybe stitching mine by hand!). Thank you Nicole!
More great sewing patterns for all ages here:

