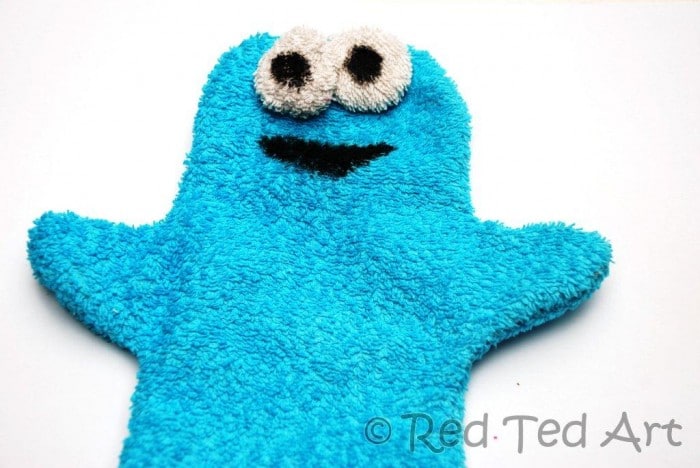
How to… make Cookie Monster Puppet Flannels
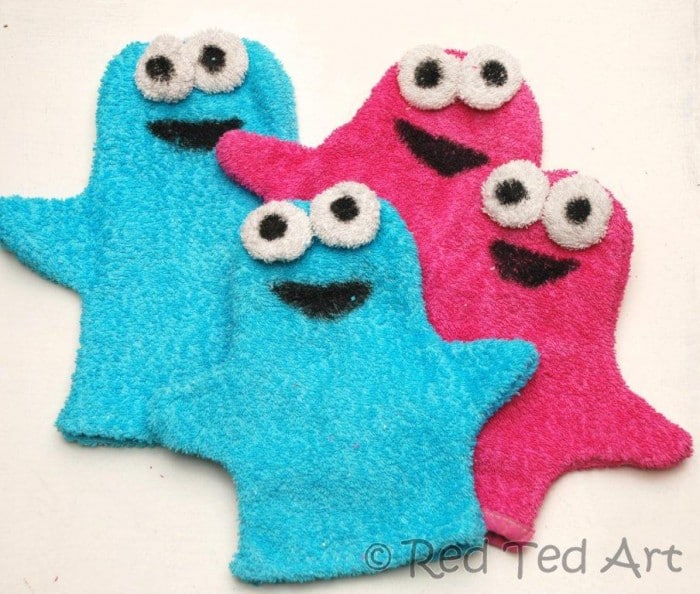
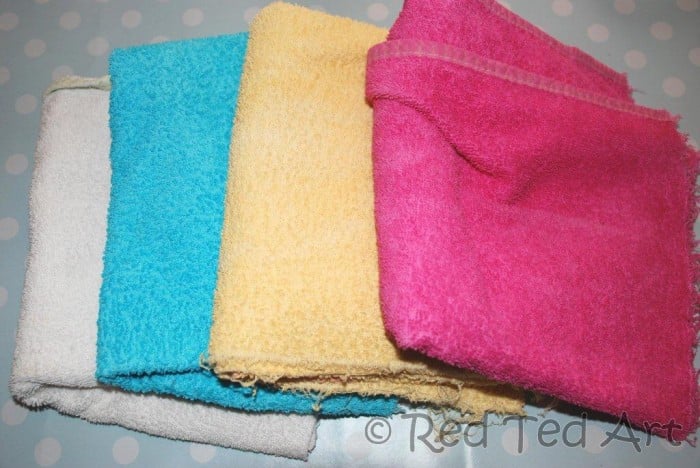
You know I love a bit of “reduce, reuse, recycle”. Nothing better than taking something old and making some new, giving it a new lease of life – like our Cookie Monster flannels, made from the children’s old baby towels. We have passed on a number of baby towels to other children. But these were feeling quite old and stiff. No new parent would want these for their precious newborn… I decided to dye them and make flannels. YAY!
Materials: old baby towels & dye (or coloured towels), fabric crayons(I used these) or pens, iron (for fixing pens), needle and thread
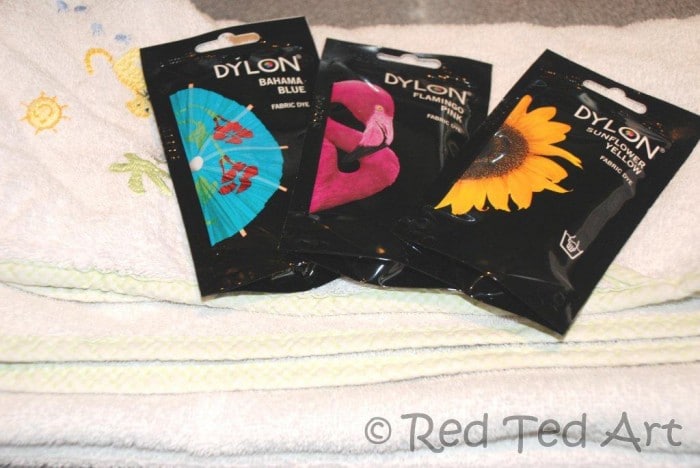
1) Dye your white towel in your desired colours. I used hand dye from Dylons and found it easy enough! Follow the dying and rinsing instructions and give them a good wash in the washing machine.
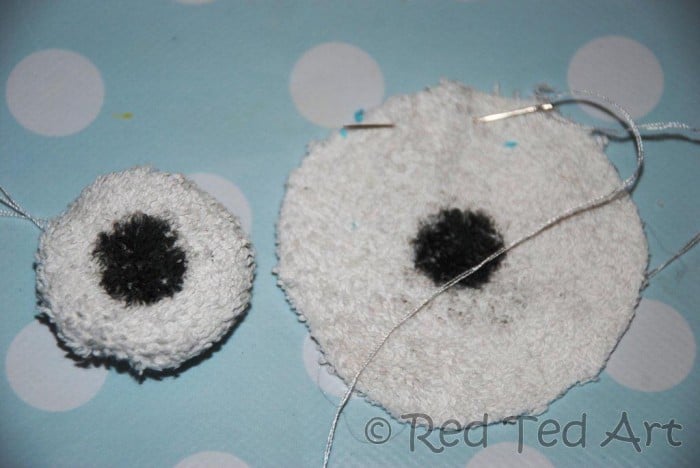
2) Cut out two large circles per monster, approx. 8cm in diameter. Using your fabric crayon add a pupil to the centre.
3) Cut out your cookie monster shape. I did these roughly using my hand as a guide…. you can see that our resulting monsters are different sizes! Paint on a face.
4) Fix your crayons/ pens as per instructions. In my case, I had to iron them on!
5) Shaping the eye. Sew a running stitch all around the outer edge of the eye, gather it and secure. This creates an eye about half the size but slightly three dimensional. Repeat for second eye.
6) If need be hem the bottom of the cookie monster (I did for the blue ones, but had a towel hem for the pink ones). And then sew your monster halves together.
7) Add your eyes. DONE!
Enjoy bathtime. We will! And have fun with your Cookie Monster Puppet!

