
Valentine’s Day – Heart Shaped Snowflakes
Today, the 31 Days of Love series continues, with some pretty Paper Heart Snowflakes from Deborah! This is the first of TWO Paper Heart Snowflakes we have for you on Red Ted Art. Today’s Paper Heart Snowflake is for preschoolers and kids – using tissue paper, this allows for easy cutting. Our second Valentine’s Heart Snowflake doubles up wonderfully as Valentine’s Cards fro Kids to make!
This past month, we have been enjoying, wide and varied crafts from bloggers across the world – there has been something for everyone – for those of us with tots and babies, to those crafting for ourselves. Deborah shares a cute craft and demonstrates that it IS possible to have a crafty session with several children! We thought the heart snowflakes were so cute, that we had a go ourselves. Below are a mix of Deborah’s and our photos. We have grouped all the activities today into Valentine’s Day Cards, Valentine’s Day Decorating ideas, Valentine’s Day Treats!
Paper Heart Snowflakes for Preschool
Thanks so much for allowing me to be a part of this series! Deborah is the Mommy behind Mommy Crusader and Her Knights and Ladies. The name of her website was chosen because her children are always playing princess and knight, and sometimes being a mommy feels like a crusade. She has five children, 10 and under, and one awesome and supportive husband. With her bachelor’s degree in Interpersonal Communication, she writes about parenting tips and fun kid’s activities and crafts with a focus preschool learning activities.

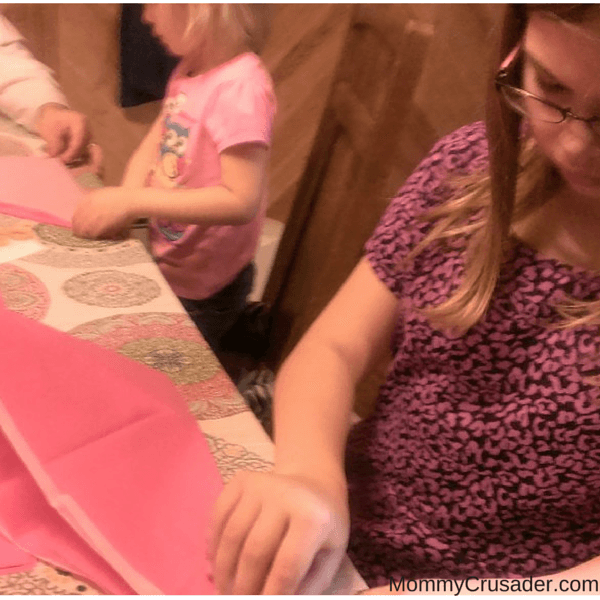
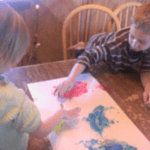
 We just made a fantastic Valentine craft for my children’s teachers and other special families in our lives. It was fun and easy enough for our preschooler to be able to make. It also allowed for creativity, personality, and some fine motor skills development. And did I mention it was fun?
We made Valentine Heart Shaped Snowflakes – who said snowflakes were only for Christmas?
Paper Heart Snowflake Supplies:
- Pink and White tissue paper (we used tissue paper that was 20 in. x 20 in.)
- Scissors
- Glue (not from a glue stick)
- Card Stock or other heavier paper
How to Make a Heart Snowflake for Kids:
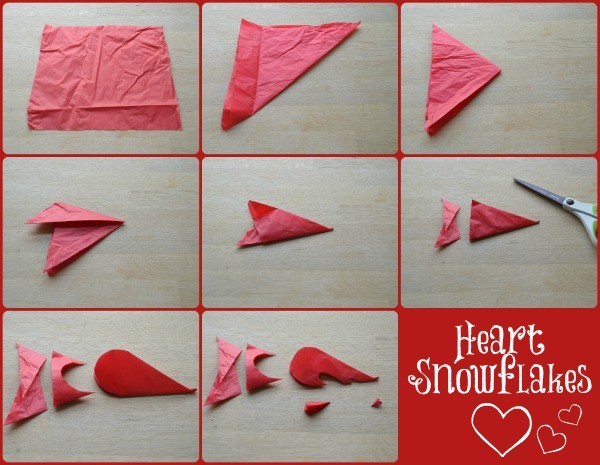
In essence – making a Heart Snowflake is the exactly the same as for a 6 Pointed Snowflake – except that you add a little curve to your final shape. Pop over to our 6 pointed snowflakes for step by step instructions explaining the photos above.

We found adding two layers of tissue paper tricky, so decided to just stick withe one layer and stick those on our window!
Here is what Deborah and her kids did:
Prep-work:
First, make sure the area is very clean and dry. Tissue paper is very delicate and will pick up dirt in an instant. Also, make sure all hands are freshly washed and dried. This will ensure there will not be any fingerprint smudges from little fingers.
Next, select one pink and one white tissue paper and stack them together. Be sure the corners are lined up.

Now, taking the two corners on the diagonal, quickly lift your hands up. This helps the tissue paper fold in half into a triangle. Crease the fold, making sure the two layers of paper are matching and the points and edges all line up.
Next, fold on corner over to the opposite corner, effectively cutting the triangle’s size in half. Crease this fold well, again making sure the points and edges are lined up.
Okay, now you need to place one finger on the middle point of the triangle and fold one side up to just past vertical, but do not crease this fold yet. Repeat for the other side. The paper should look like a wedge or an arrow. Make sure all the interior and exterior edges line up, and then crease these two folds firmly.
Finally, your wedge will have an oddly shaped edge opposite the main point of the triangle. This needs to be trimmed in a straight line.
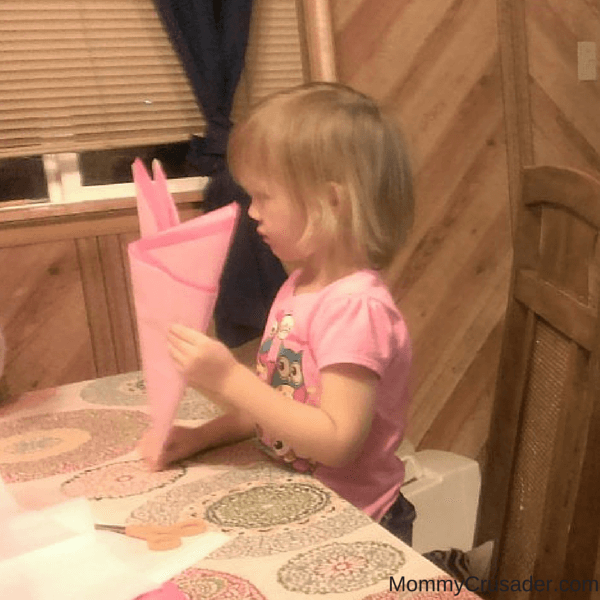
We found that most of our children struggled with the folding process. Even our second and fourth graders needed help and slight adjustments to make sure all the folds were in the proper alignment. While they were capable of doing the folding, they needed adult supervision to make sure the folding was done so that the snowflakes turned out properly. Having said that, once you’ve gotten this far, the pre-work is all done and now it’s time for the fun.
Making the hearts:

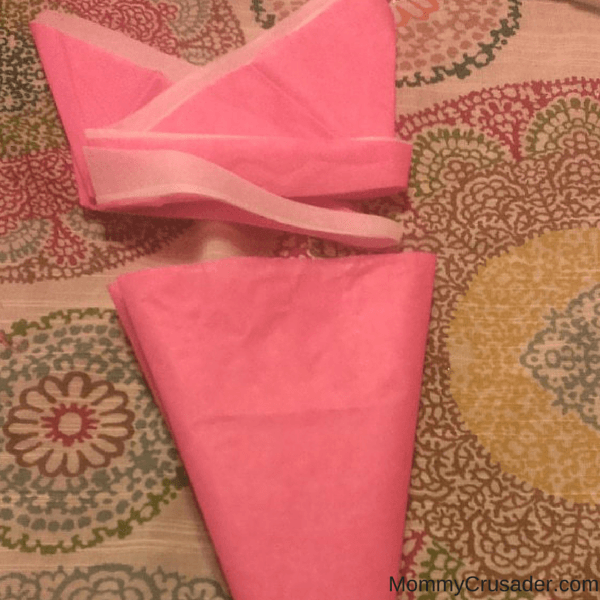
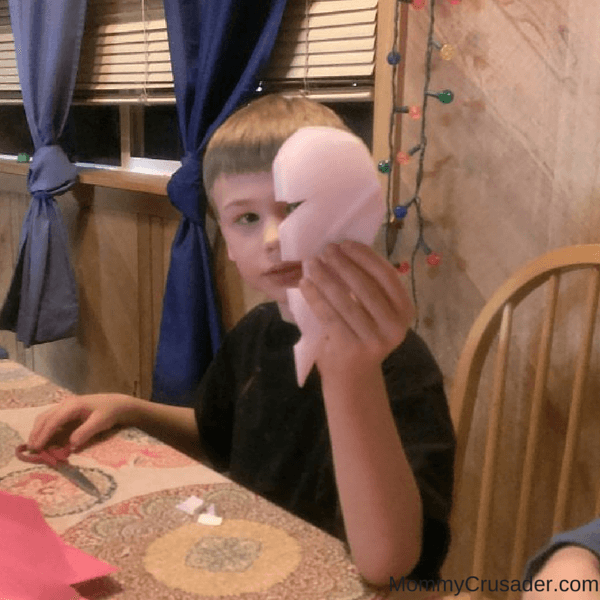
First, the top of the triangle needs to be rounded off so that it looks like the bump of a heart. If you want you can unfold one edge after making this cut to be sure the heart looks right. The cutting of the heart shape needs be done to both tissue papers. That’s why they’ve been folded together. However, only one tissue will have the pattern cut into it.
The next thing to do is decide which color will have the pattern cut into it. Set the other cut tissue paper aside to wait for final assembly.
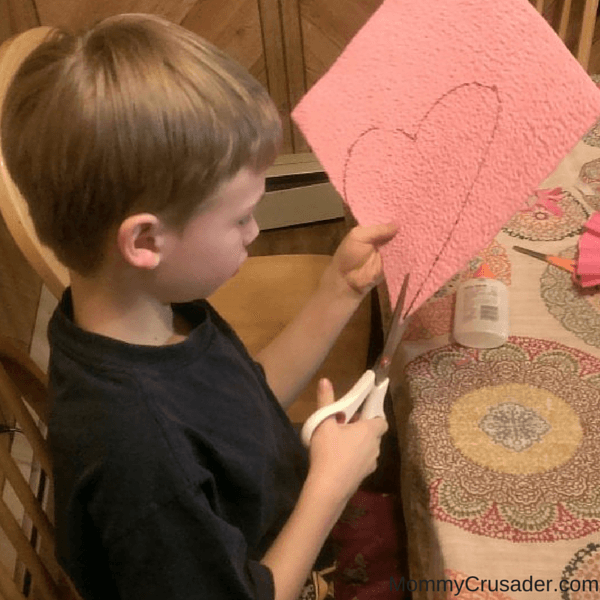
Refold the single sheet of tissue paper so that it looks like half a heart.
Now, being careful not to cut through the hearts completely, start cutting your design. Be sure to cut on the center line of the heart and not the outside edge of the heart. Do not unfold the heart again until you have finished cutting the designs. And do not cut on the other edge – doing so will ruin the heart effect.
Once you are happy with the designs cut into the heart, carefully unfold the tissue paper and smooth it out. Enjoy the beautiful heart shaped snowflake you’ve created.
Now, take the other tissue paper you set aside earlier, and carefully align the two. Use the main fold (the first fold made) to help align the two tissue papers. They should line up exactly. Try turning the uncut paper over, this often helps in aligning the two tissue papers.
Next, glue the edges of the tissues together, using very small amounts of glue. A little bit goes a long way. And the more glue you use the longer it will take to dry and the greater possibility the tissue paper will stick together in places you don’t want.
You’ve finished making the hearts, now it’s time to make the cover of the Valentine.
Making the cover:
First, be sure the glue has dried before starting this section. This is really important, or the tissue paper may stick together in the wrong places and end up tearing.
Next, fold the snowflake back together so that one heart shape is showing.
Trace the heart shape onto the cards stock, scrap book, or other stiff paper. Cut the shape out of the stiff paper.
Now, make sure the part of the snowflake with the design cut in it is facing up. Then, place glue on the edge of that heart, and glue the stiff paper heart to it.
Fold the heart in half.

Decorate the stiff paper heart any way you want to dress it up for your Valentine.
Once everything is dry, place it in a standard envelope, weigh and stamp it, and brighten someone’s day.
More ideas from Mummy Crusader
Interested in More Valentine’s Day Decorations? Take a peak?


Browse all 31 Days of Love posts here! To check out all the lovely Guest Posts about Valentine’s Day to date!