
Pop Art Your Kids – Personalised Gifts
Sooo this is a project that I am REALLY excited about! We were challenged by the Cricut Explore team to come up with some crafty ideas using their new die cutting machine. There are lots of features about the Cricut Explore that are great, but one of my favourite features, is that I can upload my own images. It just opens up the possibilities to no end. It also means, that if I come across templates that I like (e.g. this teacup pattern), I can upload this template and get the machine cutting away for me! Check out the Cricut Explore today….
Check out the Cricut Explore store today.
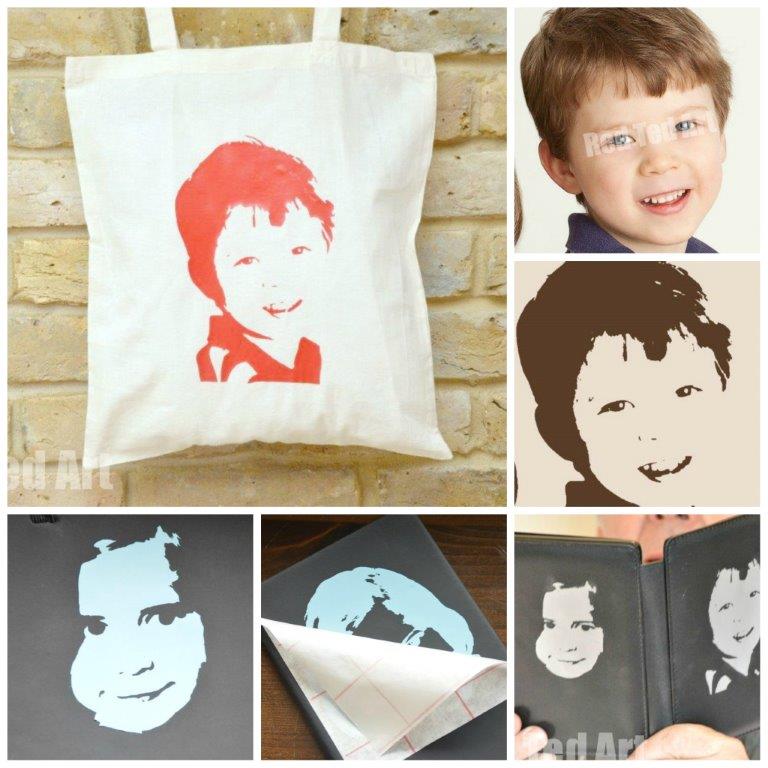
So. I digress. For today’s project, I turned one of my kids’ favourite photos into a pop art image! I then use this image and the Cricut Explore to decorate all sorts of things – we did a canvas bag, I decorated my father’s kindle, I made some notebooks and I plan to put them on a canvas too. Once you have created your image, it is so easy to cut out more and more and more to create more personalised ideas.
This is what I did:
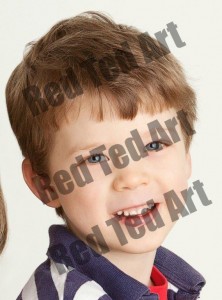
1) I selected 3-4 different photos of each child, that looked like they could look good as a pop art image. You will find, that not all images work, so it is best to have a selection.
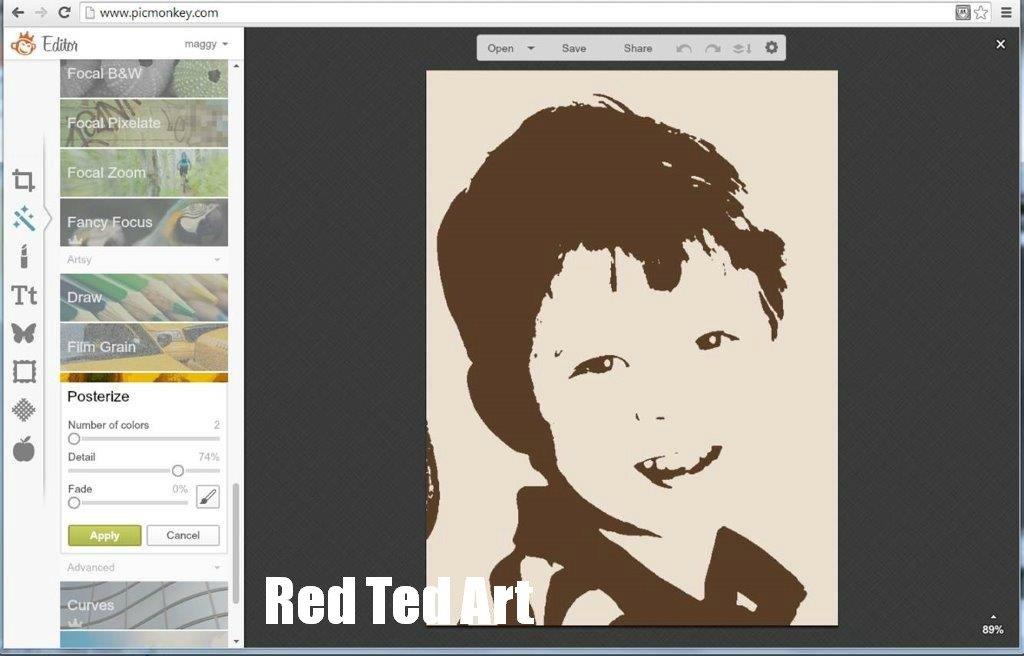
2) Then I uploaded one of these at a time to the free tool Picmonkey (most of its features are free to use). There, I cropped my imaged and used the “Posterize” (under the magic wand section) to great my pop art image. You need to select “2 colours” only and you can play with the level of detail. I had it set to about 58%. You don’t want “too much detail”, as you will have to later transfer all the little “bits”. This was relatively straight forward with Red Ted’s photo. On Pip Squeak’s photo, I found she had a lot of shadows in her face, that made posterized version look a little odd. If you go “Exposure” first and play with the brightness and then back to Posterize, you can usually compensate for this. I did go back 2-3 goes, to get the shadow contrast just right. It is a little bit of time to play!
Selecting my photos and turning them into pop art was the bit that took longest (but was fun). The next steps, are so quick and easy, you will find yourself wanting to do more and more!
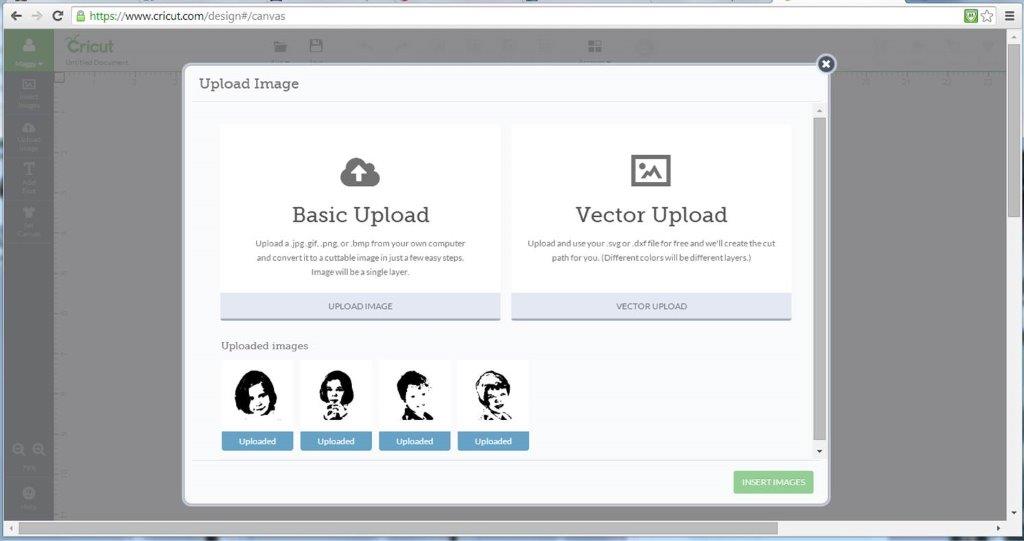
3) Now it is time to upload it to the Cricut Design Space. Go to upload your image and select “basic upload”.
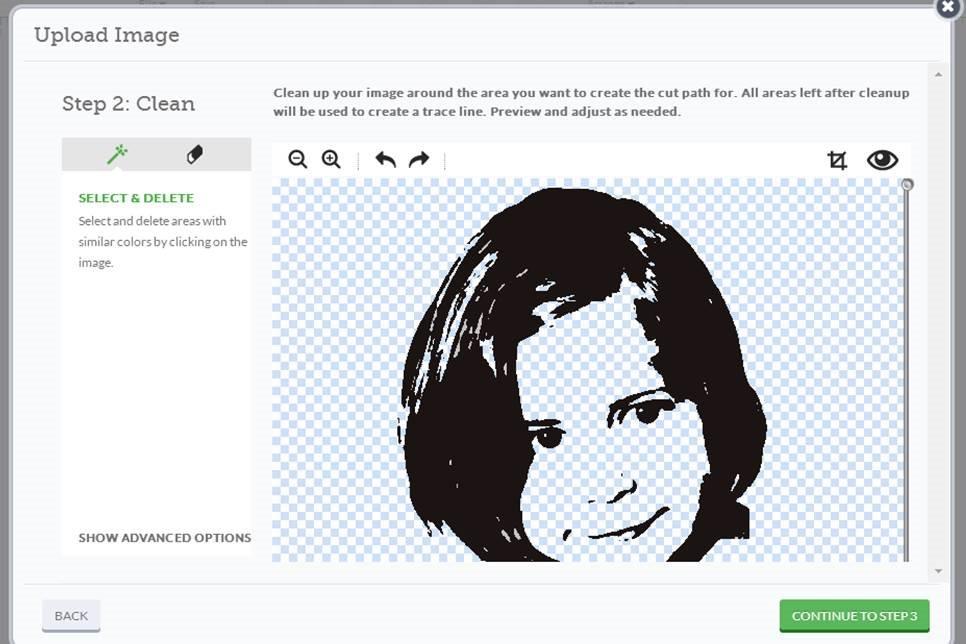
4) Once your image is uploaded, you will get something similar to the above. You now have the opportunity to tidy up your picture a little. Maybe take out a bit more background or take off a “random dot” here or there.
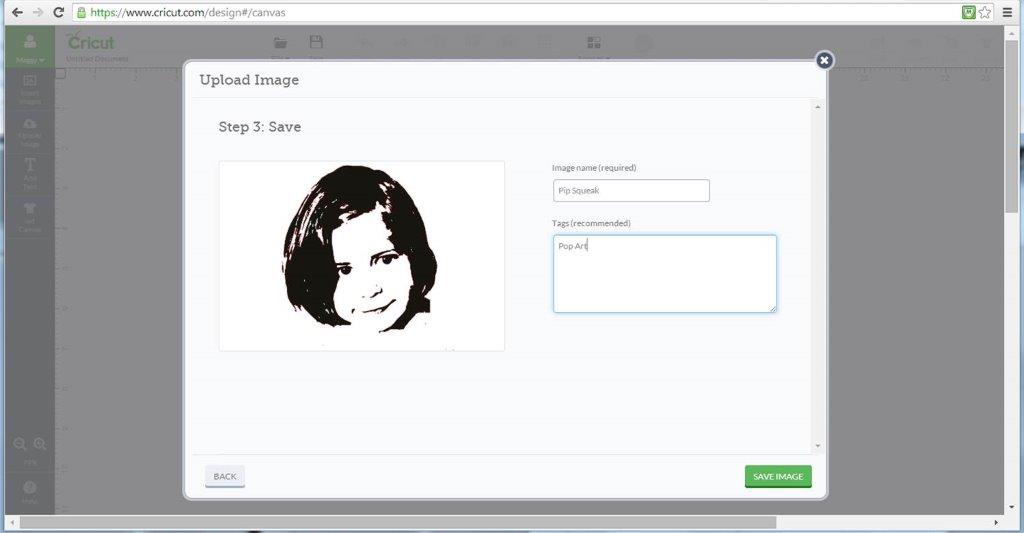
5) Save your image – give it a name that you will remember it by.
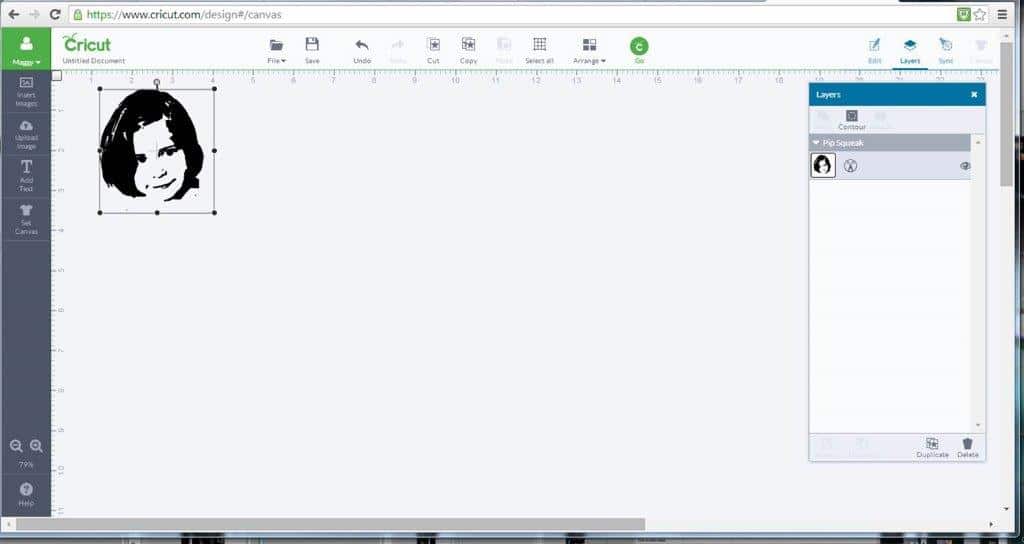
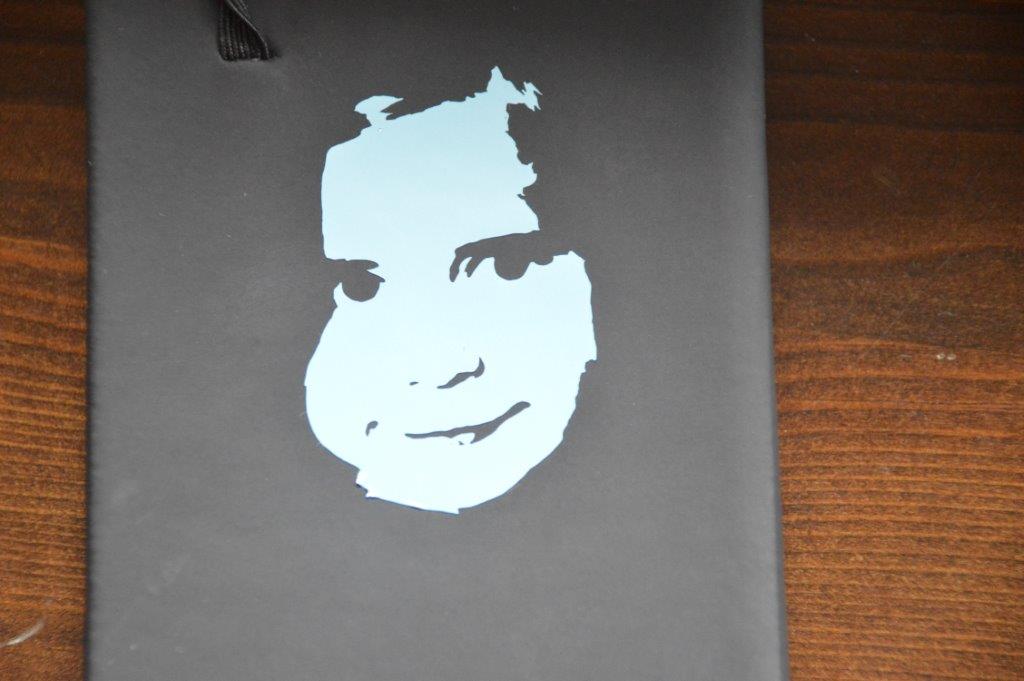
6) Now you are ready to get your cutting projects going. We did a very quick, simple “sample” project, by cutting some of the Cricut vinyl for a notebook. I love that you can use “off cuts”, but positioning the pieces you have on the board.
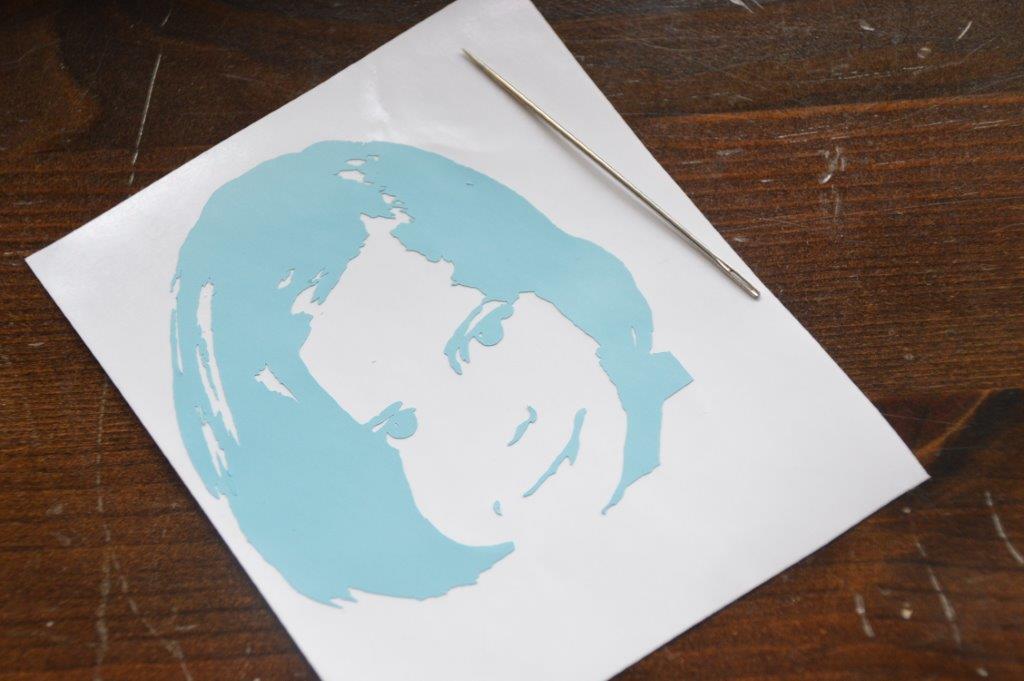
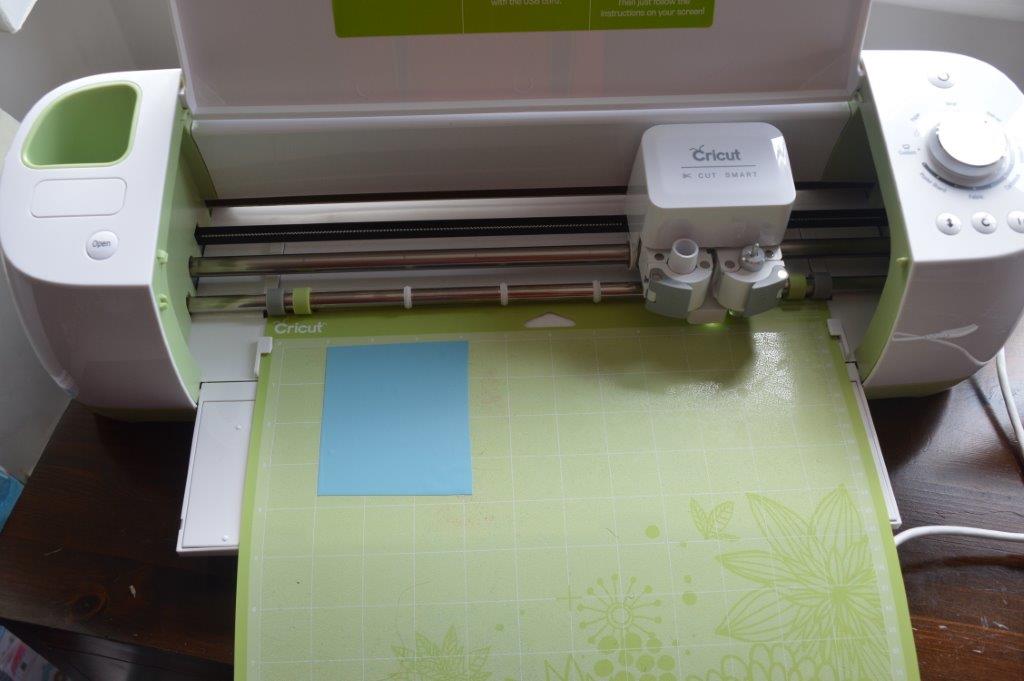
7) Follow the simple “load”, select material (Vinyl) and cut instructions and cut your piece. Isn’t the detail on this amazing (check out the needle next to it – I used the needle to help me do the transfer, whilst waiting for my proper Cricut tools to arrive).
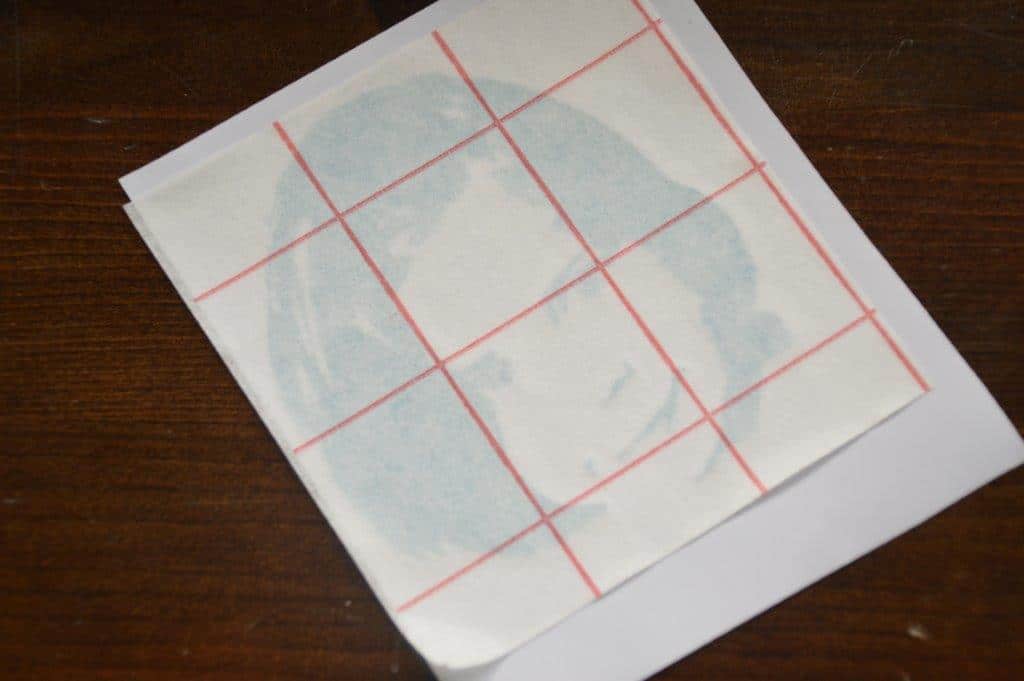
8) For using vinyl, especially when cutting a lot of details, it is great to use some transfer paper.
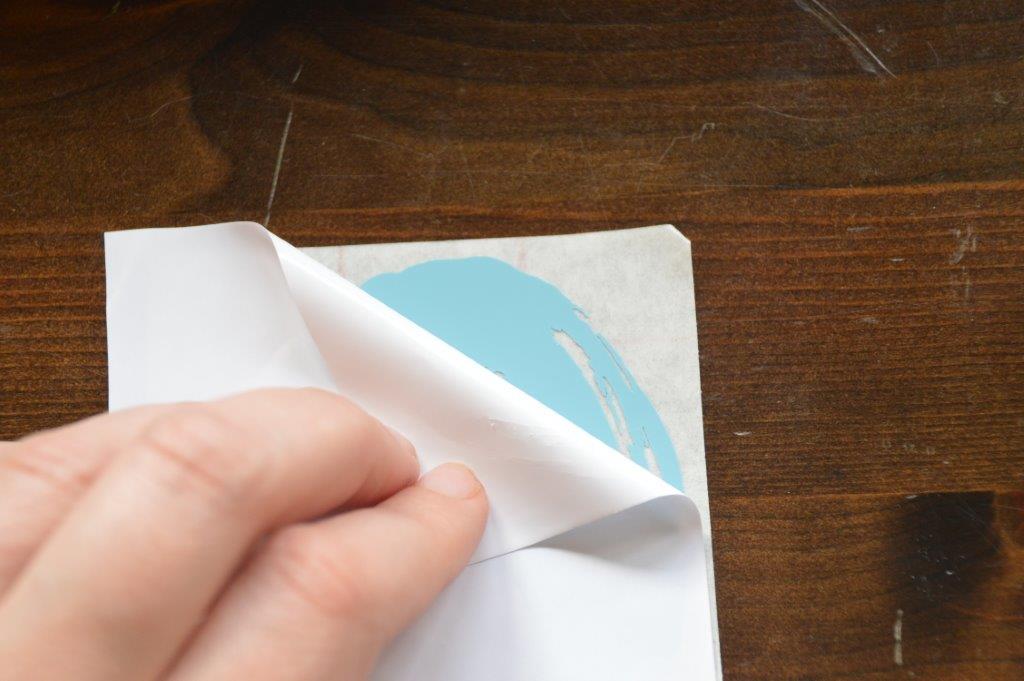
9) Turn your piece around – with the transfer paper now facing down. And gently peel off the backing of the vinyl (this is better, than trying to peel the transfer paper off the vinyl)
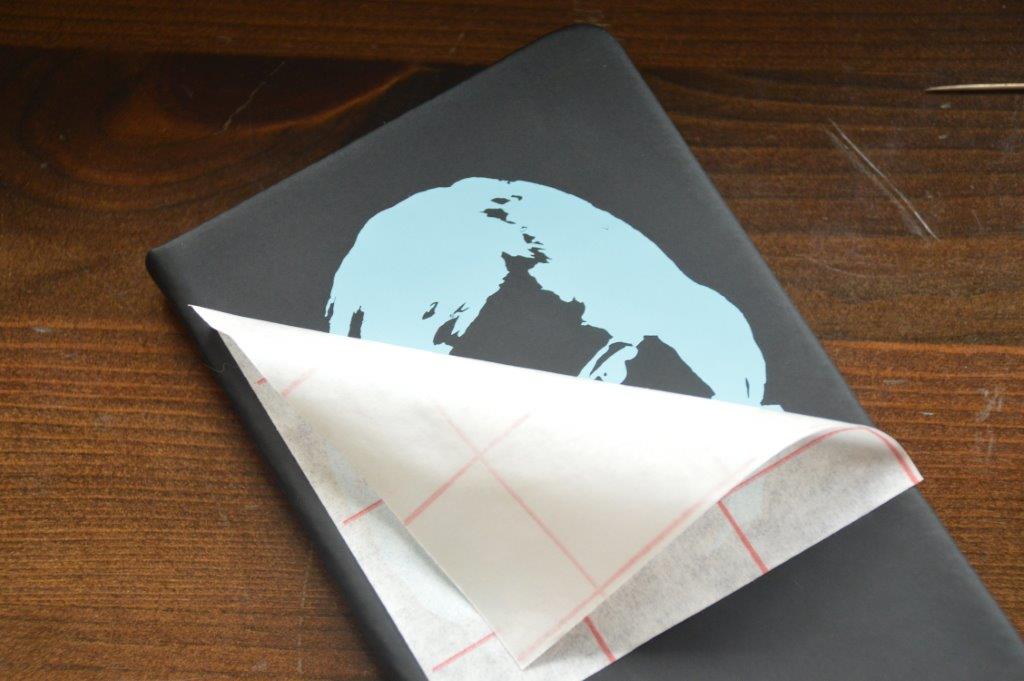
10) Press the image onto your notebook or smartphone and gently peel the vinyl off. Now you can see that I made a “mistake” here. As my Pop Art photo is two tone, you want your child’s hair/ eyes etc to be in a DARKER colour than the background. If I hadn’t been impatient in the design space, I would have noticed this – i.e. I could have uploaded a notebook as a canvas, filled it black and then applied my pale blue vinyl cut out. The effect is that of a “negative image”. Never fear…. I had “saved” the other half of blue vinyl:

11) So out of one cut, I actually managed to get two images – a great way to use your materials in a thrifty fashion. This was easy enough to do with the vinyl.
Once I had had a go.. it was so easy to do more:
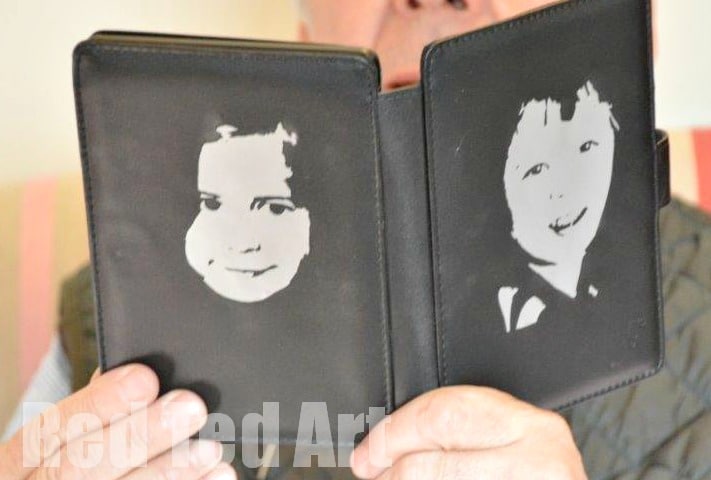
My father who was visiting asked me to put some on his kindle… within in minutes it was done!
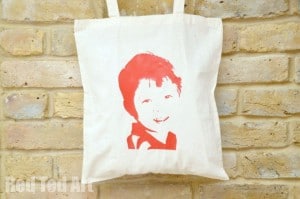
I also made a canvas bag for me!! (Pip Squeak is on the other side!)
I will soo be making a whole set of personalised gifts like this for the family!! The kids have asked for some t-shirts and I am also going to do some canvases of the kids like this. Wonderful. SO EXCITED about the possibilities!