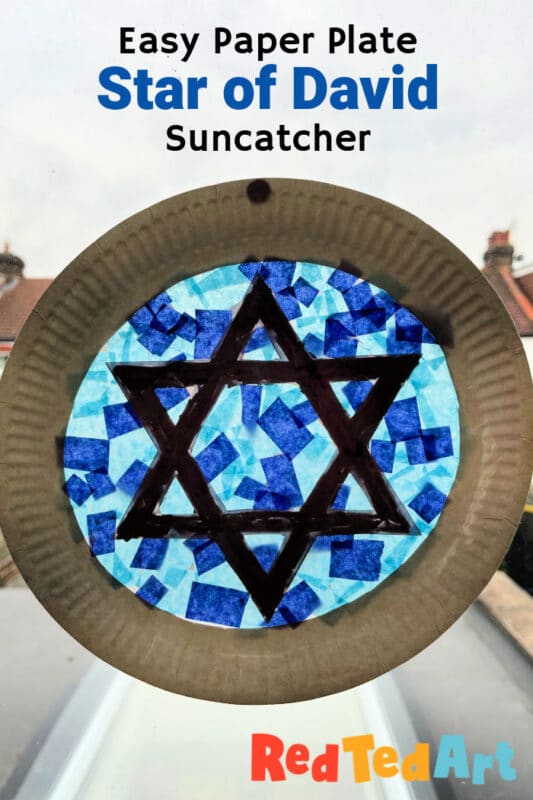
Easy Paper Plate Star of David Suncatcher for Kids to Make
Suncatchers are a wonderful and easy craft for preschoolers and younger kids to make. They look gorgeous and are a wonderful fine motor activity too. We made some paper plate Star of David suncatchers to help you get prepare for your Hanukkah festivities this year. Complete with free template should you choose to need one/ use one! This compliments our popular collection of Hanukkah Crafts for Kids!
I confess, that I often make things up as I go along… but as we are crafting for fun, I don’t always get to re-photograph the steps.. so please do take “note” of my comments ad thoughts as I go along, as I have some top tips for making this cute little craft EVEN better! So, let’s nurture your kids creativity and check out what I have in store for you today!
Paper Plates really are fun and versatile.. watch this space for more Hanukkah specials fun and some Paper Plate Menorah crafts heading your way!
How do you craft a Star of David?
In today instance, we have use our FREE Star of David template to make this craft super quick and accessible. However drawing your own Star of David is easy all you need to do is:
- Draw a triangle with equal length sides
- Turn 180 Degrees
- Draw a second triangle with equal lenth sides over the top
Done!
How do you make a Star of David out of paper?
There are two ways you can make your own Star of David out of paper (well, three, if you include our free Star Template). You can either:
- Cut 6 strips of paper of equal length.
- Glue three into a triangle.
- Glue the remaining three into a triangle.
- Overlay the two triangles at 180 dregrees to each other.
OR you can do a quirky kirigami star, as per this simple YouTube video! It is a very clever project but definitely something for older kids!
How do you make a Star of David out of cardboard?
For cardboard Star of David crafts, I would either use the 6 cardboard strip method outlined above or use our free Star of David template!
Star of David Decorations – Supplies needed:
- One paper plate
- Contact Paper Cut offs (known as sticky back plastic in the UK)
- Recycled tissue paper (we salavaged ours from a birthday present gift wrap)
- Scissor
- Star of David Template
- Scissors
OPTIONAL:
- paint – you could paint your paper plate first
- pens – you could add decorations to the outside of your paper plate
- card – you could cut your Star of David from card instead of using “just” the paper template – I ended up coloring the back of paper template black to make the contrast against the light better… but cardstock (of any colour) would work too, as it stops the light from shing ing through
I think using card or coloring th Star of David dark blue of black would be my main “improvement for this craft!

How to make a Paper Plate Star of David Suncatcher!
If you need to, print out the free Star of David Template. Alternatively you can sketch one out later from the “cut out” from the paper plate!
Prepare your paper plate
We have a simple video on auto play for you, or follow the instructions below. The video on auto play does not show, that I coloured in the Star of David in black for better contrast. So do add that step!


If you wish you can paint your paper plate dark blue! Or buy dark blue paper plates to begin with. We decided to keep ours white on this occasion.
Cut out the centre of your paper plate – you will see that we cut quite close to the rim of the paper plate, to fit our Star of David Template.
You can use this cut out to cut cardboard Star of David later… I think in hindsight, I would have preferred this, as the paper plate is opaque and my Star of David printable let’s the light through as it is only on printer paper. However it does mean you have to cut out more!
Prepare your Star of David Cut out


Cut out your Star of David – children should be able to amange the “outside” of the star, but may need help with the fiddlier smaller triangles on the inside. Alternatively you can just cut an outline of the Star of David which is easier.
If like us, you are using the paper star cut out, I would now colour the back of your paper dark blue or black, so that it later lets less light through.
Prepare your contact paper

I love this craft, as it uses up some contact paper odds and ends that I have. I feel a little guilty about contact paper, as it is a plastic. But sometimes you do need it for school books and projects. Then using the cut offs for crafts like this doesn’t feel so bad.
Measure out how much you need, cut the stick back plastic to shape if you need to and secure to the back of the paper plate.
Make sure the whole centre of the paper plate is covered in contact paper.
Time to add the sun catcher details

Place your Star of David cut out in the centre of your contact paper.


Take light blue and dark blue tissue paper and either cute or rip small squares. This is a great opporunity for finger strengthening skills of little ones or for cutting skills improvements. As mentioned, out tissue paper was salvaged from a birthday present. So it is great to recycle what you can for crafts like this.
Then start adding your coloured pieces of tissue paper.
Layer up until there are no gaps. A few little ones here o there are fine!

And you have your Star of David suncatcher craft finished!

We stuck the paper plate suncatcher to the window with a blu tak!
Wishing you all a very Happy Hanukkah celebration with friends andf family!
You may also love these adorable printable popscicle stick Chanukah puppets!
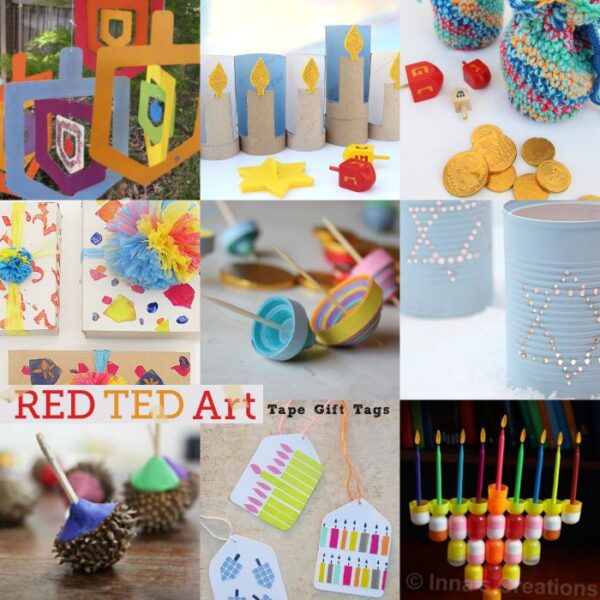
More wonderful Hanukkah Crafts for Kids here: