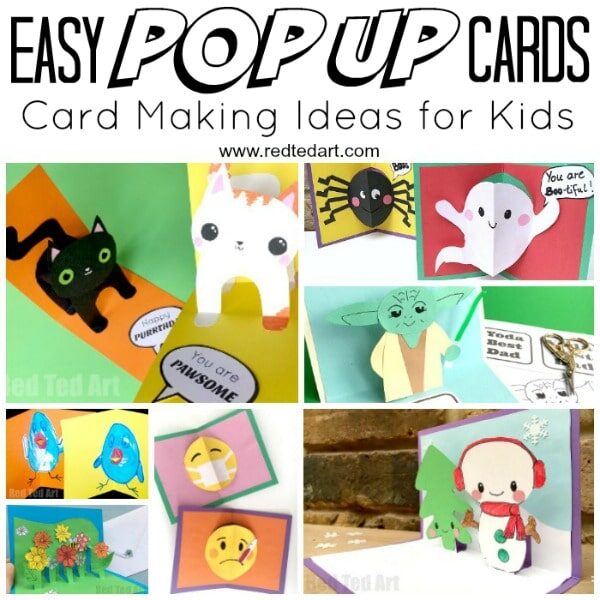
Easy Pop Up Monster Card for Birthdays or Halloween
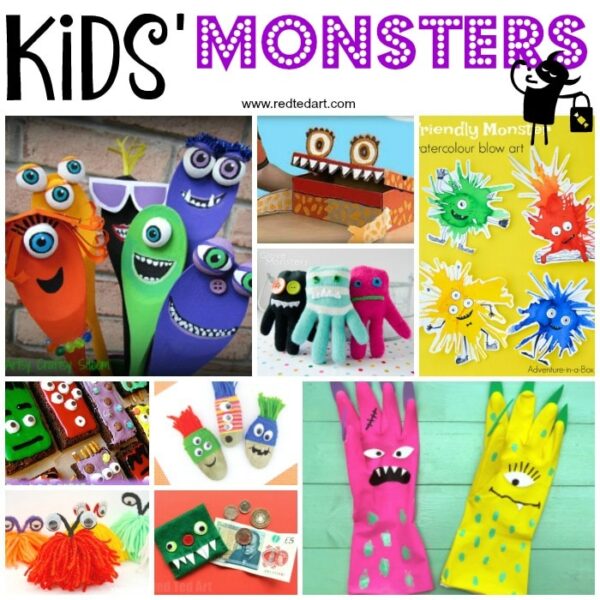
We love Monster Crafts for Kids all year around. Whether you have a little monster of your own or planning some Halloween crafting fun.. try out this latest Pop Up Card for Kids we have for you today. Learn how to make an easy Pop Up Monster Card today – the best bit? A handmade 3d Monster Card can be so easily customised to suit favourite colours and themes! Nothing quite like a handmade personalised cards to make someone’s day!

Isn’t it adorable? Nothing quite like making 3d cards with kids. These Monster cards are all made from the same “base shape”, switch around the colours, change the position of the mouth and have fun with the eyes.. and off you go creating many new designs!
I think these Monster cards would be fabulous as Birthday cards, as well as Halloween Card Making fun! Especially, for Halloween 2020, you may not be able to se all your friends.. so why not send a fun card through the post?
To make these monster cards you will need:

- Cardstock (we used A5 folded into A6 card)
- Coloured paper
- Scissors
- Glue Stick
- Pen
The great thing about theses 3d Monsters, is that you can make them using just printer paper and pens too! Making it a really accessible craft. Instead of gluing on features, draw them on instead! Wonderful.
Full worksheet instructions + monster templates x2 available in my Teachers Pay Teachers Store.

How to make your Pop Up Monster Card for Kids
Both cards shared here today are essentially the same basic shape (as mentioned above). I have shared one video tutorial (which is the green/ orange monster) and have a set of step by step photos (the yellow/ purple monster) for you below! The process for both is the same, just the monster features differ! Follow the instructions in whatever way suits you best! Or you can head to my Teachers Pay Teachers store for worksheets and printable.
Step by Step Photo Tutorial
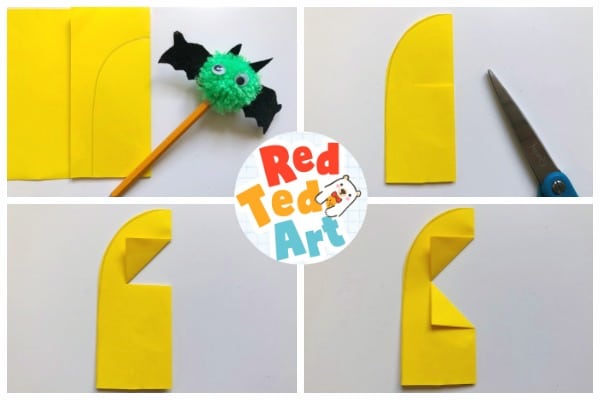
Fold your yellow paper approximately the half the width of the final monster you want to have. Draw an upside J shape. The J should not be taller than your cardstock. If you want to have eyes on stalks, leave space for those.
Cut out the shape. Once opened this will make a large U! But keep it folded for now.
Decide where you want the mouth to be – with Monsters, it really doesn’t matter. Mine is approx 1/3 of the way down. Cut straight across – again, make it big – i cut 2/3 of the way across.
Fold up one flap.
Fold up the second flap. The flaps should align.
Make sure the creases are really neat. And fold them again in the other direction.

Open up your shape.
Push the mouth part inside.
Now it is time to cut out your monsters features. Here I cut out:
- 2 eyes (circles)
- 2 eyes on stalks (circles and rectangles)
- teeth (triangles)
- Spots (circles)
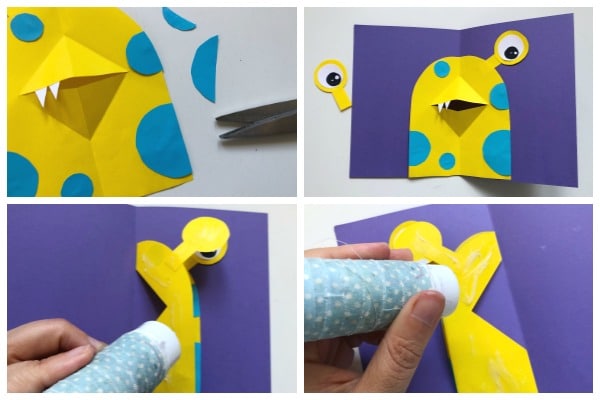
Glue you teeth in place.
Glue you spots in place. Then trim with scissors.
Assemble the eyes.
Check how they fit against the card and position on the top of your monsters head.
Fold the monster in half and add glue to one side.
Glue into card – aligning with the centre spine of the card.
Add glue to the other side.
Close the card and press to secure the glue. Open up and your monster pop up card is finished!

As you you can see you can have lots of fun with shapes and designs. For the green Monsters, I added green hands, blue horns, 3 eyes and some little bits of hair. Later I added black details to the horn and nails to the hands. Done!
I hope you have a go at these 3d Monster Cards. I would love to see your makes and what colours and designs you choose to add to your creations!
More fabulous Pop Up Cards for Kids here: