Glue Yarn Bowl DIY
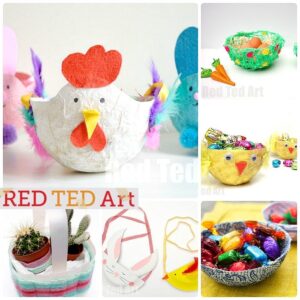
We have had DIY Yarn Bowls on our “to do” list for a looooong loooong time. They are a great way for using up odds and ends of wool or yarn and are actually pretty easy (if a little sticky) to make. In the end, we decided NOT to “JUST” use up our yarn ends, but to take this fun kids crafts and turn it into a SPRING Yarn Bowl. This Yarn Bowl DIY is just as easy as the classic idea, but it is perfect as an Easter Nest/ Basket or for Mother’s Day too! Or make it simply as a lovely room decoration.
You can use the same technique to create these clever little Fairy Lights – do take a peak!
DIY Yarn Bowl Materials Needed:
(Affiliate links added for convenience)
- Wool or Yarn in green (for grass) and other colours (for “spring flowers”) (the more natural fibers the better)
- Good PVA/ White glue (US readers/ UK readers)
- Cellophane
- Grease proof paper
- A pot for holding the glue
The KEY thing about making your yarn bowls, is to use GOOD QUALITY glue. If your glue is good, it will hold it all together. If you are using lower quality glue I would suggest that you do NOT water it down. The glue is key and using one that isn’t strong will result in a “craft fail”. And we REALLY don’t want you to fail!!!!
How to make DIY Yarn Bowls:
Remember, if you like our videos you can subscribe to Red Ted Art on YouTube for free! You will be the first to see new videos (rather than having to wait a week or two for me to add them to the blog!!).
A final TOP TIP: as the bowl dries over the next 2-3 days you **may** want to check on the flowers and re-position IF they fall off. The odd one will!
I do hope you liked that tutorial and that you do have a go. It is such a fun and simple craft.
Looking for more Easter Basket Craft Ideas? Check all of these out!!!


