
How to crochet a Reindeer Ornament
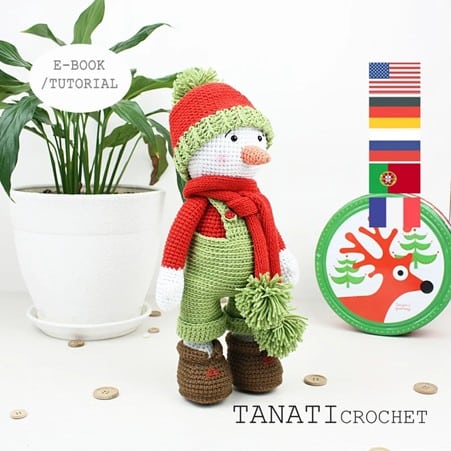
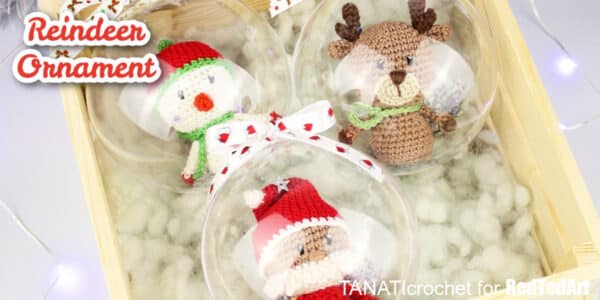
Tralalala the festive season is heading our way. And as we look forward to the sparkliness of Christmas, we turn to some wonderful Christmas Crochet Ornaments to make. Today, I get to share with you a super cute Crochet Reindeer Ornament by Tanati Crochet. It is part of an adorable trio and you get to have a go at the reindeer today! It looks extra cute in a large clear bauble to hang in your tree.
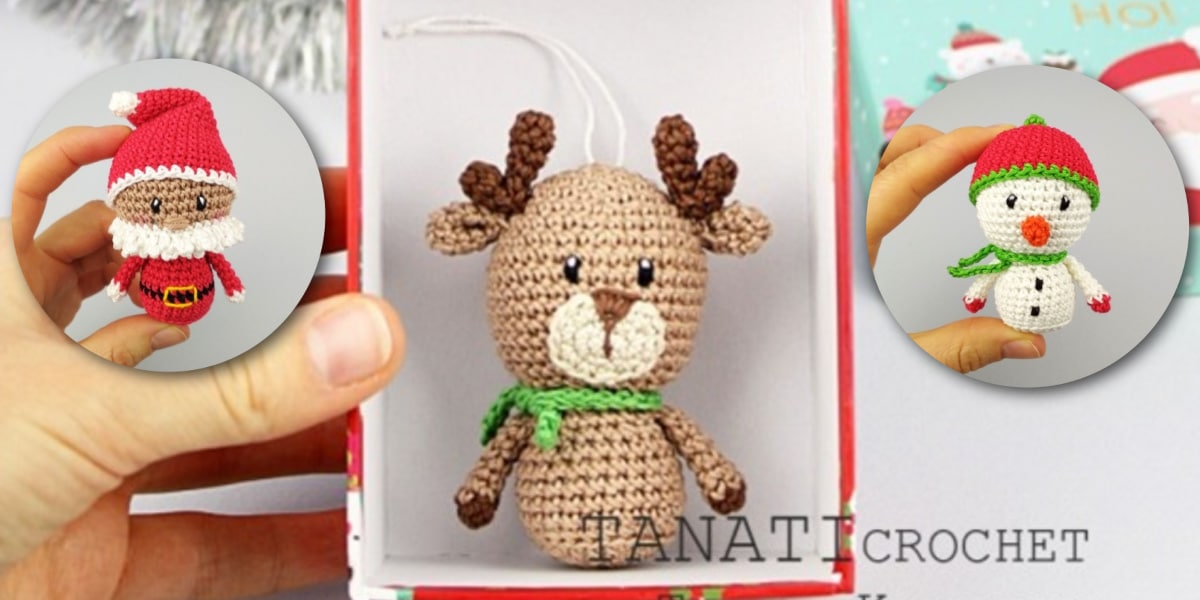
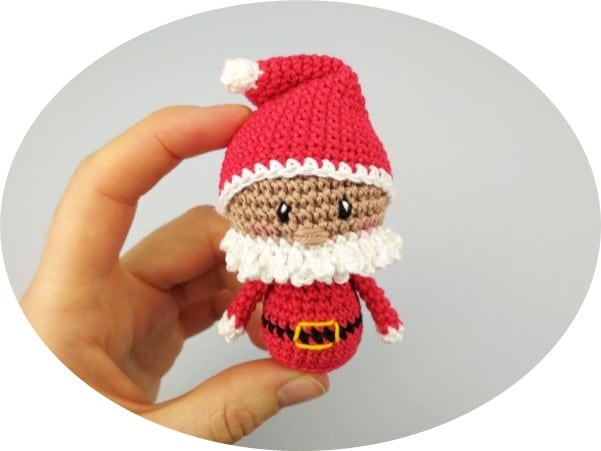
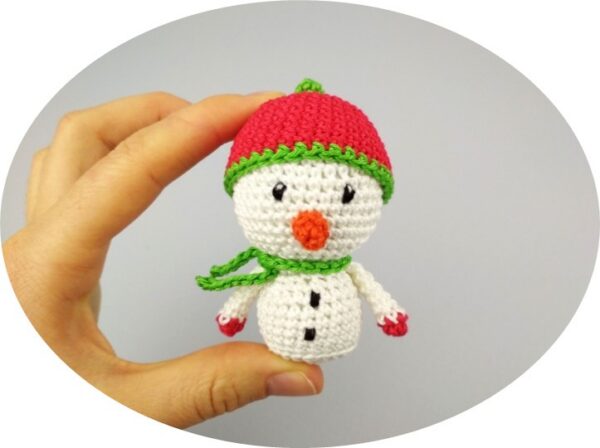
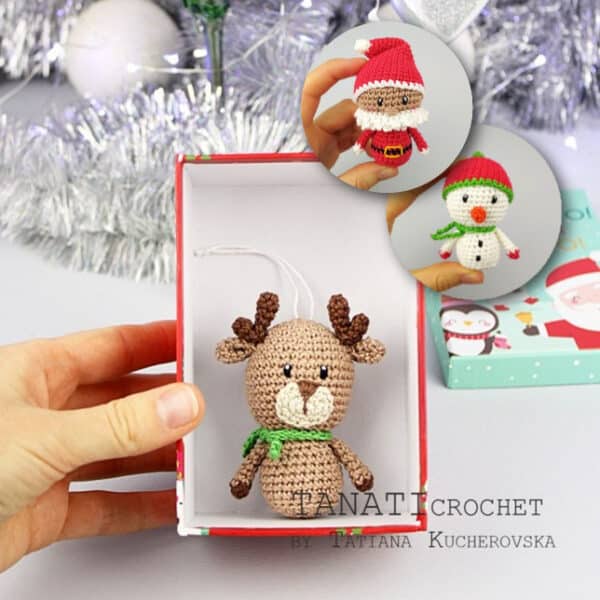
Meet the little crochet reindeer hand his friends Santa and Snowman! Aren’t they cute together?
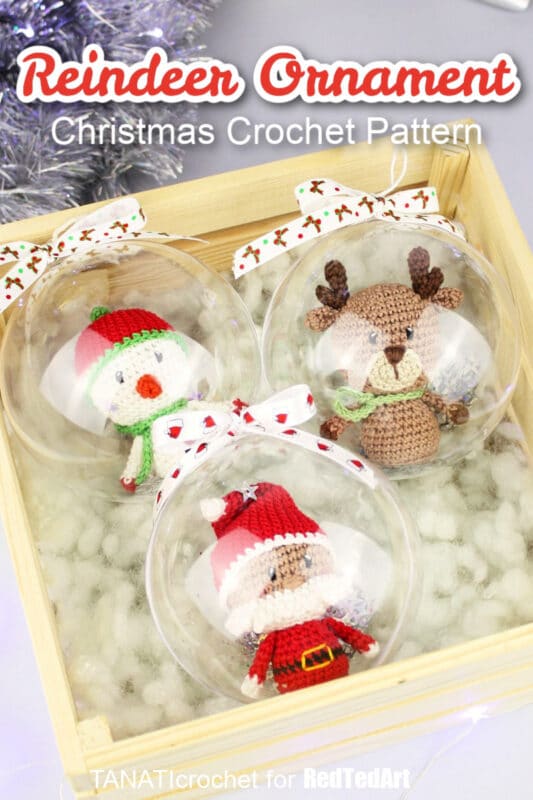
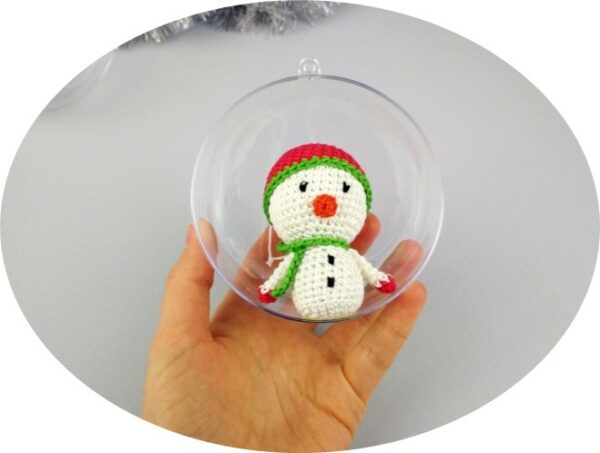
As mentioned they look extra adorable in clear ornaments for the Christmas tree!
Please note: this project has been reproduced with permission from Tanati Crochet and is not allowed to be republished in any way, without their constent. It is for personal use only.
Also note: affiliate links have been added to this post – should you choose to purchase via these, I will earn a small commission that goes towards the upkeep of this site!
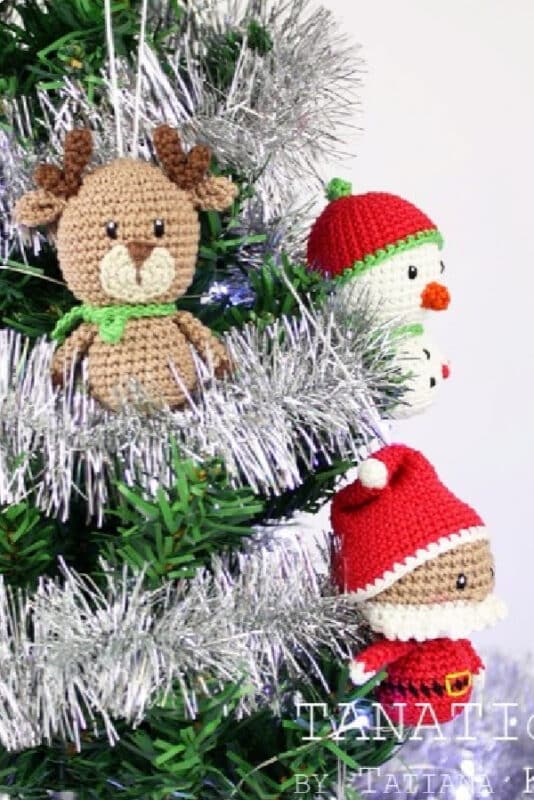
These crochet Christmas Tree Ornaments, also look fabulous on their own. They also make fantastic key chains and backpack charms or just little ornaments to dangle from your rear view mirror! SO CUTE!
About Tanati Crochet and more ideas!

As mentioned, if you love todays “try before you buy” pattern, do make sure you get the full set of three. The santa, snowman and reindeer simply look darling together!
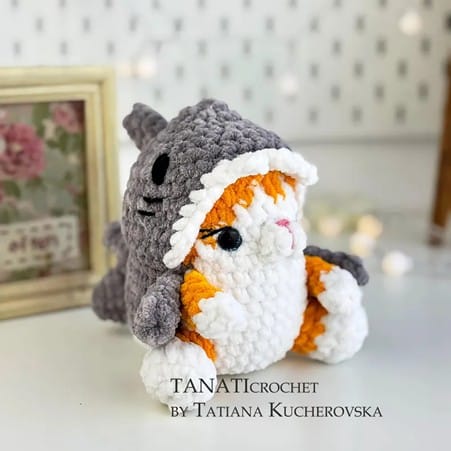
Tanati Crochet has soooo many wonderful projects to explore on her socials and of course on Etsy & Ravelry, but here is an example of the rest of the cuteness. Take a peak at this Shark Cat and this wonderful Snowman Doll. So cute!
Find Tanati Crochet on Instagram and Facebook to browse her latest projects! So many cute things to make!
Skill Level: Easy
Abbreviations:
- sc – single crochet
- dc – double crochet
- tr – Treble (Triple) crochet
- ch – chain
- inc – increasedec – decrease
- st(s) – stitch(es)
- sc3tog – single crochet 3 stitches together
- sl st – slip stitch[] x …… – repeat the instructions in brackets for (x) the indicated number of times
Recommendations for you:
- Of course you can choose other yarns – the choice of yarn is completely up to you and your personal taste. If you use cotton yarn, then the toy will be smaller size.
- Work in continuous rounds. Do not join or turn unless otherwise instructed.
- It would be wise to use a stitch marker and place it in the first stitch of each round to mark the beginning of it.
- You can easily sew the toy together by leaving a long tail of yarn on each piece.
- Before you sew a part, use some pins to perfectly place the part in the right place.
Rudolph the Red Nose Reindeer Crochet Pattern
Deer – size 8 cm (3 in), if using Fingering weight yarn (4 ply, 14 wpi, 1 : Super Fine).
- hook 1.0 mm
- soft stuffing
- plastic ball 10 cm – if using Fingering weight yarn (4 ply, 14 wpi, 1: Super Fine).
- scissors
- black and white thread for the eyes
- pins for sewing parts at the right spot
- christmas ribbon
- needle for sewing
Yarn Brand
This pattern uses the Yarn Art Begonia Range – a lovely cotton yarn with a great finish.
- 0015 – YARN ART Begonia light brown – 169 meters/ 50 grams – 100% cotton
- 0077– YARN ART Begonia dark brown – 169 meters/ 50 grams – 100% cotton
- 4660 – YARN ART Begonia beige – 169 meters/ 50 grams – 100% cotton
- 6332 – YARN ART Begonia green – 169 meters/ 50 grams – 100% cotton
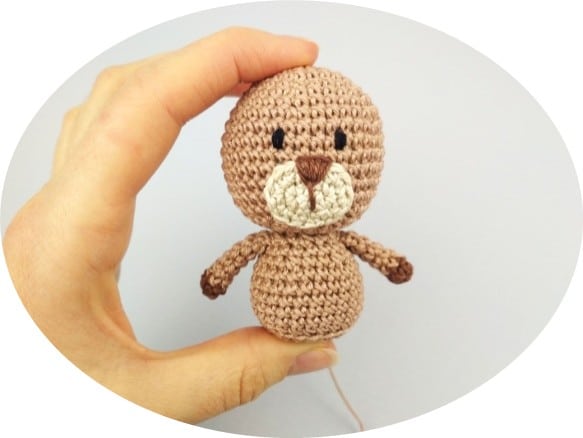
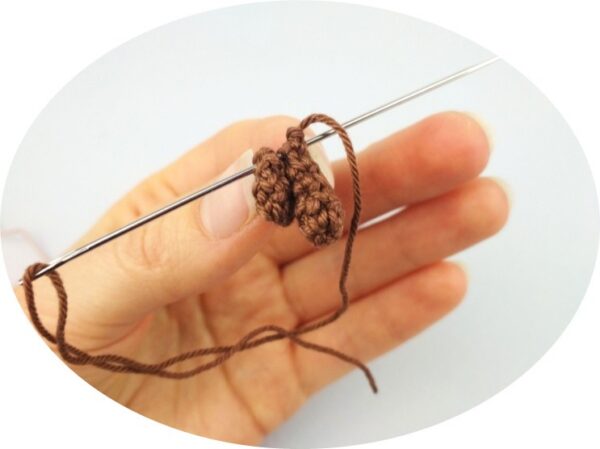
Crochet the Reindeer’s Head
| row | Light brown yarn | sts |
| 1. | 6 sc into a magic loop | (6) |
| 2. | [inc] x 6 | (12) |
| 3. | [1 sc, inc] x 6 | (18) |
| 4. | [2 sc, inc] x 6 | (24) |
| 5. | 24 sc | (24) |
| 6. | [3 sc, inc] x 6 | (30) |
| 7. | 30 sc | (30) |
| 8. | [4 sc, inc] x 6 | (36) |
| 9-14. | 36 sc (6 rows) | (36) |
| 15. | [4 sc, dec] x 6 | (30) |
| 16. | [3 sc, dec] x 6 | (24) |
| 17. | [2 sc, dec] x 6 | (18) |
| 18. | [1 sc, dec] x 6 | (12) |
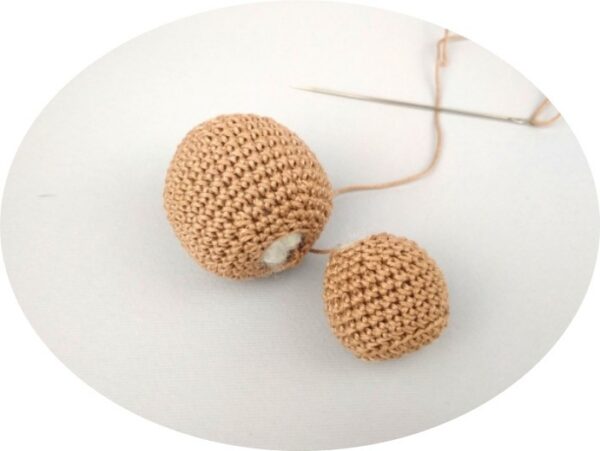
Gradually add a soft filler. Cut the thread.
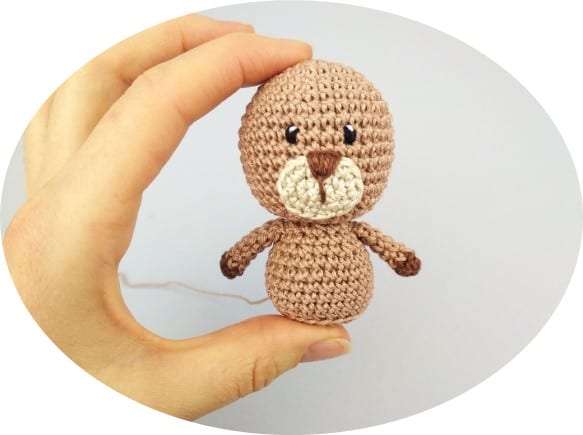
How to Crochet the Reindeer’s Body
| row | Light brown yarn | sts |
| 1. | 6 sc into a magic loop | (6) |
| 2. | [inc] x 6 | (12) |
| 3. | [1 sc, inc] x 6 | (18) |
| 4. | [2 sc, inc] x 6 | (24) |
| 5. | 24 sc (crochet this row only in the back loops) | (24) |
| 6-10. | 24 sc (5 rows) | (24) |
| 11. | [2 sc, dec] x 6 | (18) |
| 12. | 18 sc | (18) |
| 13. | [1 sc, dec] x 6 | (12) |
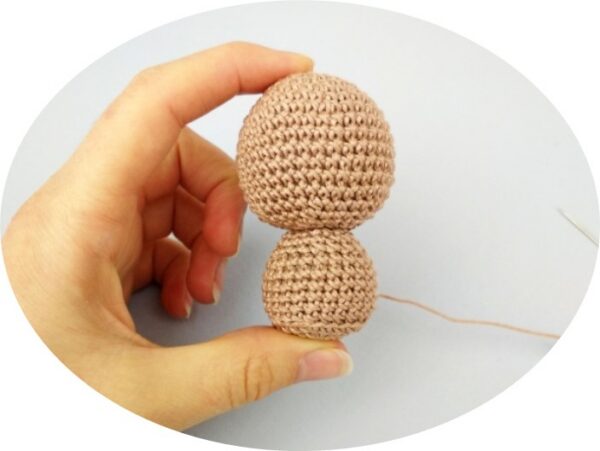
Gradually add a soft filler. Leave a thread to sew the part, then cut the thread. Sew the body to the head.
Make the Arms (Make 2)

| row | Dark brown yarn | sts |
| 1. | 6 sc into a magic loop | (6) |
| 2-7. | light brown yarn, 6 sc (6 rows) | (6) |
Leave a thread to sew the arm.
Fold the arm and stitch it (as shown in the photo above).
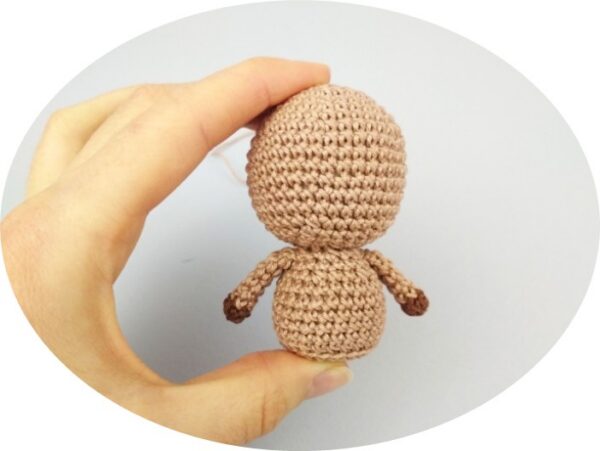
Crochet the next arm.
Sew the arms to the body.
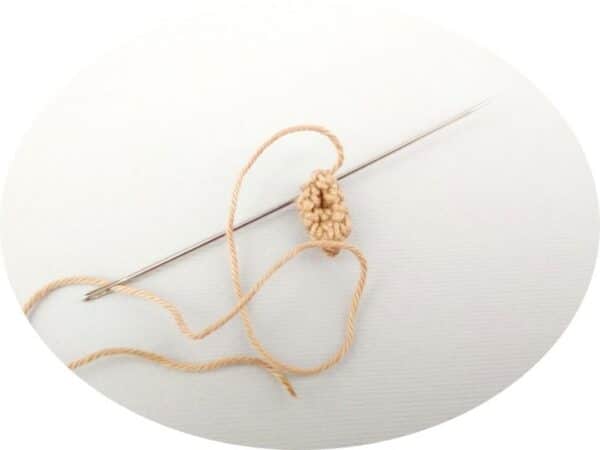
Reindeer Muzzle
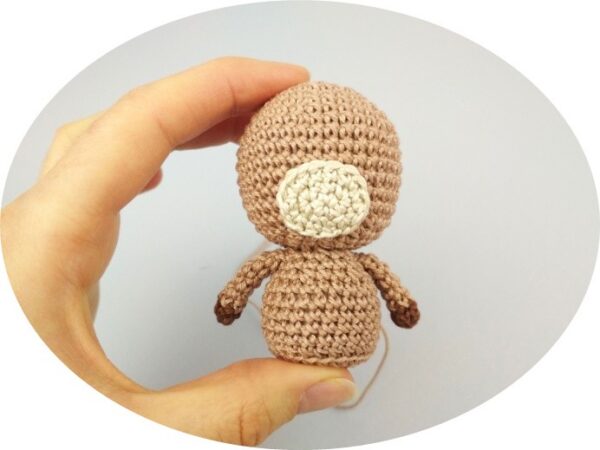
| row | Beige yarn | sts |
| 1. | 6 sc into a magic loop | (6) |
| 2. | [3 sc in one sts, 2 sc] x 2 | (10) |
| 3. | [inc] x 3, 2 sc, [inc] x 3, 2 sc, sl st | (16) |
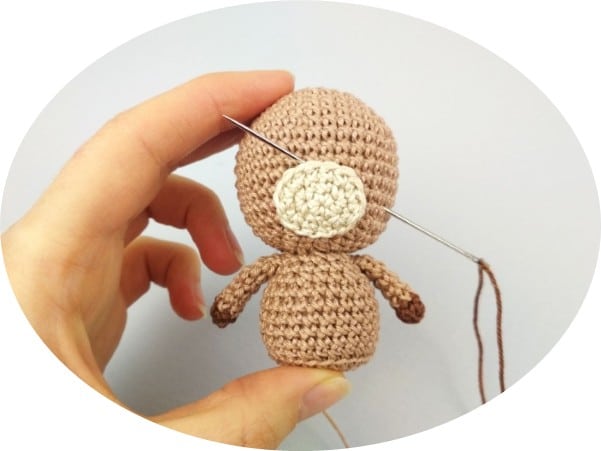
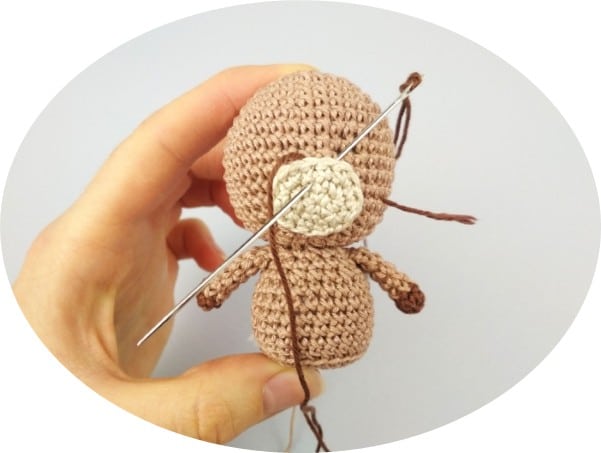
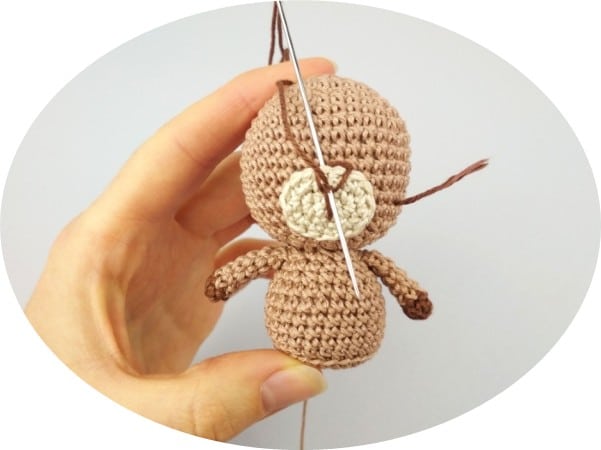
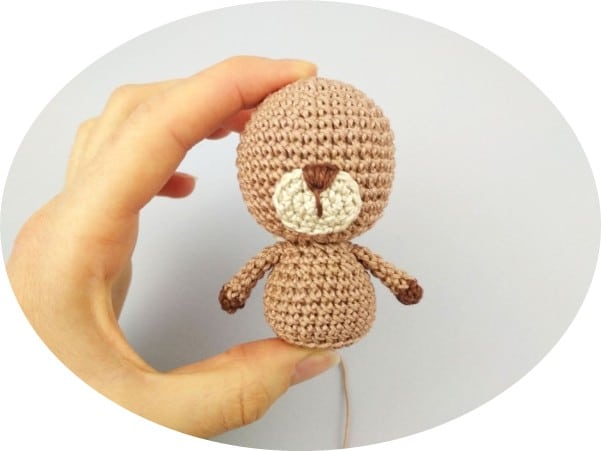
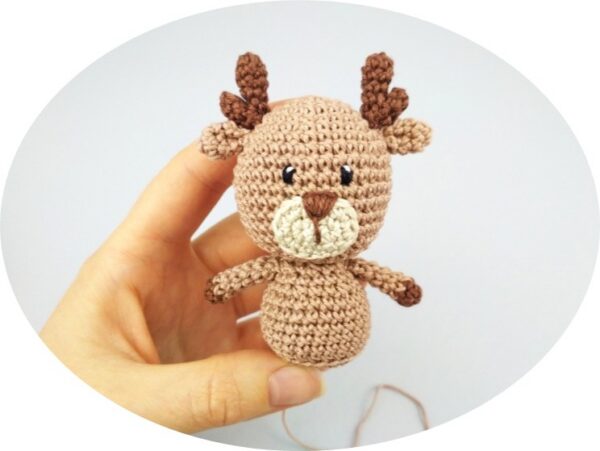
Leave a thread to sew the muzzle. Sew the muzzle to the head (as shown in the photo).
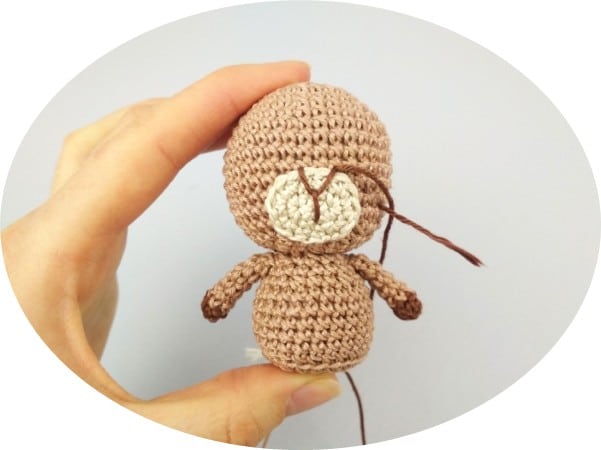
How to sew on a nose:
With dark brown yarn embroider the nose (as shown in the photo).
And now:
How to sew on eyes
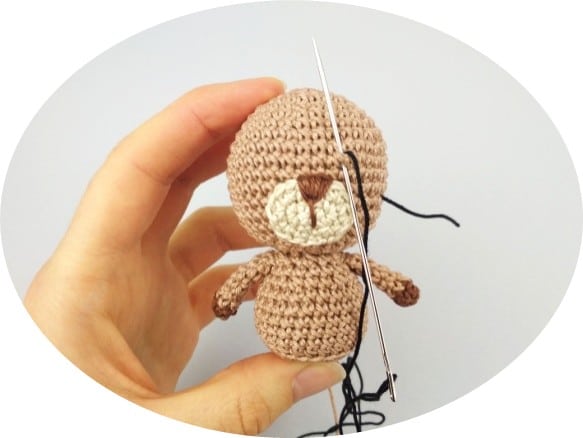
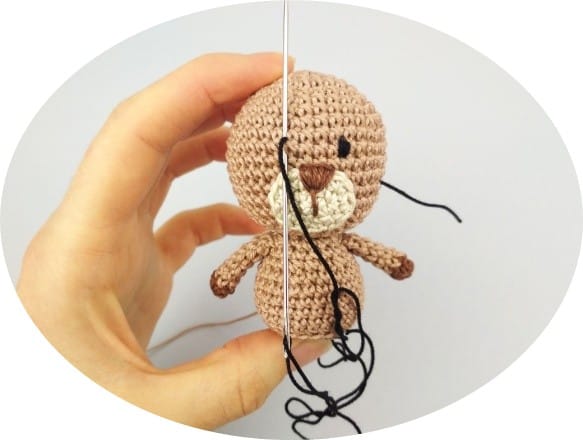
With black yarn embroider the eyes (the distance between the eyes is 4 stitches).
With white yarn embroider the pupils (as shown in the photo).
Crochet Two Ears
| row | Light brown yarn | sts |
| 1. | 6 sc into a magic loop | (6) |
| 2. | 6 sc | (6) |
| 3. | [1 sc, inc] x 3 | (9) |
| 4. | 9 sc | (9) |
Leave a thread to sew the ear. Fold the ear and stitch it as shown in the photo.
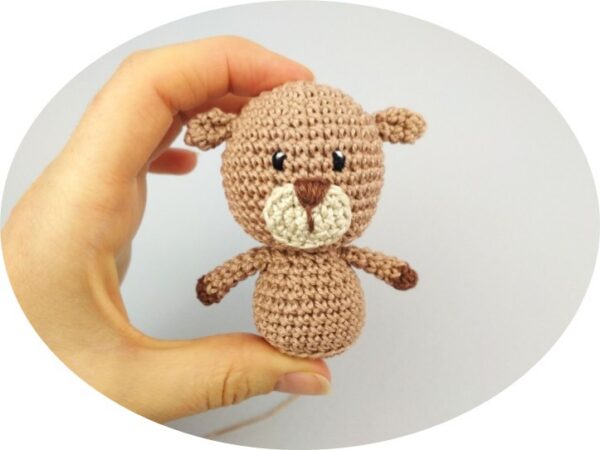
Sew the ears to the head in row 6.
Make two Antlers
| row | Dark brown yarn | sts |
| PART 1: (make two) | ||
| 1. | 6 sc into a magic loop | (6) |
| 2-5. | 6 sc (4 rows) | (6) |
| Leave a thread to sew the part. | ||
| PART 2: (make two) | ||
| 6 sc into a magic loop | (6) | |
| 6 sc (2 rows) | (6) | |
| Cut the thread. | ||
Fold parts 1 & 2 together and stitch them as shown in the photo’s.
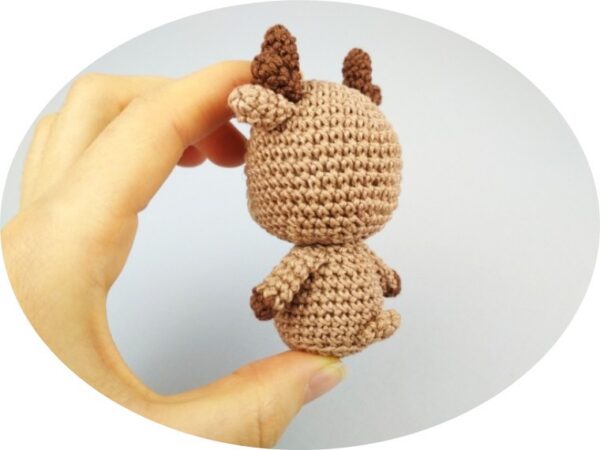
Reindeer’s Tail
| row | Light brown yarn | sts |
| 1. | 6 sc into a magic loop | (6) |
| 2. | 6 sc | (6) |
Leave a thread to sew the tail. Fold the tail and stitch it. Sew the tail to the body.
Make a Scarf
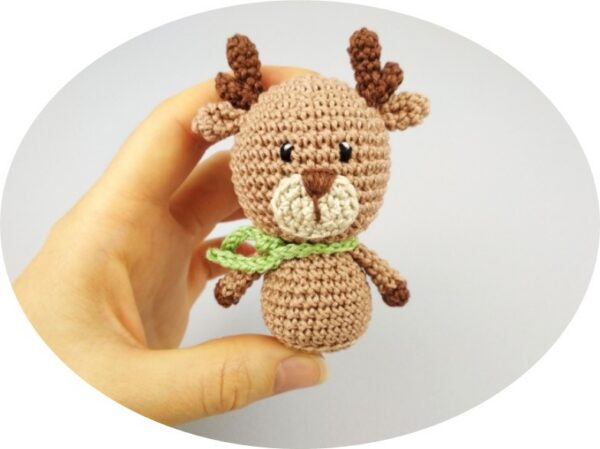
| row | Green yarn | |
| ch 36, start crocheting in the 2nd chain from the hook: | ||
| 1. | 35 sl st | |
Cut the thread and hide it. Put the scarf around the neck.
Final assembly
Apply glue to the bottom of the toy and stick it to the ball.
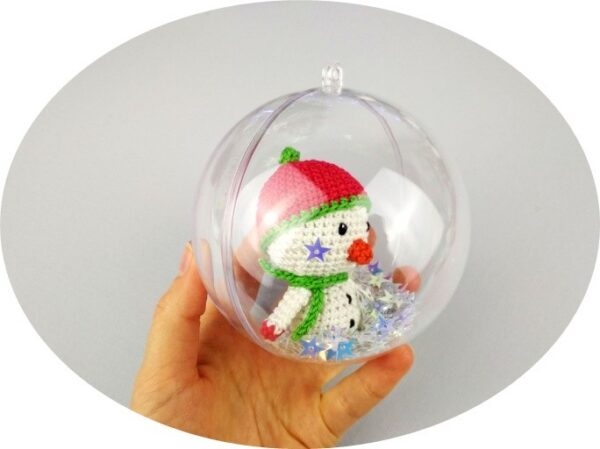
Then you can put any decoration on the bottom of the ball (stars, sequins or synthetic snow).
With the second half ?lose the ball.
Tie a Christmas ribbon on top.
Attach a thread to hang the toy on a Christmas tree.
TIP: You can hang ready-made toys on the Christmas tree or put them in a plastic ball.
If you have any trouble with this pattern, you find errors or want to give feedback, please feel free to contact me at tatjana_ps@ukr.net.
Now if you loved making this little Reindeer.. why not get the whole set from Tanati Crochet on etsy? Supporting small creators on etsy is a great way to spread the Christmas cheer!
Explore more Crochet Christmas Ornaments here:
