How To… Make a Mini Teddy
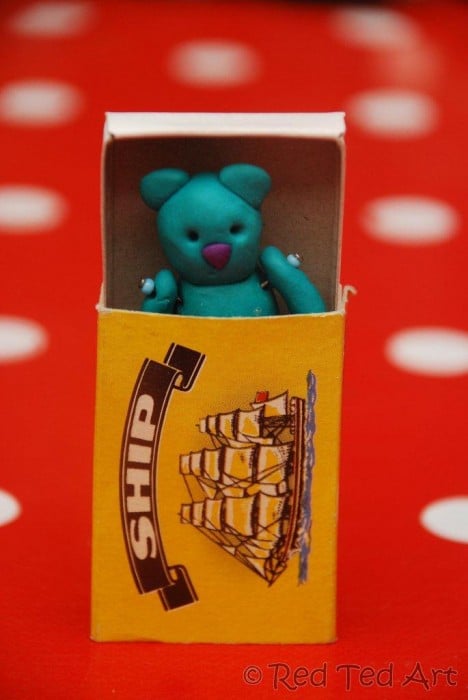
Well.. as you know I have been on a polymer clay craft frenzy! There have been FIMO Flowers, FIMO Snowglobes and polymer clay tea parties. Now as our modelling frenzy calms down, I have one last little craft – our matchbox teddy bear! It was super quick, super easy… and oh so cute… I confess however: I am not sure how child safe this is…. here is how I made it:
Materials: polymer clay, matchbox, 4 pins, 4 small beads, wire cutters, (oven for baking the clay)
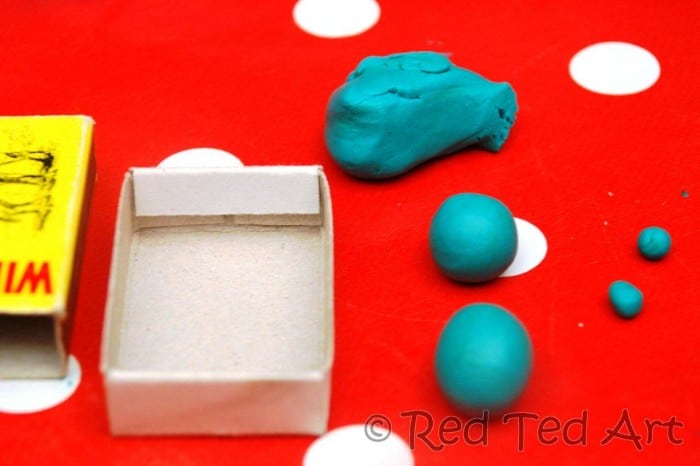
1) Using your matchbox as a guide – make a balls – one for the head, body and two for the ears
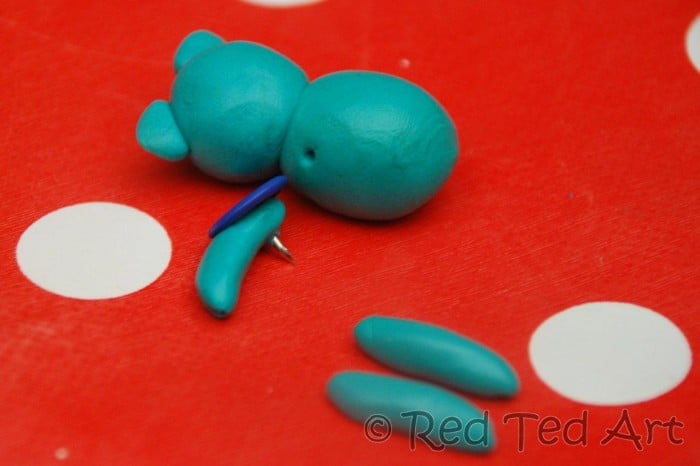
2) Put these together – use a pencil to secure the ears
3) Make four little arms and legs and using a thumb tack make holes in in the arms and legs, as well as the body.
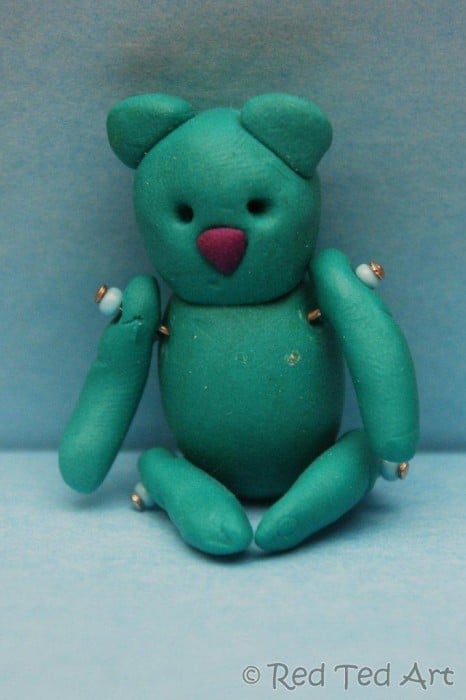
4) Add eyes (holes made with the pencil) and nose (piece of contrasting polymer clay).
5) Bake.
6) Assemble – here we used some pins – I snipped the end off and then super glued them in. Mmmh. Not sure how safe this is, or whether they will come out. But our mini teddy is still in tact a few weeks later… The mini beads are there to help keep the pins in place.
I do love that you can sit him up or lay him down!
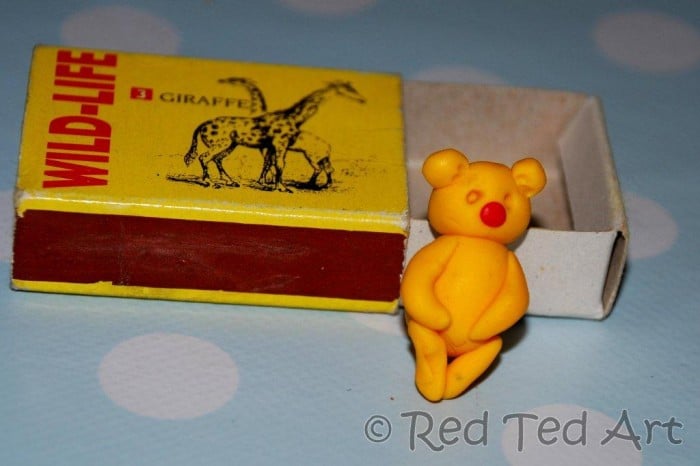
I made a toddler “safe” one too.
Done. Cute!
Have you made any mini matchbox crafts? What are they?

