
Printing with Gelli Plates
Sooo. Today, I have a LOVELY guest post from the peeps over at Gelli Plates! Gelli Plates are a versatile plate for printing techniques – we recently received a set and the kids had great fun experimenting with it. I can see us having many more arty sessions in our house. You can create anything from leaf print artwork, to unique wrapping paper. The Gelli Plate blog is packed full of fantastic inspiration and we get to share one of their wonderful projects here today!
The new 3″x5″ Gelli plate is so versatile! Watch this video and see how easy and fun it is to use it as a stamp!
As you can see… the smallest Gelli plate doubles nicely as a monoprinting plate and a stamping surface!
All you need to do is press the 3″x5″ Gelli plate onto a smooth, ?at plastic or acrylic surface — like an old CD case or acrylic stamping block — and you’re good to go. It’s that easy!
 |
| 3”x5” Gelli plate on the lid of a CD case |
TIP: If you’re using a CD case, it’s best to take it apart and use the smooth front cover by itself. Or, simply ?ip the case open when you press it to your substrate. If not, you may ?nd there’s a bit too much ‘give’ in the empty closed case when you stamp with it, and the plastic can crack if you press too hard.
 |
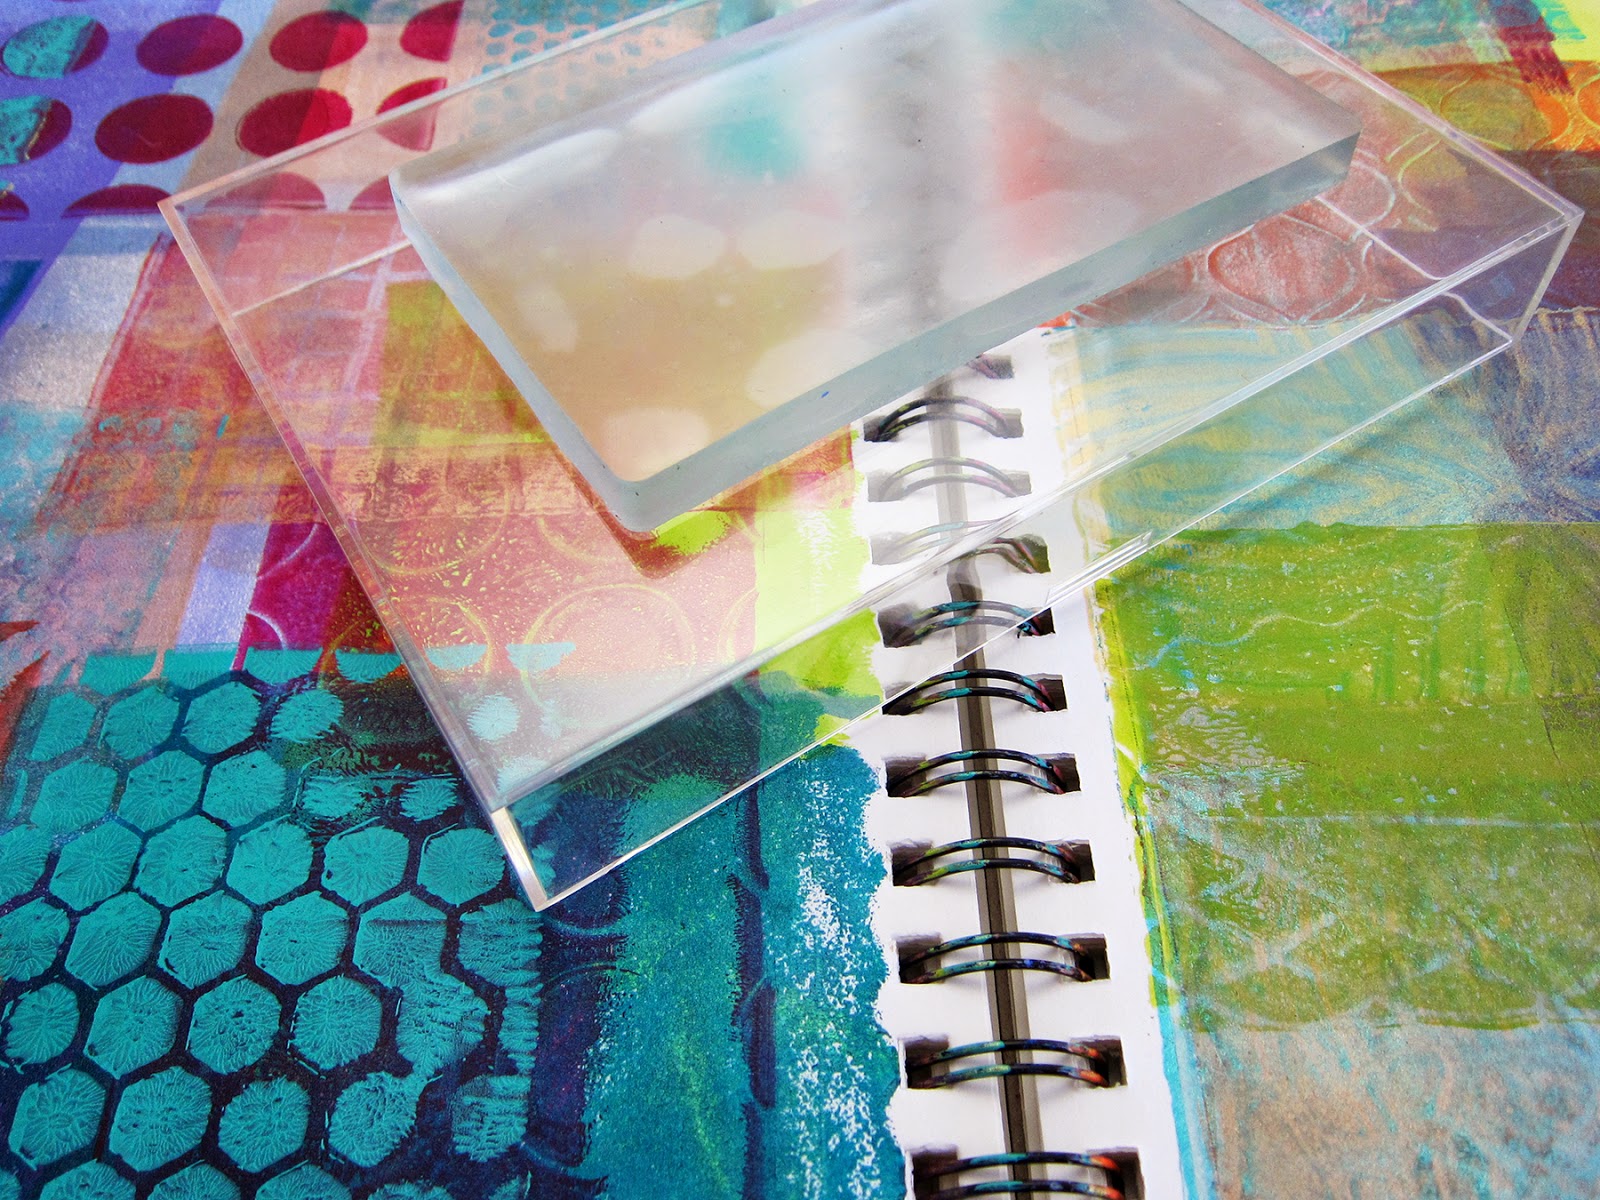
| 3”x5” Gelli plate on a 5”x7” acrylic stamp mount |
Inexpensive acrylic box frames, available at art and craft stores, are another source for excellent Gelli mounts. Here’s a 3”x5” Gelli plate on a 5”x7” acrylic box frame — ready to use!
Look for small plastic storage boxes with smooth surfaces or lids that the Gelli plate will stick to. Do not stick (or leave) the plate on a surface that has a texture or dimensional logo or pattern in the plastic, as that can imprint into the Gelli plate surface.
 |
| 3”x5” Gelli plate on a lid of a small smooth plastic storage box |
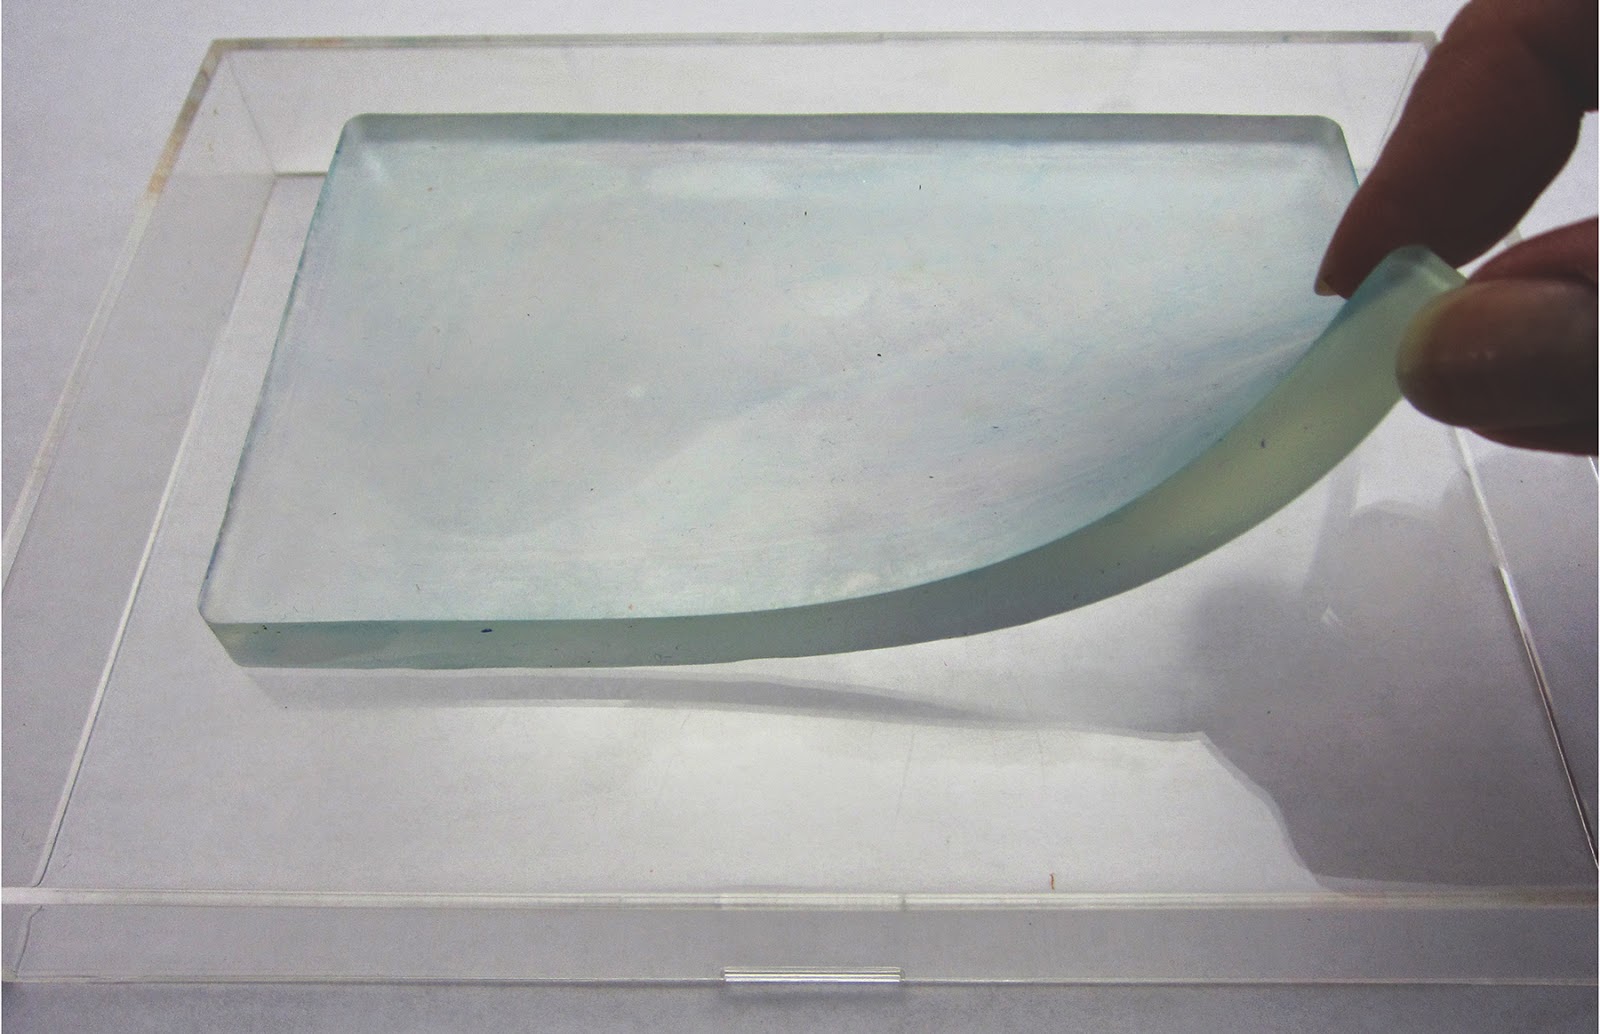
As an alternative, try using a piece of acrylic, plexiglass, styrene or glass that’s slightly larger than your Gelli plate. To keep things safe, apply duct tape to cover the sharp edges.
Once your Gelli plate is stuck to whatever base you’ve selected, you’re ready to use it as a
stamp! The bond created between the Gelli plate and the ‘mount’ is temporary. You can easily peel the plate off the mount at any time and print with it in the conventional way.
Here’s how to stamp with your Gelli Plate:
Apply acrylic paint to the gel plate, roll it into a thin smooth layer with a brayer — and make your marks in the paint. Then ?ip the whole thing over and press the plate onto the printing surface of your choice. This creates a monoprinted image that’s stamped onto your substrate. It’s a fun alternative method for printing with the Gelli plate. And remember, the image you create on your plate will print in reverse, like any stamp!
You can use masks and stencils in combination with the stamping technique. The easiest way is to place the mask or stencil directly on your substrate and stamp the painted Gelli plate right over it.!
Using a clear mount allows for accurate placement of your monoprinted image! Add stamped monoprints to sketchbook pages, art journals, larger works, fabric pieces and more!
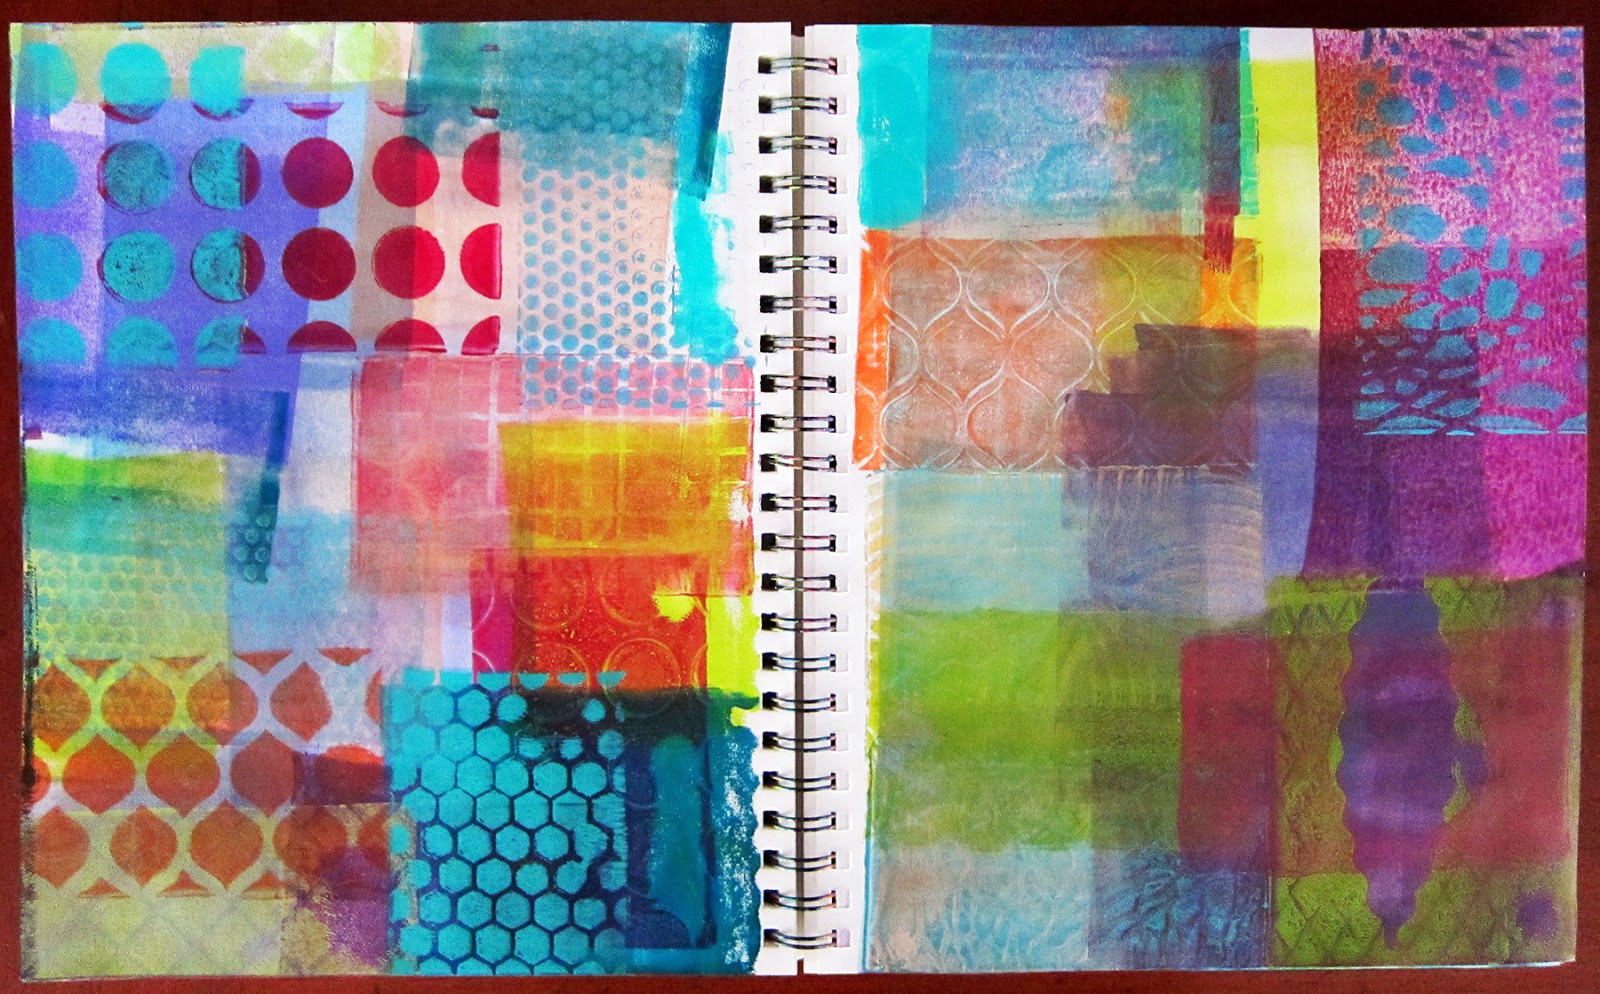
The following pages are from a small art journal ?lled with Gelli-stamped images:

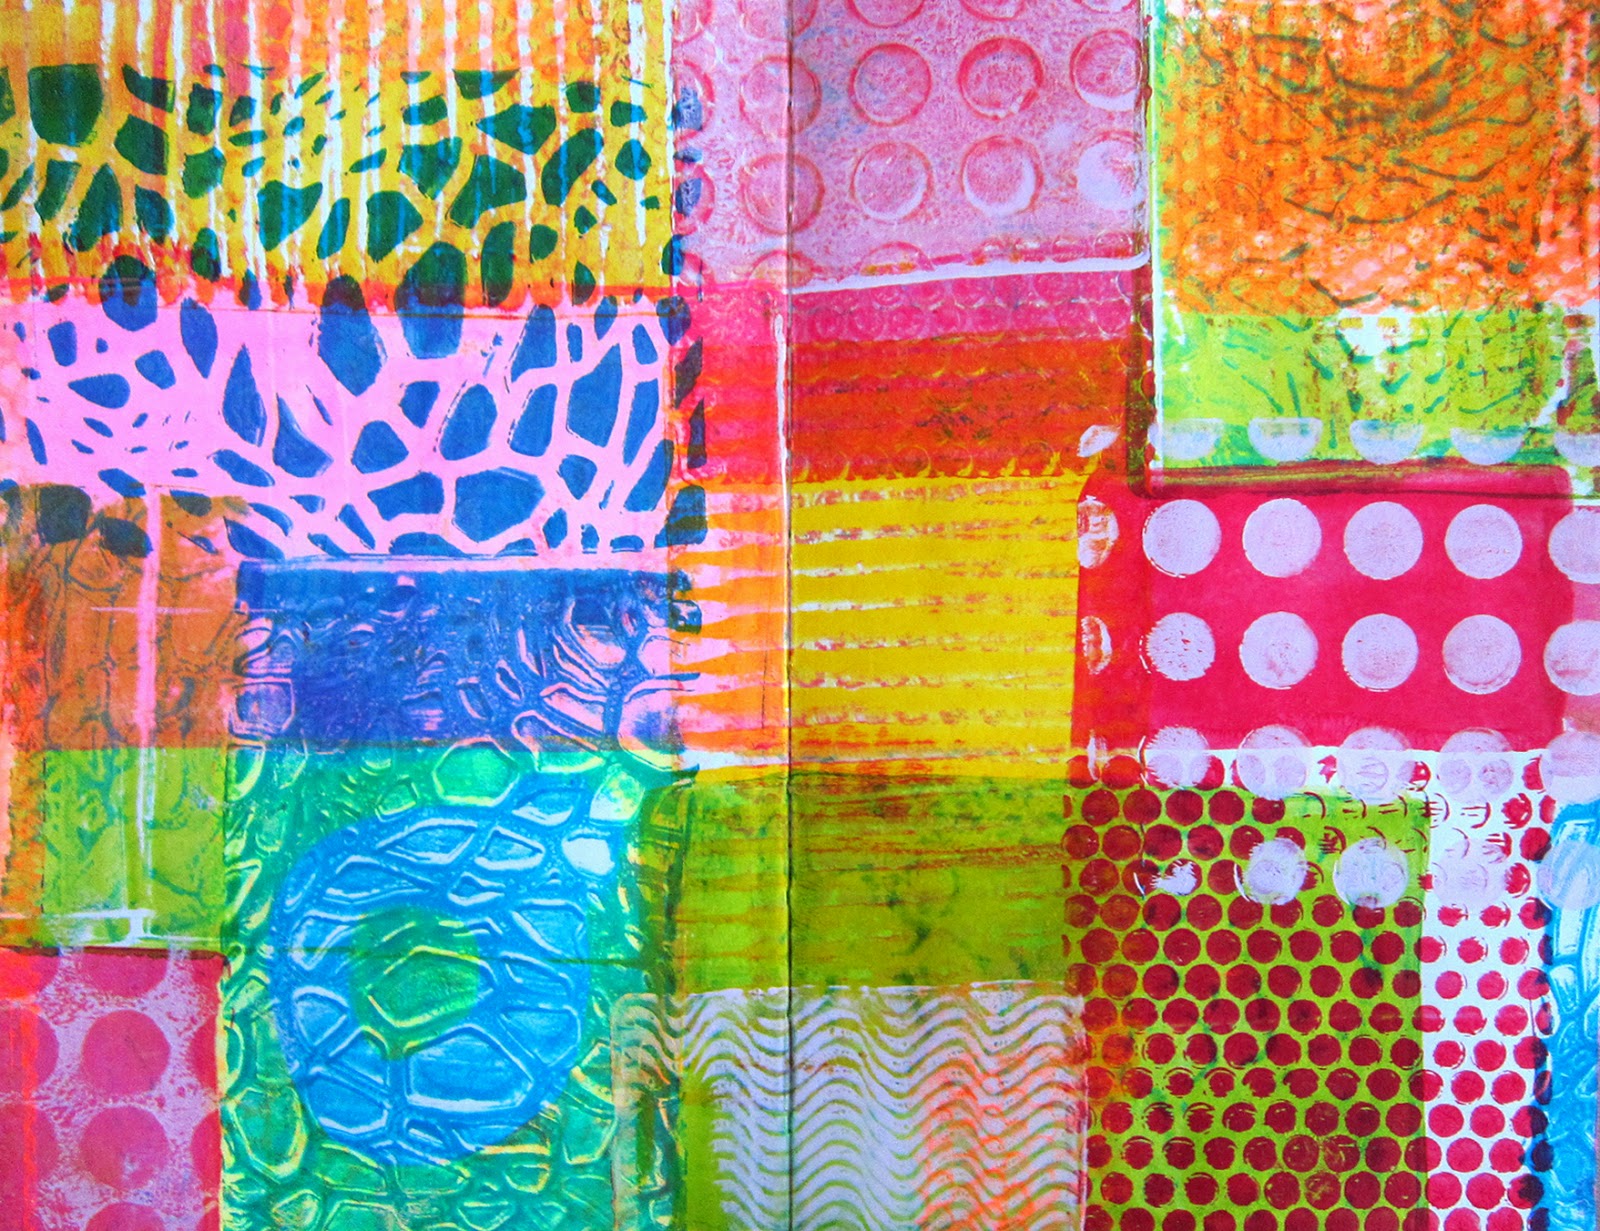

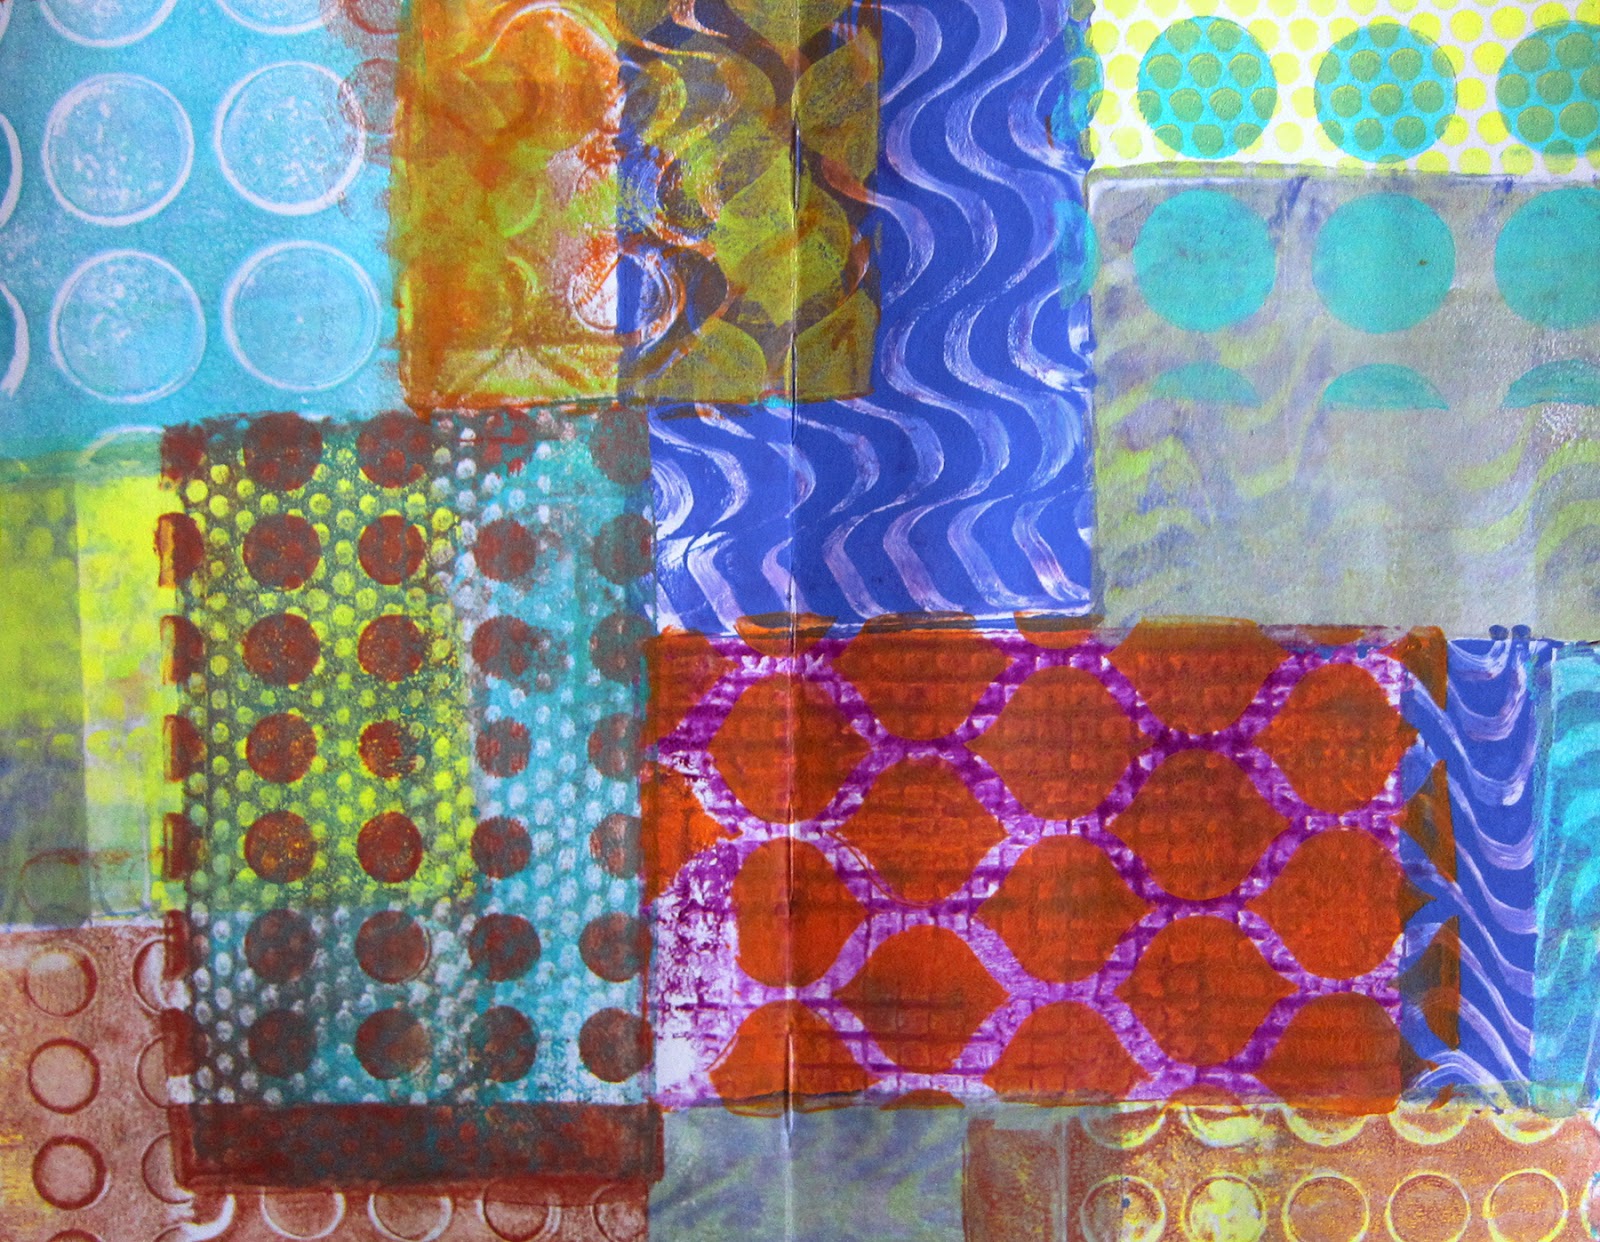
I like to roll the excess paint from my brayer onto sketchbook pages. Those pages are wonderful beginnings — and stamping additional layers over them with the 3″x5″ Gelli plate is a fast and fun way to add interest to those pages.
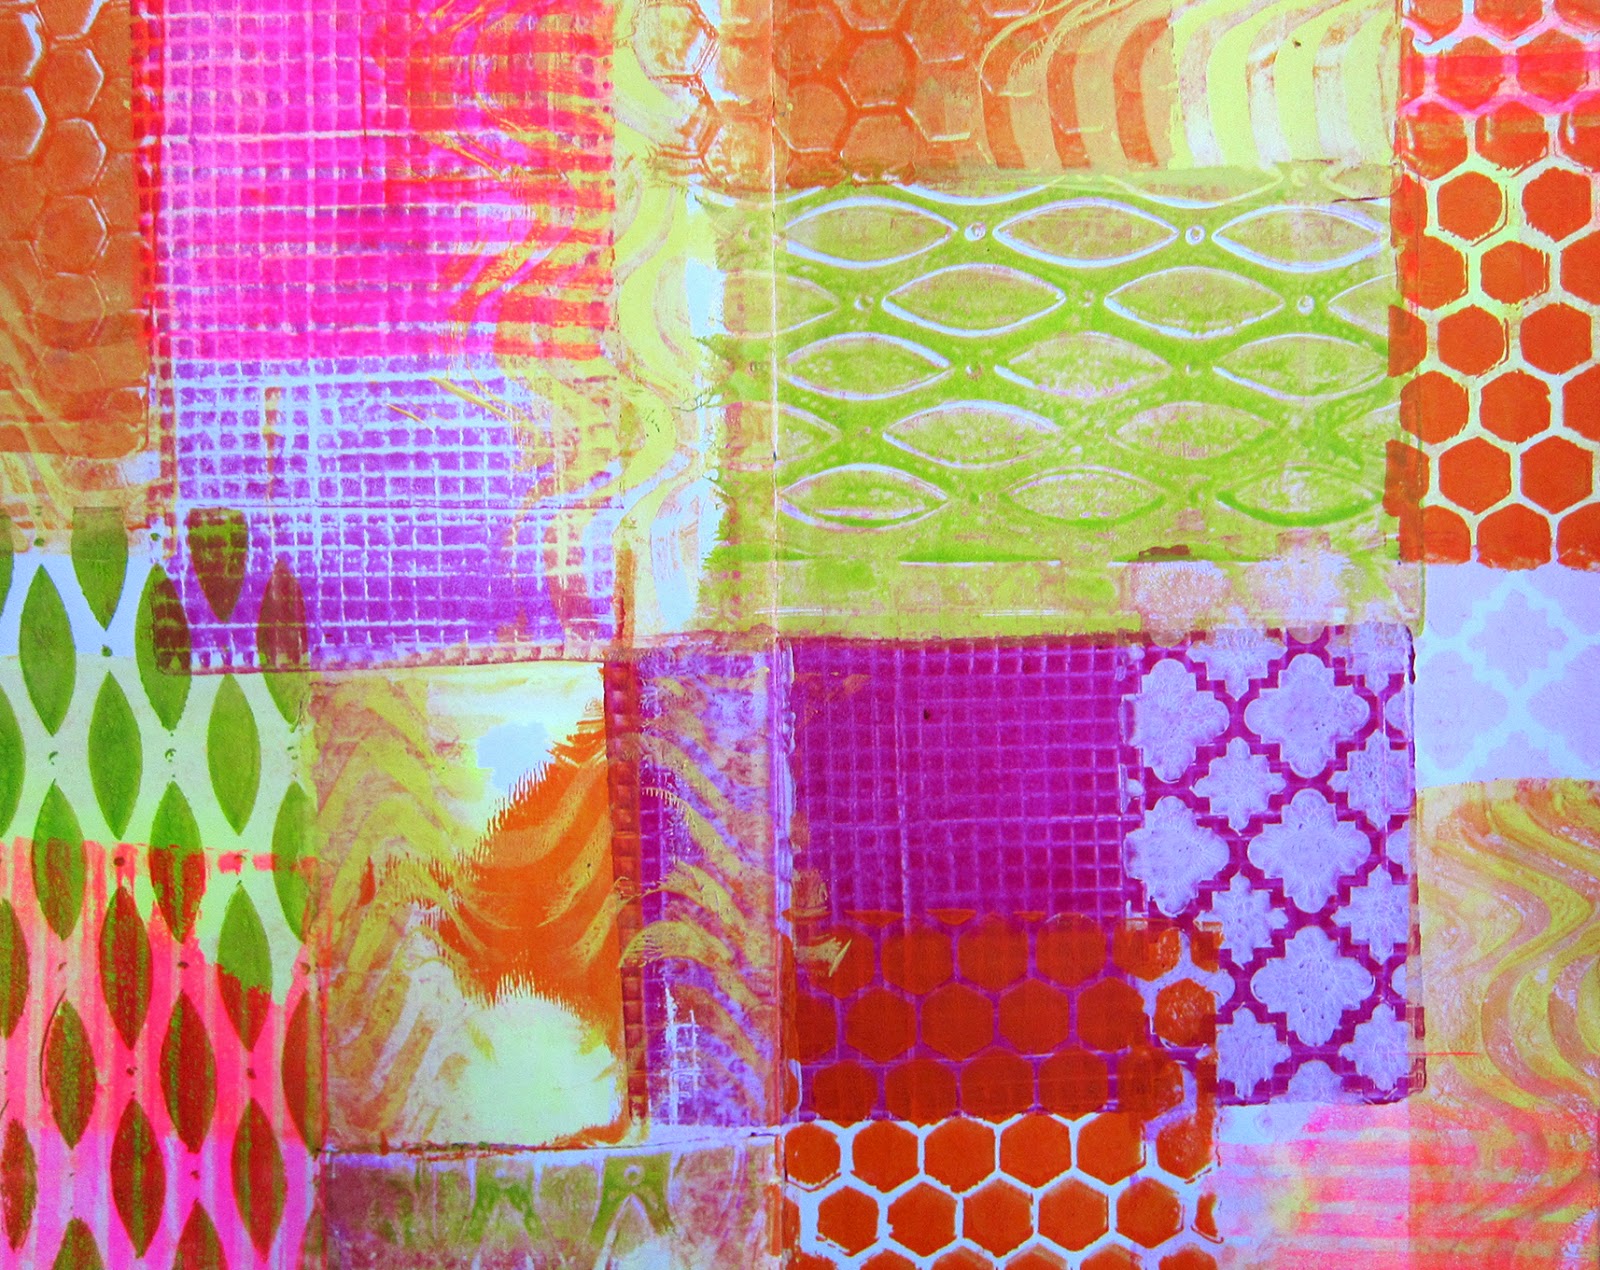
Be experimental and try different techniques! This is the perfect opportunity to play with different color combinations!
Stamping is one more fun and easy way to use a Gelli plate… so go ahead and give it a try!!
Have fun… and Happy Printing!
What do you think? Doesn’t it simply look fun?! So inspired to start experimenting with out Gelli Plates some more! Thank you to the team for this wonderful guest post!