
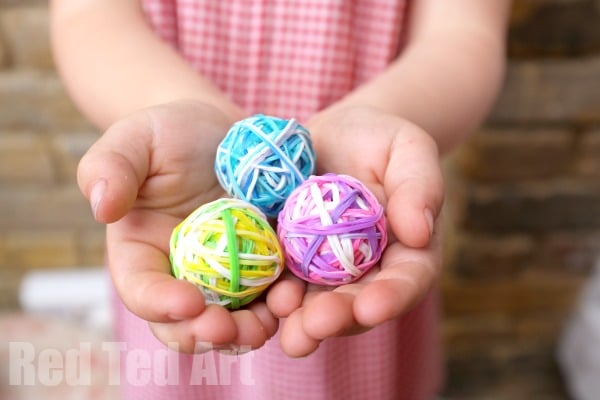
DIY Bouncy Balls – A Great Way to Use Up Rainbow Loom Bands
Oh my kids ADORE Rainbow Loom Bands.. and last Summer, that was all they did…. rainbow loom bands, rainbow loom bands, rainbow loom bands. They have tons of them. As my kids are still a little younger (7yrs and 5yrs), there are only so many different patterns that they can manage (mainly the inverted fishtail* and the regular finger looming loom band*), so I was looking out for ideas to use some zillions of rianbow loom bands up. On the way to school, I started picking up the “rubber bands” that our postmen ALWAYS drop and remembered that I used to make tennis ball sized bouncy balls…. and then it struck me – Rainbow Loom Band Bouncy Balls. Small ones.. not the same size as the packaging rubber band balls, but cute little ones. These little DIY Bouncy Balls are easy to make – a great for using up broken loom band bracelets too and would be a lovely little party favour or gift idea. In fact, why not make these as a party craft?
* See our inverted fishtail how to here and regular finger loom band here.
 You can make them in any colour combination that you wish!
They definitely go down well as gifts – we had a play date over as we were making them and she happily took one home.
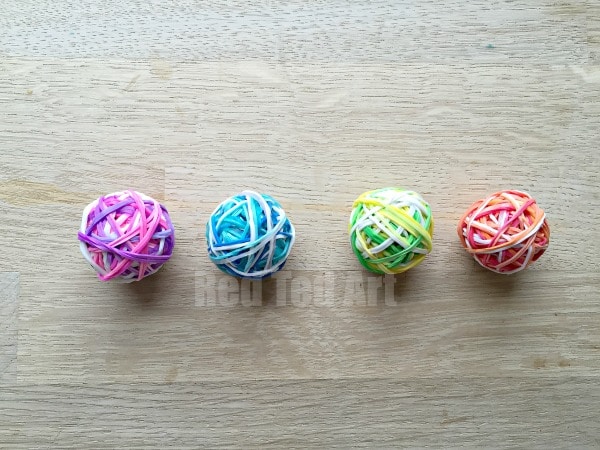
Aaah so neat and tidy.. and just think of that loom band mess you would have instead.
How to Make a Bouncy Ball from Rainbow Loom Bands:
It REALLY is quickest to just watch the video, but have pulled out the main tips for you below.
1) Start off with a broken bracelet scrunched up in the middle.
2) Wrap two loombands at a time – Wrap and twist. Two at a time is much much quicker than one rubber band at a time.
3) Once the bouncy ball is about half the size you want, start picking out the colours you want your bouncy ball to end up having – e.g. white, yellow and greens or white, orange and red.
4) When the bouncy ball is about 2/3 of the final size, you can start adding your two loom bands at a time, without the “twist”. This means you will get a BOUNCIER A BALL and the colours are more vibrant.
5) At the VERY END, add some loom bands “with a twist” (i.e. double them over), to help secure all the loom bands in place.
NOTE – when playing with these bouncy balls, some loom bands will occassionally pop off – not a problem.. just pop them back on with a double twist and job done!!