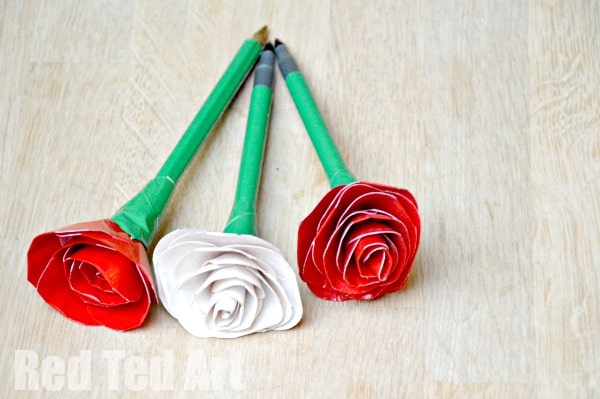
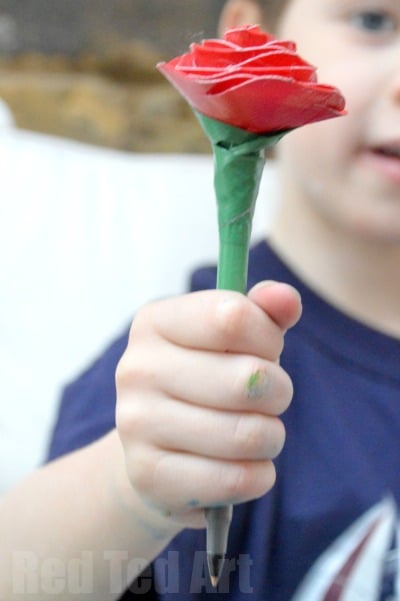
How to Make a Rose with Duct Tape
Here is a little craft, that I have been meaning to share with you for aaaaaages. We were given some little Duct Tape rose pens as a gift and I knew I had to make some more. Love using any “old pens” that are lying around and tarting them in relative minutes and turn them into these cute duct tape rose pens. Cute and easy to make. The roses would a nice little Valentine’s Day gift or maybe something for a Mother’s Day Gift. Please note – this a craft for tweens and teens – as the sticky Duct Tape is a little trickier to handle…. There are step by step photos, or check out the video tutorial at the end of the post!
Learn how to make duct tape roses today
Also note: affiliate links have been added to this post – should you choose to purchase via these, I will earn a small commission that goes towards the upkeep of this site!
You don’t need much to make Duct Tape Roses:
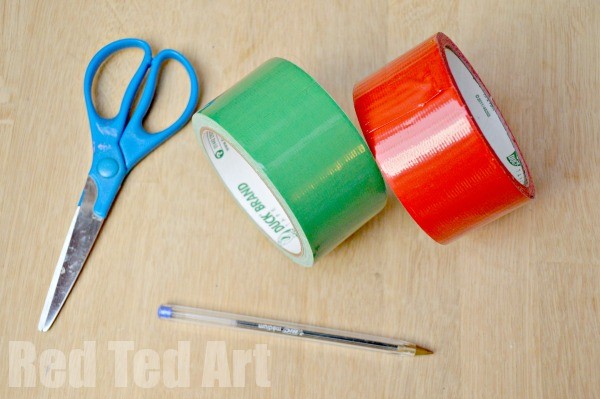
- Red duct tape & Green Duct Tape
- Scissors
- A pen (or straw or stick)
You can watch the Duct Tape Roses video tutorial here:
DIY Duct Tape Roses How To:
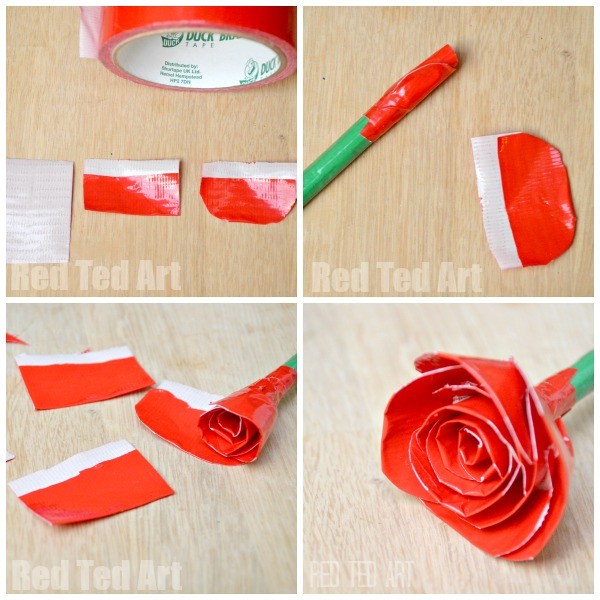
- Cut strips of duct tape – as shown in the first picture above.
- Fold over, leaving a little bit of sticky strip free.
- Round off the corners with scissors.
- I made 14 of these stripes… and made the last 6 or so a little wider.
- Wrap your first piece around our pen as per the 2nd picture.
- Repeat – but make sure that the pieces overlap like petals (you can watch the video below for more info too!)
- Once you have as many petals as you like.. move on to the green tape….
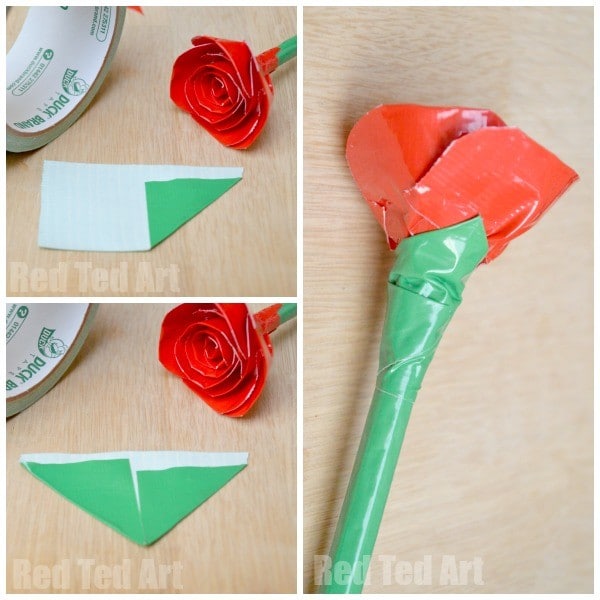
- Cut a wide ish strip of green Duct Tape.
- Fold down the corners as per the above to make a triangle – leaving a sticky strip exposed at the bottom.
- Wrap around the bottom of your rose. Repeat with a second piece.
Check out more Stationery crafts here: