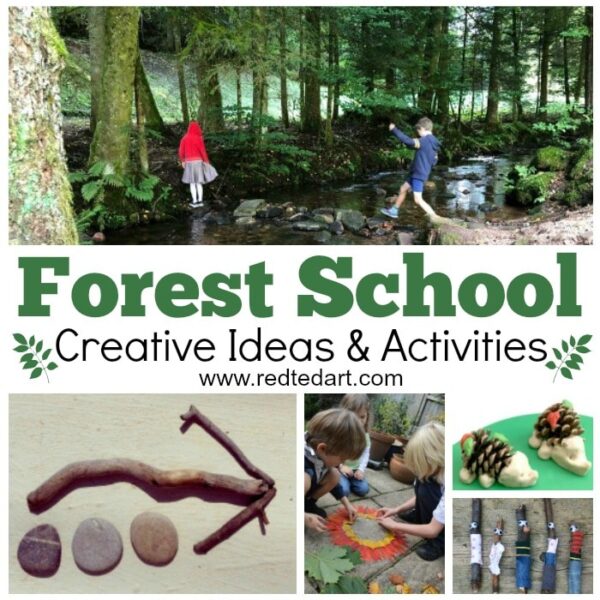
Fairy Houses Nature Craft
Oh how we love to get crafty with nature!! Such a great way to connect with your immediate surroundings! And one activity that my kids never seem to tire of, are our nature fairy houses. In this instance we made a Teepee Fairy House, so cute! This is a great activity for the home, when out and about or as a Forest School Activity!
We have made many different nature houses before and each time we have adapted the fairy house to our immediate environment:
What nature articles can you find? What would make a good roof?
What can you use for the sides?
A wonderful playful, crafty AND problem, solving activity for kids of all ages… including a bit of magical fairy dust! (Here are more of our nature fairy houses – woodland fairy house and summer fairy house).
How we make our Nature Fairy Houses
1) Walk & Collect: The first thing you need to do… is go on a nice long walk, find some sticks, pinecones, stones – whatever “Autumn” things you can get your hands on – but above all look for some acorns! (We have little Nature Bags that we made, that we LOVE to fill with our collections!)
2) Location. Location. Location: When you come home find a little corner in your garden that is nice and peaceful and quiet, or fill a pot with earth as a small indoor elf garden and then get crafty!
This year we decided to make an Teepee Fairy House! We had lots of sticks gathered and long thin leaves from a palm tree. The main thing about making elf home is that you look at what you have and get creative. You can have walls made from bark or sticks, or weave in the leaves you have collected, like we did today.
3) Teepee Frame: Take four long sticks and stand them in the ground to form a square. Then take a long leaf (or bit of garden string if you were not able to find one) and tie them together close to the top (see diagram).
4) Tepee Canvas: Next start weaving your leaves in and out between the sticks – it doesn’t have to be perfect… the elves won’t mind. If you can’t find long leaves like ours, patch up the sides of your tepee with the largest leaves you can find, using any long stems to tie them onto your tepee poles. Or make a proper “canvas” by threading leaves together – check out this Leaf Crown to see how you can use the leaf steam as kind of pin.–
–5) Decorate & Furnish: Now it’s time for some landscaping 🙂 Pinecone work great for making little fences, stones for stepping stone paths, a large flat stone can serve as a table and acorn caps (with the point bit cut off), make great soup bowls – get an adult to help with the cutting part. Find flowers and leaves to make the scene even prettier.
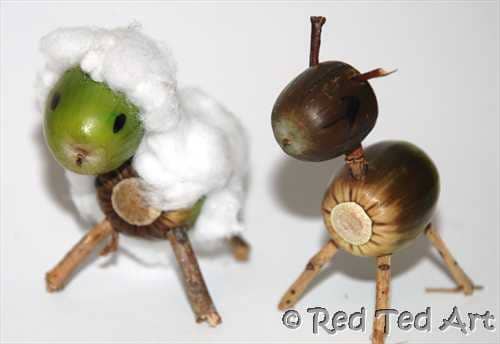
–6) Elves & Elf Animals: We made some littleacorn animals last year. They are very simple to make – you will need acorns and some twigs, plus something pointy to help make little holes for the twigs to go in – again some adult help is needed to make the holes. Same goes for the elf people – find an acorn with it’s “hat” still attached, as well as a body acorn and lots of twigs. Make holes for the neck, arms and legs and then put them together using your twigs.
You’re Done! Soooo cute! (We got carried away and made an acorn baby and a conker shell cot too)
Can you make some acorn pets?!
What else can YOU make from your Autumn finds? Maybe a chestnut bear? or an acorn mouse? Maybe your elves would like some little leaf beds and bark pillows?
Just let your imagination and the nature around you be your guide to creating your very youn special, unique and magical fairy home!
See more great Forest School ideas here: