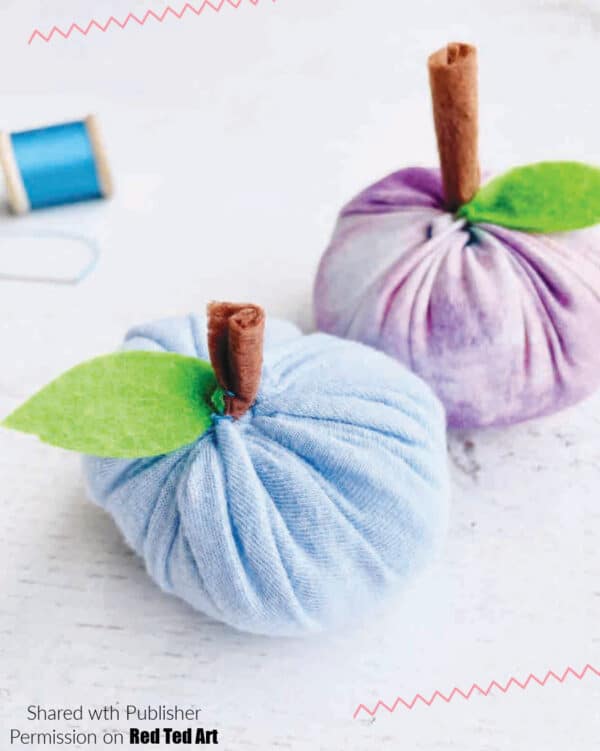
How to sew a Fabric Pumpkin
Oh do we have a lovely beginner sewing project for you today – come and make these super duper easy recycled fabric pumpkins with us today. These fabric pumpkins are perfect for beginner sewers – and kids learning to sew and make for a fantastic classroom project. This is from the brand new Easy Sewing for Creative Kids book! More below!
Please note: this project has been reproduced with permission from the publisher and is not allowed to be republished in any way, without their constent. It is for personal use only.
Also note: affiliate links have been added to these post – should you choose to purchase via these, I will earn a small commission that goes towards the upkeep of this site!
Easy Sewing for Creative Kids – The Book
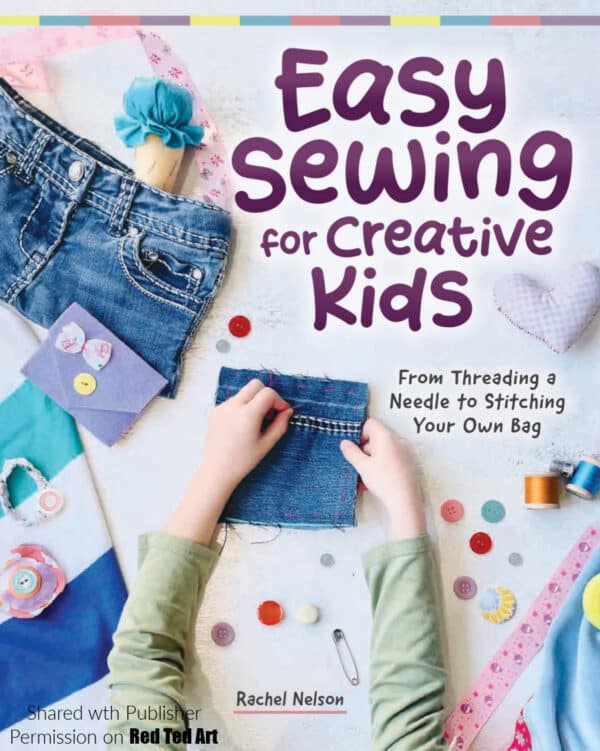
As you know, I am a BIG fan of teaching kids to sew. I see sewing as a life skill for everyone – boys and girls. Not just because you need to know how to sew on a button, but because it is also amazing for fine motor skills and dexterity. But of course.. we do all need to know how to sew on a button! I volunteer at a Repair Cafe and it is surprising how many people can’t doing sewing basics. So let’s change this and help kids become confident sewers.. enter this lovely book: Easy Sewing for Creative kids by Rachel Nelson, who you may know as Seam Whisperer.
Rachel has MANY years of sewing experience and knows exactly how kids learn and how to create sewing projects for kids – real projects that are do-able with great results. The book is laid out in a way to encourage exploration and work with materials that you have to hand. I love this snipped from the introduction:
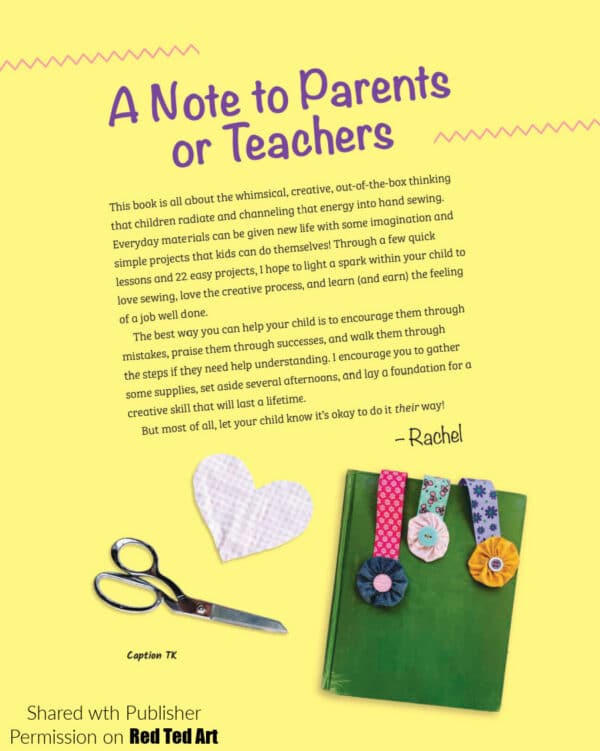
“The best way you can help your child is to encourage them through mistakes, praise them through successes, and walk them through the steps if they need help understanding.”
The book is full of super cute projects – from “Sock Fish”, to rosette bookmarks, handy aprons and more. Children are encourage to reuse pieces of fabric (e.g. today’s t-shirt pumpkin, is made from t-shirt left overs used for a skirt previously) and simply have a go and have fun.
So if you want to encourage your child to start sewing, this really is a wonderful book for you! Why not pre-order a copy now and be the first to get a copy.
Now let’s take a look at the sample project!
Pumpkin Softies
These little soft toys are cute as a pumpkin! Use them in your pretend kitchen or even as a DIY fall decoration. You won’t be able to make just one
SKILLS PRACTICED IN THIS PROJECT
cutting, stuffing, gathering, embellishing
Supplies needed to make a T-Shirt Fabric Pumpkin
- 1 T-shirt (left over from Fringe Skirt from a T-Shirt)
- Brown and green felt
- Fiber stuffing (though old pillow stuffing, washed and dried work well too)
- Thread
- Hand sewing needle
- Fabric scissors (scissors make all the difference when working with fabric, our fabric scissors are strictly for fabric use only!)
- Disappearing ink marker
Fun Fact: Instead of throwing away clothing that has holes or worn spots, you can repair it with fun embroidery stitches, patches, or embellishments to turn it into “wearable art”!
How to sew a Pumpkin Softie
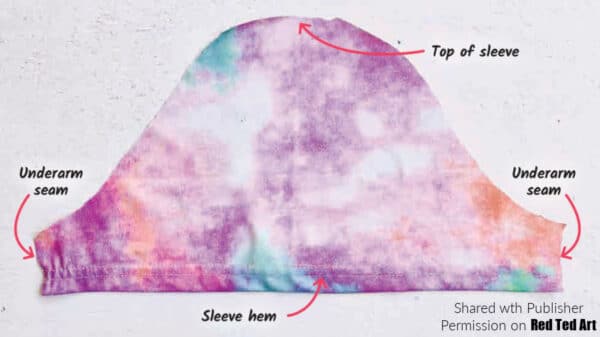
Step 1. Use fabric scissors to cut a sleeve off the T-shirt at the shoulder seam. Save the rest of the T-shirt for another project. Then open the sleeve by cutting through the underarm seam. Lay the open sleeve out flat.

Step 2. Cut out a circle shape from the sleeve, as big as you can. You can trace a bowl or round lid if you want to make it easier, but the circle doesn’t have to be perfect!
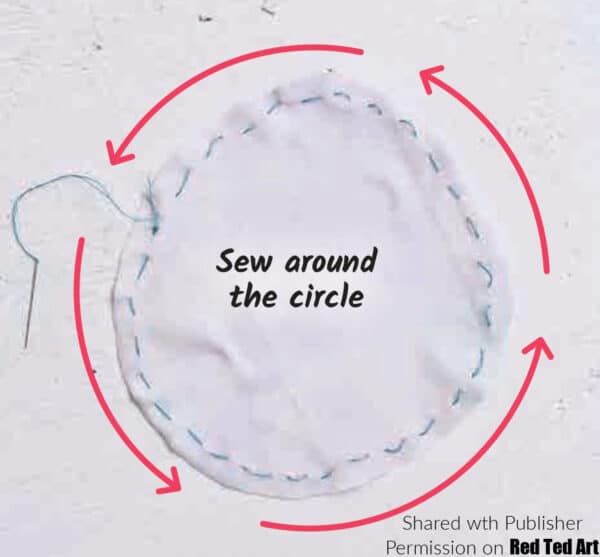
Step 3. Sew a running stitch around the entire circle, but don’t tie a knot in the end yet. Make sure both ends of the thread end on the same side of the fabric.
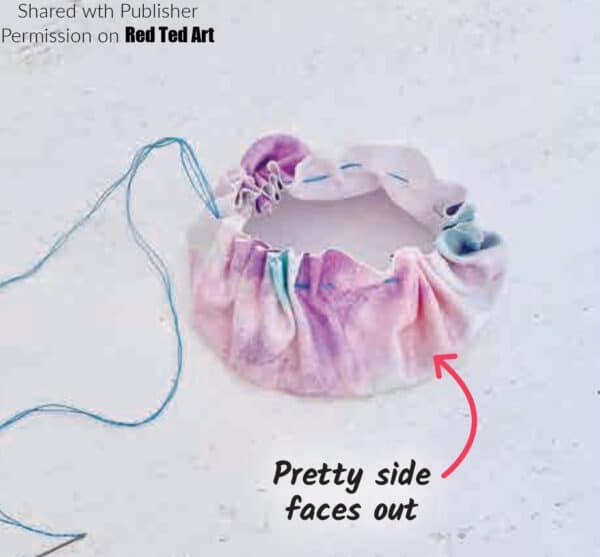
Step 4. Pull the thread tails gently to gather the running stitch, until it makes a little pouch. Don’t pull it so tightly that it closes all the way—leave a hole open on top.
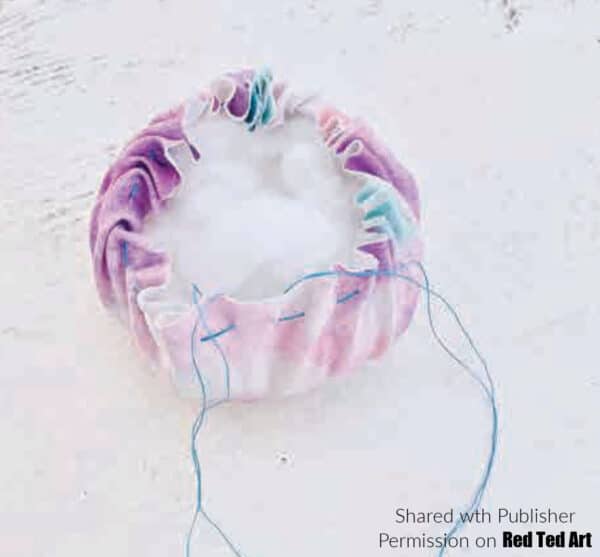
Step 5. Fill the pouch with stuffing until you have a nice firm ball shape.
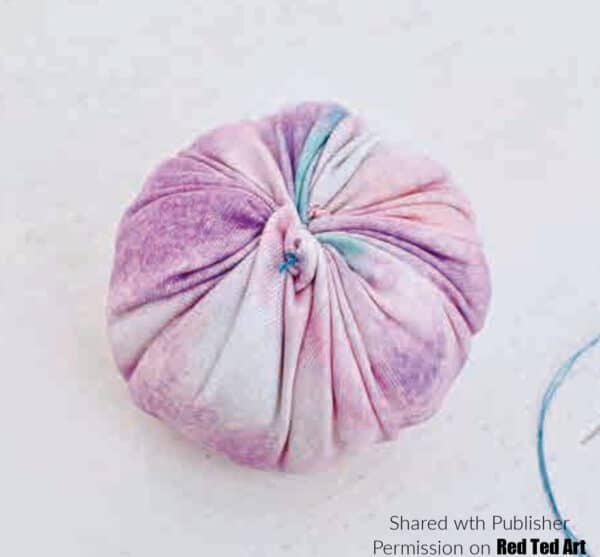
Step 6. Pull the thread tails again to close the hole and poke the raw edges towards the inside. Then tie the threads together into a secure knot. (You might need to ask for an extra hand to tie the knot!) Then trim the threads.
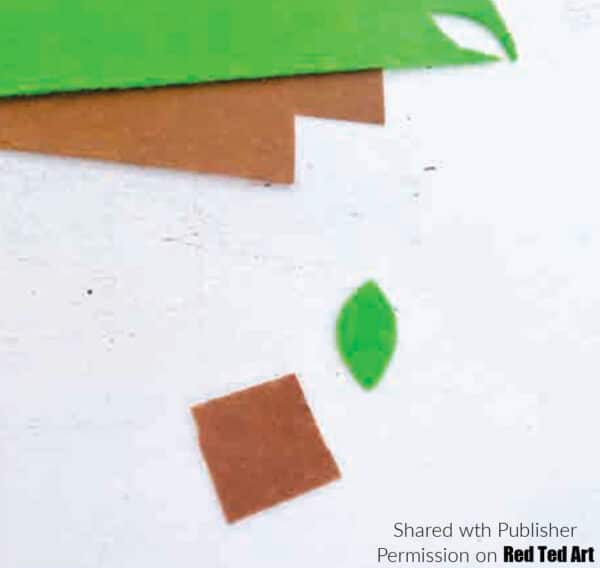
Step 7. Cut out a little square, about 1″ x 1″ (2.5 x 2.5cm), from a piece of brown felt to make a stem. Cut out a little leaf shape from a piece of green felt. You can draw it with a disappearing ink marker first and then cut. Wash off the ink from the felt.
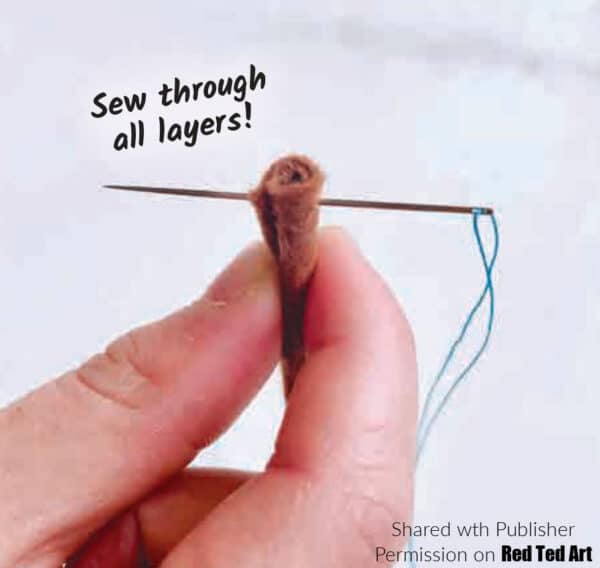
Step 8. Roll up the brown felt square tight, then poke a needle through the bottom. Sew through the bottom a few times to secure it. Don’t cut the thread yet.
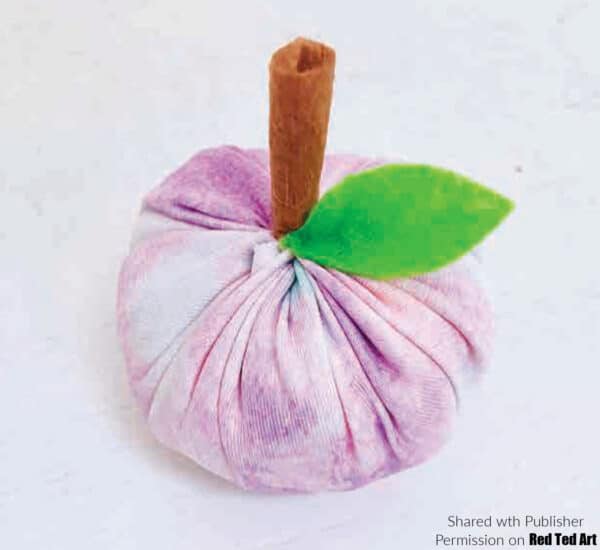
Step 9. Position the stem on the top of the pumpkin to see where you want it to go. Then sew the stem to the pumpkin. Repeat with the leaf. Remember to tie a knot at the end so they don’t fall off. Now your pumpkin is complete!
Ready for more easy sewing projects for creative kids – grab yourself a copy:
You can also check out the Red Ted Art Sewing Projects here: