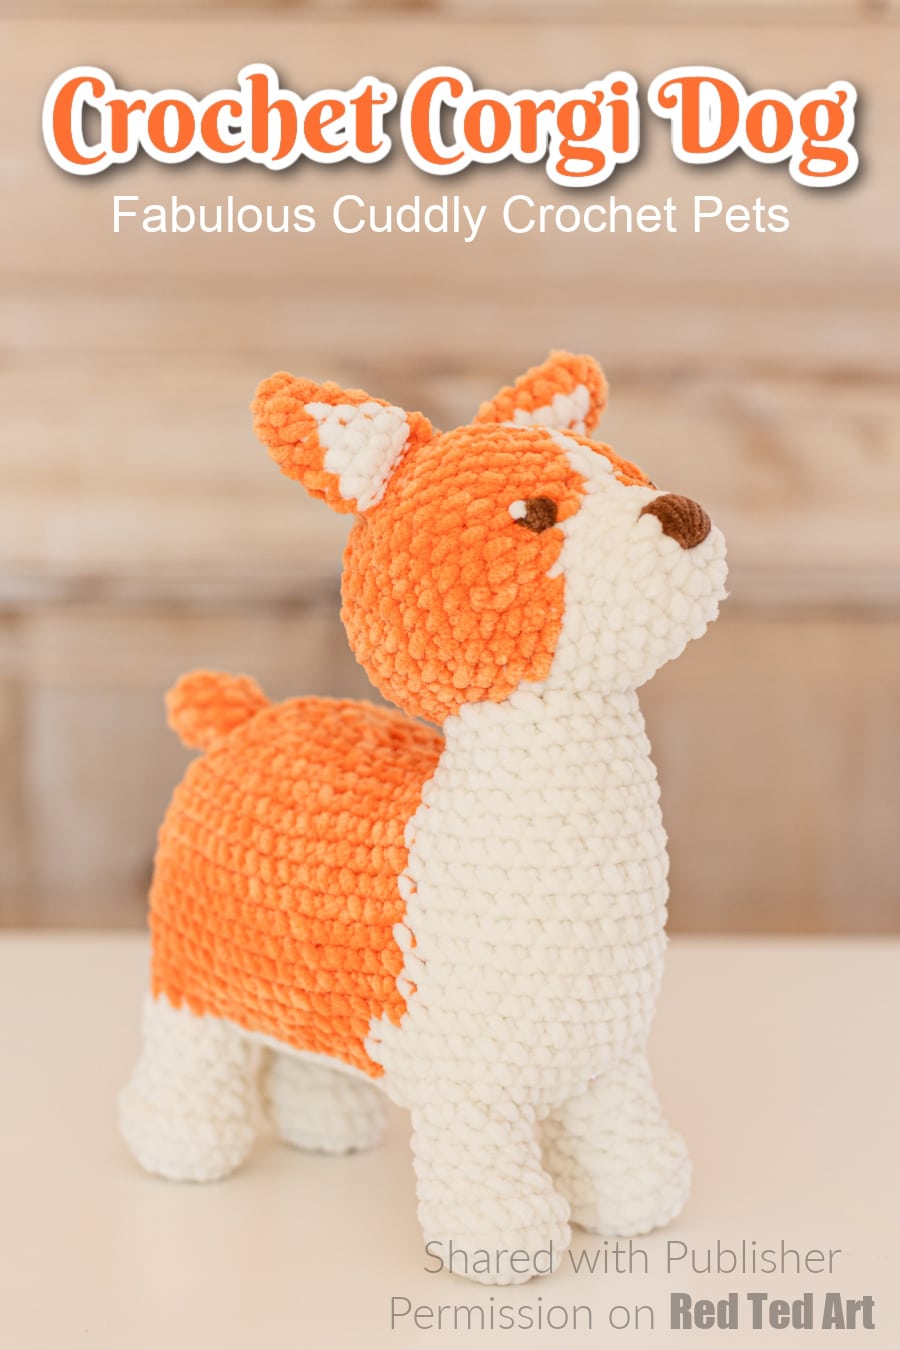
Corgi Dog Crochet Pattern
Hello lovely reader, I know you love a huggable crochet project as much as I do! So after the joy of the super huggable Octopus Crochet Pattern. I get to share this wonderful Crochet Crogi Project by the same amazing crochet creator with you today. Be prepared for some super fun squishiness!! So.. let’s take a look!
Please note: this project has been reproduced with permission from the publisher and is not allowed to be republished in any way, without their consent. It is for personal use only.
Also note: affiliate links have been added to this post – should you choose to purchase via these, I will earn a small commission that goes towards the upkeep of this site!
Cuddly Crochet Pets the Book
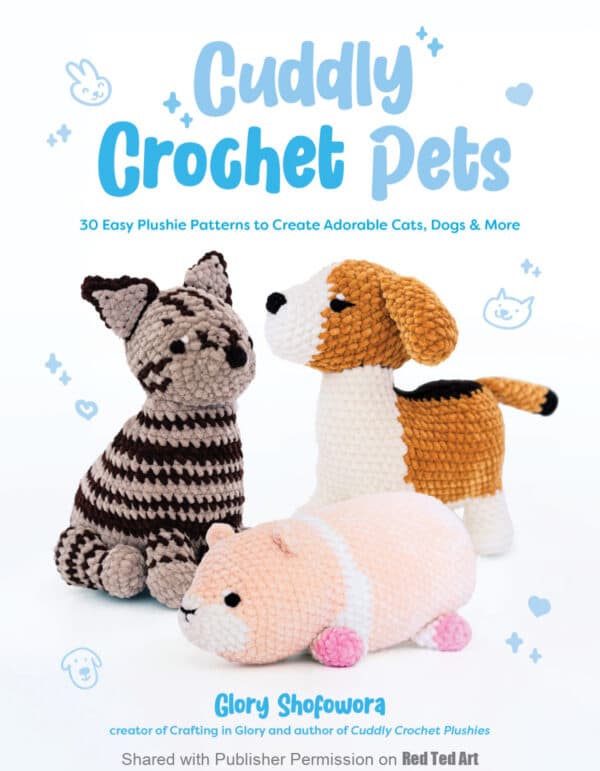
Recently, I had the pleasure of introducing you to Glory Shofowara, and her amazing Cuddly Crochet Plushies book. If you weren’t already convinced by the wonderful Octopus Crochet Plushie sample project… then be persuaded by the fact she now has BOOK TWO out: Cuddly Crochet Pets!
As mentioned previously, she most certainly is the queen of plushies and you can find her on instagram, etsy and her own website as Crafting in Glory! Basically, if you are after a super huggable or squishable crochet pattern, then Glory is the lady for you. Lots of super cute cuddly designs, that once you have made, you won’t want to let go of!
And now, you can explore more wonderful patterns, exploring the world of PETS! In this Cuddley Crochet Pets, you will find a host of different Dog Crochet Patterns (one cuter than the next) as well, as range of ridiculously huggable Cat Crochet Patterns, as well as some fabulous fish, hamesters and more… what is not to love?!
Grab a copy of this wonderful Crochet Book on Amazon or all major bookstores (from 4th August 2026).
Reprinted with permission from Cuddly Crochet Pets by Glory Shofowora. Page Street Publishing Co. 2026. Photo credit: Juliana Buenrostro & Glory Shofowora.
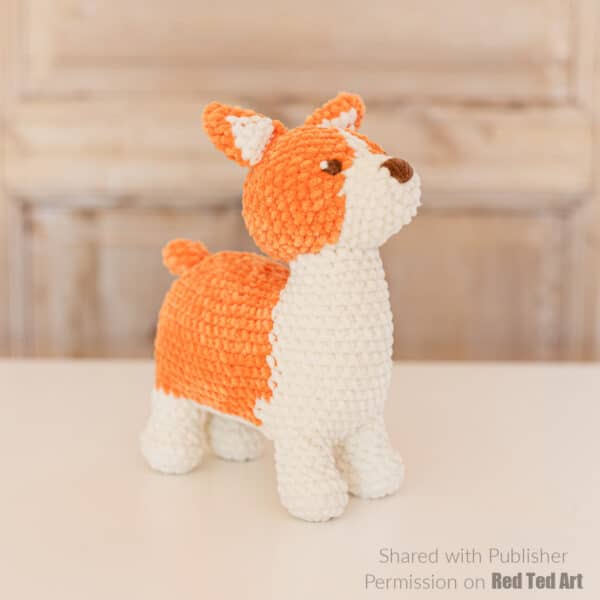
Callen the Corgi
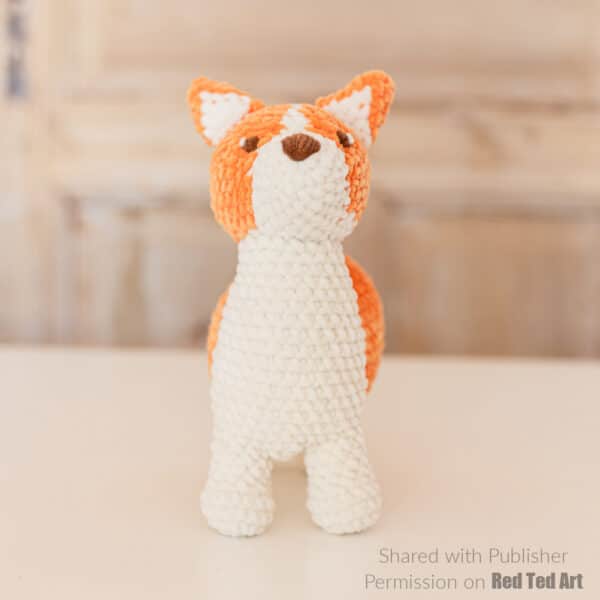
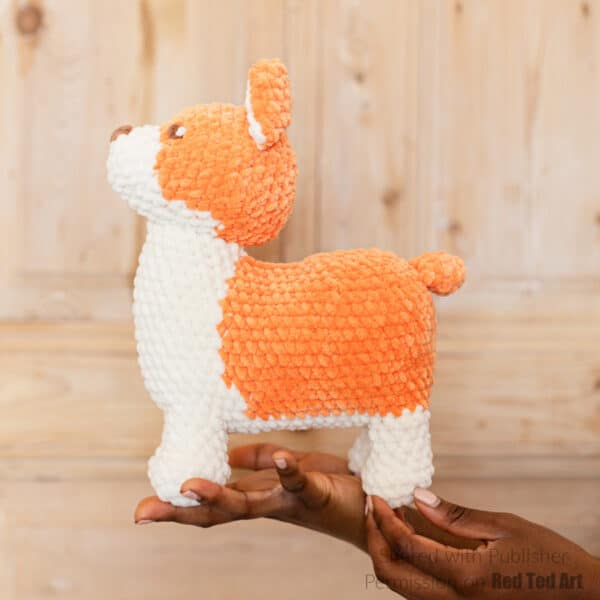
Corgis are notorious for their small body shape—In fact, the name originates from the Welsh language meaning dwarf dog! So, grab your hook and get ready to work on this cutie with tiny legs and a big belly.
Skill Level
Intermediate
Size
Approx 6 inches (15 cm) long, 7 inches (18 cm) wide, and 10 inches (25.5 cm) tall
Yarn
- Super chunky chenille yarn, Premier Yarns Parfait Chunky, 100% polyester, 131 yards (120 m), 3.5 oz (100 g)
- Mustard (MC), 393 yds (360 m)
- Cream (C1), 131 yds (120 m)
- Black (C2), 5 yds (5 m)
Hooks
US size H-8 (5mm)
Notions
- Polyester fiberfill
- Removable marker used to mark the first stitch of the round
- Tapestry needle
- Pair of 6mm safety eyes (optional)
Gauge
20 sc x 5 rounds = 4 inches (10 cm)
Crochet Abbreviations
All crochet abbreviations follow the U.S. terminology. If you need a refresher for any of the stitches, to check out our Crochet Beginner Basics, which also has an alternative to the Magic Ring, that some beginners find a little tricky at first!
- MC = main color – note: NOTE magic circle/ magic ring as is often used in other patterns
- MR = magic ring
- C1 = color 1
- C2 = color 2
- MR = magic ring
- Ch(s) = chain(s)
- Sc = single crochet
- St(s) = stitch(es)
- Dec = decrease (crochet 2 sc together)
- Inc = increase (work 2 sc into one stitch)
- Flo = front loop only
Callen the Corgi Pattern
Legs (make 4)
With C1, make a MR, then sc 8 into the MR (8 sts).
Rnd 1: Inc in each st (16 sts).
Rnds 2–3 (2 Rnds): Sc in each st (16 sts).
Rnd 4: Sc 4, dec 6 times (10 sts).
Rnds 5–7 (3 Rnds): Sc in each st (10 sts).
Sl st into the 1st st of Rnd 7.
Fasten off and leave a 3-inch (7.5-cm) tail. Set aside.
Waggy Dog’s Tail
With MC, make a MR, then sc 8 into the MR (8 sts).
Rnds 1–4 (4 Rnds): Sc in each st (8 sts).
Fasten off and leave a 12-inch (30.5-cm) tail for sewing.
The Corgi Dog’s Body
With C1, ch 16.
Inc in the 2nd chain from hook, sc in the next 13 chs, and inc 2 times in the last ch. Turn your work clockwise 180 degrees, so that you can work along the opposite side of the chain. Then, sc in the next 13 chs, and inc in the last ch (34 sts).
Rnd 1: Inc in the first 2 sts, sc 13, inc in the next 4 sts, sc 13, inc in the last 2 sts (42 sts).
Rnd 2: Sc 2. Attach Leg 1 by placing your hook into the 6th st of the Leg and the next st of the Body. Sc the sts together. Sc the 5th st of the Leg and the next st of the Body. Sc the 4th st of the Leg and the next st of the Body together. Sc 12. Attach Leg 2 the same way the first Leg was attached. Sc 3. Attach the third Leg by placing your hook into the 1st st of the
Leg and the next st of the Body. Sc the sts together. Sc the 10th st of the Leg and the next st of the Body together. Sc the 9th st of the Leg and the next st of the Body together. Sc 12. Attach the last Leg the same way the previous Leg was attached. Sc in the last st (42 sts).
Rnd 3: Sc 2. Sc into the remaining 7 sts of Leg 1. Sc into the next 12 sts of the Body. Sc into the remaining 7 sts of Leg 2. Sc into the next 3 sts of the Body.
Sc into the remaining 7 sts of Leg 3. Sc into the next 12 sts of the Body. Sc into the remaining 7 sts of Leg 4. Sc into the remaining st of the Body (58 sts).
Rnd 4: With C1, sc 11. With MC, sc 38. With C1, sc 9 (58 sts).
Rnd 5: With C1, sc 12. With MC, sc 37. With C1, sc 9 (58 sts).
Rnd 6: With C1, sc 12. With MC, sc 38. With C1, sc 8 (58 sts).
Rnd 7: With C1, sc 10. With MC, sc 42. With C1, sc 6 (58 sts).
Rnd 8: With C1, sc 11. With MC, sc 41. With C1, sc 6 (58 sts).
Rnd 9: With C1, sc 11. With MC, sc 42. With C1, sc 5 (58 sts).
Rnd 10: With C1, sc 12. With MC, sc 41. With C1, sc 5 (58 sts).
Rnd 11: With C1, sc 12. With MC, sc 42. With C1, sc 4 (58 sts).
Rnd 12: With C1, sc 13. With MC, sc 41. With C1, sc 4 (58 sts).
Rnd 13: With C1, sc 13. With MC, sc 42. With C1, sc 3 (58 sts).
Rnd 14: With C1, sc 14. With MC, sc 41. With C1, sc 3 (58 sts).
Rnd 15: With C1, sc 14. With MC, sc 6, (dec, sc 3) 6 times, sc 6. With C1, sc 2 (52 sts). Stuff the Legs.
Rnd 16: With C1, sc 15. With MC, sc 35. With C1, sc 2 (52 sts). Start to stuff the Body.
Rnd 17: With C1, sc 15. With MC, sc 5, (dec, sc 2) 6 times, sc 7. With C1, sc in the last st (46 sts).
Rnd 18: With C1, sc 16. With MC, sc 23. Place a st marker in the 22nd st from the beginning of the round. Place your hook into the next st of the Body and the st marker st. Sl st the sts together.
Repeat this process with the next st of the Body and the 21st st, the next st of the Body and the 20th st, the next st of the Body and the 19th st, the next st of the Body and the 18th st, and the next st of the Body and the 17th st. (You will now have 12 sts connected in the middle of the Body, and 2 openings, with 17 sts each.) With C1, sc into the last st of the Body (40 sts). Break MC.
Remove the st marker.
Rnd 19: With C1, sc 16. Sc in the last st (17 sts).
Rnd 20: Sc in each st (17 sts).
Fasten off and leave a 12-inch (30.5-cm) tail for sewing.
To finish the Body, with MC, place your hook into the 23rd st of Rnd 18. Sc into the same st. Work into the remaining 16 sts by dec 8 times (9 sts). Finish stuffing the Body.
Rnd 21: (Dec, sc) 3 times (6 sts).
Fasten off and sew the hole closed.
Corgi’s Head
With C1, make a MR then sc 8 into the MR (8 sts).
Rnd 1: Inc in each st (16 sts).
Rnds 2–4 (3 Rnds): Sc in each st (16 sts).
Rnd 5: With C1, sc 7. With MC, inc 3 times in the flo. With C1, sc. With MC, sc, inc 3 times. With C1, sc in the last 2 sts (22 sts).
Rnd 6: With C1, sc 7. With MC, (inc, sc) 3 times. With C1, sc 2. With MC, (inc, sc) 3 times. With C1 sc in last st (28 sts). If using, attach safety eyes on this Rnd, 7 sts apart.
Rnd 7: With C1, sc 7. With MC, sc 10. With C1, sc. With MC, sc 9. With C1, sc in last st (28 sts).
Rnd 8: With C1, sc 7. Inc in next st. With MC, (sc 2, inc) 2 times, sc 3. With C1, sc 1. With MC, (inc, sc 2) 3 times. With C1, sc in last st (34 sts).
Rnd 9: With C1, sc 9. With MC, sc 12. With C1, sc. With MC, sc 12 (34 sts).
Rnd 10: With C1, sc 10. With MC, sc 11. With C1, sc. With MC, sc 12 (34 sts).
Rnd 11: With C1, sc 10. With MC, sc 24 (34 sts). Break C1.
Rnd 12: With MC, sc in each st (34 sts).
Rnd 13: Sc 9, (dec, sc 2) 3 times, sc 5, (dec, sc 2) 2 times (29 sts).
Rnd 14: Dec, sc 27 (28 sts).
Rnd 15: Sc in each st (28 sts).
Rnd 16: Sc 11, (dec, sc) 5 times, dec (22 sts).
Rnd 17: (Dec, sc 3, dec, sc 4) 2 times (18 sts).
Rnd 18: (Dec, sc) 6 times (12 sts).
Rnd 19: Dec 6 times (6 sts).
Fasten off and sew the hole closed.
Crochet Ears (make 2)
With MC, make a MR, then sc 6 into the MR (6 sts).
Rnd 1: Sc in each st (6 sts).
Rnd 2: With MC, inc. With C1, sc 1. With MC, sc 1, inc, sc 2 (8 sts).
Rnd 3: With MC, sc 2. With C1, sc 2. With MC, sc 4 (8 sts).
Rnd 4: With MC, inc, sc. With C1, sc 2, inc. With MC, sc 3 (10 sts).
Rnd 5: With MC, inc, sc 2. With C1, sc 2, inc, sc 2. With MC, sc 2 (12 sts).
Fasten off and leave a 12-inch (30.5-cm) tail for sewing.
Assembly of your Crochet Corgi
Sew each Ear onto Rnd 12 of the Head, 4 sts apart. Sew the Tail on the back of Rnd 20 of the Body. Sew the Head onto the neck of the Body. If you aren’t using safety eyes, embroider a pair of eyes onto Rnd 6 of the Head, 8 sts apart. Finally, embroider a triangle-shaped nose 2 Rnds tall and 3 sts wide at its widest point on the Head.
Ta-da.. your adorable Corgi Crochet Pattern is FINISHED!! Why not grab a copy of this wonderful Crochet Book on Amazon or all major bookstores (from 4th August 2026).
Reprinted with permission from Cuddly Crochet Pets by Glory Shofowora. Page Street Publishing Co. 2026. Photo credit: Juliana Buenrostro & Glory Shofowora.
Here are more wonderful Sample Patterns by Page Street Authors, with irristible books to check out ( thought I would go for the Seaside theme!):
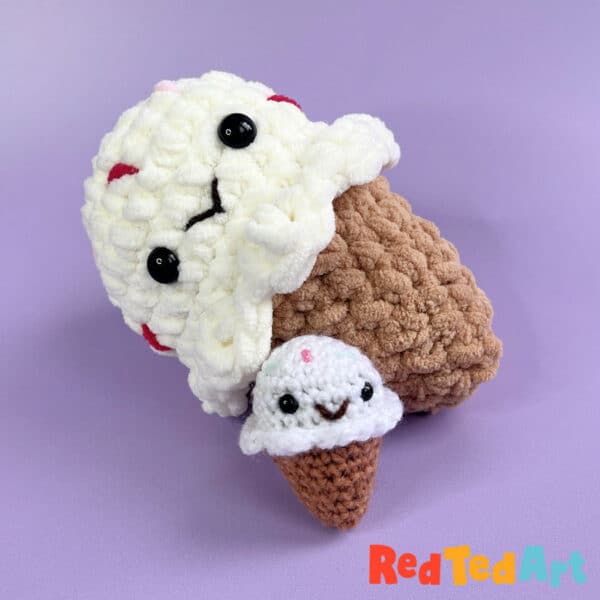
- A super cute Ice Cream Crochet Pattern from The Big Book of Beginner Amigurumi
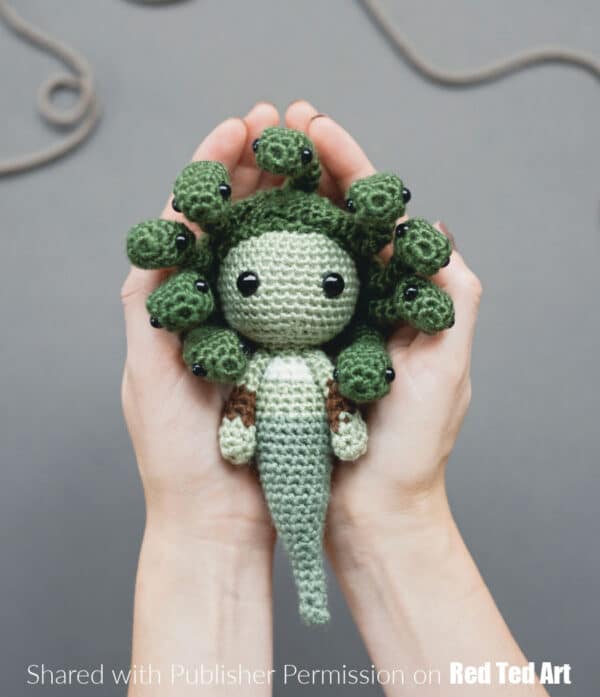
- A super cute Mushroom Crochet Sprite from Fantasy Crochet Creatures
- A fantastic Medusa from Creepy Crochet