
DIY Paper Spinner Toys
The kids and I have been getting excited about DIY Paper Toys these past few months. As they get older and more “able”, it has been super fun exploring all the great things you can do with paper. So it was only a matter of time before we had a go at making a DIY Paper Spinner. Not only were they super fun to make.. but they provide a great STEAM activity for anyone learning about colour theory. It is simply so MAGICAL to see colour theory in action RIGHT BEFOR YOUR EYES.
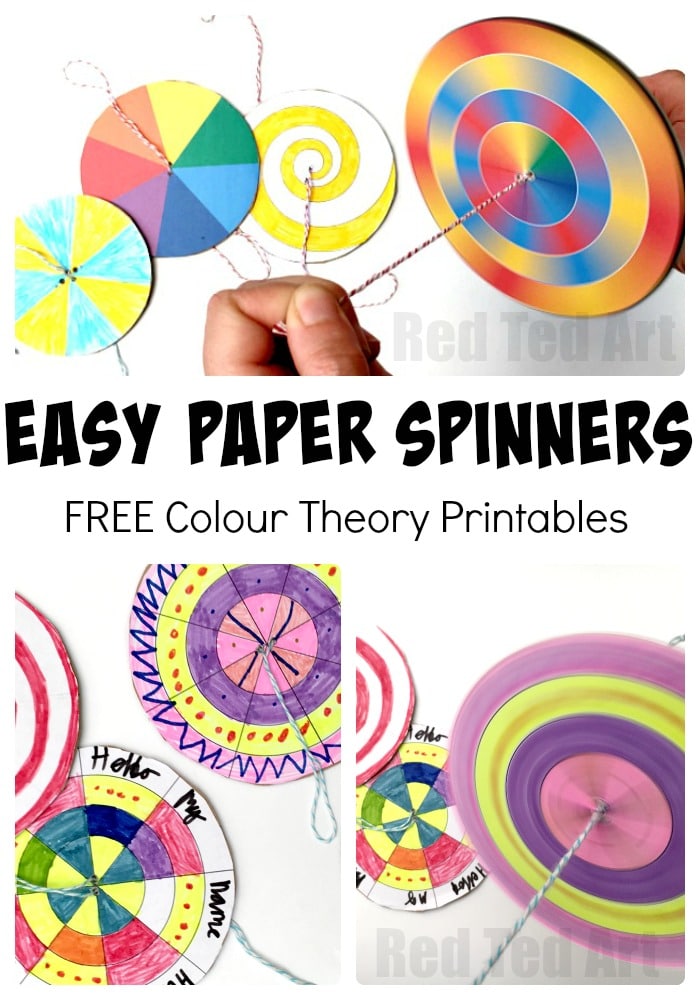
We made a set of plain spinners (for the kids to colour themselves and to experiment with colours, patterns and designs), but also a set of PRINTABLES! The printables are particularly useful for a classroom setting or if you have LESS TIME, but still want to make this easy paper toy. But I do encourage you to go freestyle, use a plate as a stencil and have fun!
DIY Paper Spinners – Materials:
- Paper
- Card
- String or pennies to make a penny spinner
- Pens
- Scissors
- Glue stick
The FULL Set of 7 Paper Spinners is available in my Teacher’s Pay Teacher’s store for less of the price of a coffee (there is also a “Mega” bundle that includes many seasonal designs)! However, you can still download one full colour swirl or the basic free template are available for free on Gumroad. Enter $0 or check out.


DIY Paper Spinners How To:
Either watch this simple video or read the written instructions below!
We also made an emoji spinner version
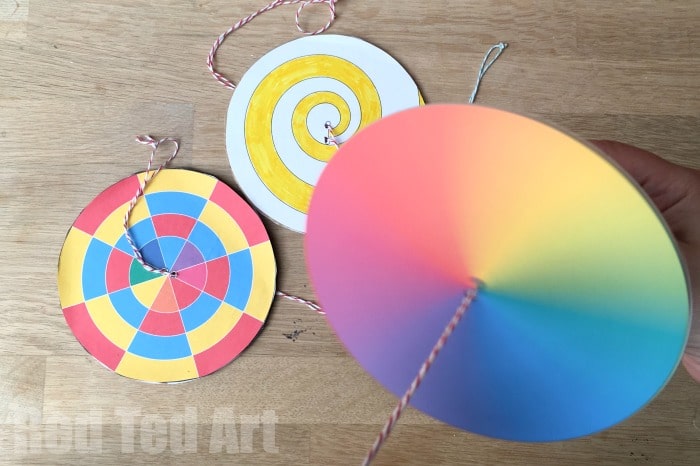
- Either print out two circles from the templates above OR get a small paper plate (approx 10-12cm in diamater and draw two circles).
- Colour in your circles any way you wish. The colours will “mix” on any concentric circles. (see video for the effect). Be bold and experiment with different designs and patterns.
- Cut our your circles.
- Stick the first circle on some cardboard.
- Cut out the cardboard circle now.
- Stick the second circle on to the back.
- Make two small holes (approx 1cm apart, if not 8mm) on either side of the centre of the circle – the templates have markings for this.
- Thread string approx 40cm in length through and tie.
Have a go at spinning!!
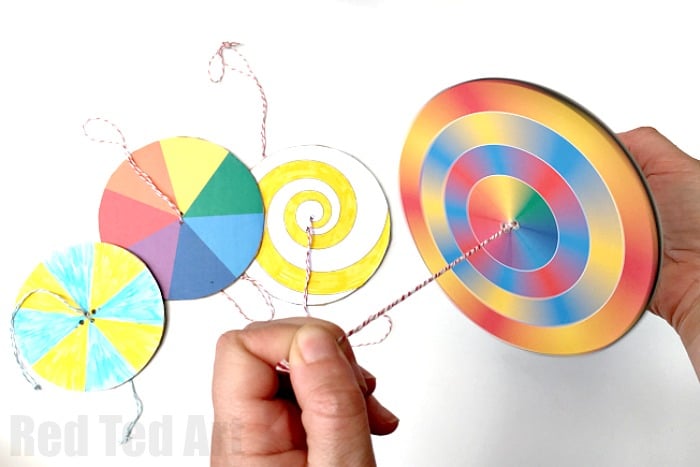
This Paper Spinner really shows colour theory well – you can see how the outer red/ yellow rim turns orange, the blue/ yellow goes a light blue/ green and the red/blue turns a lovely purple. Awesome colour wheel theory exploration!
WHITE LIGHT: when this rainbow spinner is going fast enough it actually appears as white every so often – confirming that “white light” is made up of all the colours of the rainbow. For an accurate “white light”, you would probably have to adjust the proportion of each colour correctly, as well as get it spinning really fast.
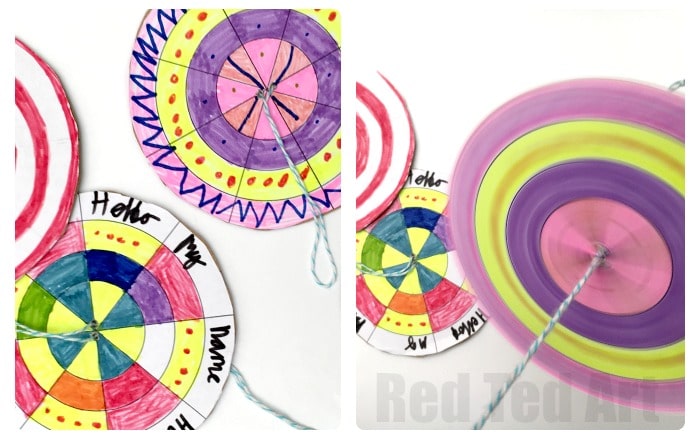
The kids also had great fun designing their own spinners. They started off with “plain sections” and then looked at what happened when they added red dots and blue zig zags. I think we love these ones best! But they take more time to make as you need time for decorating!
At first it is tricky to get the spin going.. but keep practicing and it will get easier. Once the spin is going, you can relax your hands a little, this will allow for the spinner to “reload in reverse” and keep going!!!!
ENJOY!
We have more DIY Paper Toys for your here:
Enjoy your Paper Spinner!!!! This instructional video is also available on YouTube!