How to… a Make Doll’s House Bed
 Welcome. As you know, our Dolls’ House is an ongoing project. As I add room by room and detail for detail. I was very pleased with the shell sink and the shower I showed you last time and we had lots of fun decorating the house for Christmas! Today I have simple bed pattern. I made it to fit our dolls. I used the length of our dolls as a guide. You can easily adjust the basic pattern and idea for your dolls and your house!
NOTE: this is an old post from 2012, I will try and update it and “tidy it up for you” asap! But there have been lots of requests for the pattern!
Materials:
Thick card, stanley knife, acrylic paint (to give it a nice finish) for frame
Fabric left overs and (cotton wool) stuffing for pillows and duvet
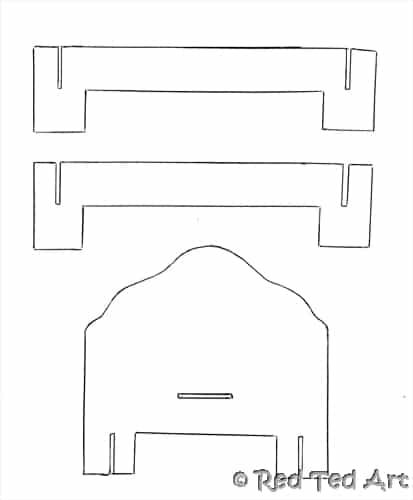
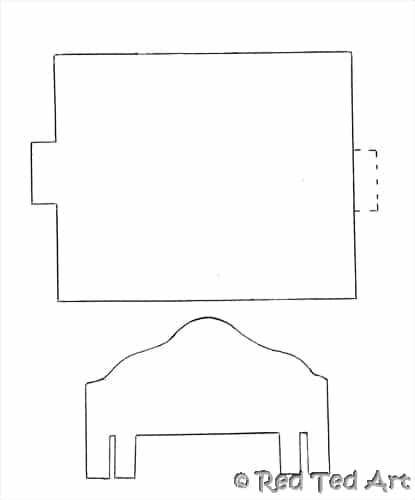
The pattern: Print the following to fit the WIDTH of an A4 Piece of paper and you should have the right size! It was drawn by hand so mind any uneven lines. Key to your pattern are the slots – make sure you cut them 1mm wide so accommodate the with of your card, as than the corresponding two slots compliment each other – i.e. they go half way.
The piece that is “dashed” is optional – you may add an extra piece to connect the bed floor to the bed end. I did use this, but “stuck it down” with some acrylic paint.
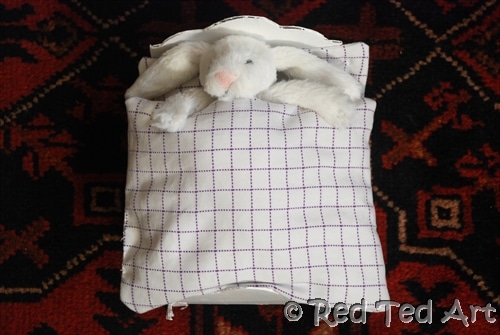
I used my dolls to measure the length of my bed – so if your dolls are shorter or longer – just adjust the pattern. In fact, the above pattern is for the white bed below. The brown one I made a little shorter.
- Cut your card to may your dolls bed frame.
- Slot together the dolls bed together.
- Paint!


