How to make a Pinch Pot for Christmas – Reindeer DIY
The love for Air Drying Clay Projects continues! Working with clay is fantastic for children. It is soothing and mindful. It is great for dexerity and finger strengthening and of course it is a wonderful clay art project to be proud of.
Today, we share how to make a pinch pot for Christmas with our DIY Reindeer Pinch Pot Idea for kids! Enjoy!!! More lovely Reindeer DIYs here.

Reindeer Christmas Pinch Pot – Materials
Affiliate links have been added for your convenience. Should you choose to purchase through these, I will earn a small comission that goes towards the upkeep of this site!
- air drying clay (US/ UK)
- a little water
- paints for decorating – we used – gold, brown and red – acrylic paints or gloss enamels are great
- red glitter (optional)
How to make a Pinch Pot for Christmas
Watch our fabulously easy to follow Pinch Pot video tutorial – a step by step guide to how to make a pinch pot with kids and shape it into a reindeer for Christmas:
Step by step written instructions for how to make a pinch pot for Christmas
The video turtorial really is best.. but here are some simple Pinch Pot steps, with basic photos!

Begin by taking a lump of clay that fits nicely into your palm.
Shape and smooth into a tidy ball. Get any air pockets out and smooth down any cracks.
Holding the ball with both hands, and using your index fingers and thumbs, start shaping a wall. Press the thumbs into the centre of the ball and shape/ support with your fingers.

Lift your pinch pot off the working surface every so often to avoid it sticking down (though you can also “remove” it from the surface with a piece of wire later). Keep shaping and smoothing the edges.
Once you have a basic bowl, shape it into a dear’s head by squshing it into a triangle. One straight edge of the triangle will form the ears.
The point oppostite needs to be rounded into a nose shape.
Keep smoothing down any cracks as you shape the bowl and avoid the walls getting too thin.

When you have the basic shape made and you are happy with it. Make the nose and antlers out additional pieces of clay.
Cross hatch the antlers and the nose, as well as the part of the wall they will connect with. Add a little water and join.
Smooth down any edges for additional joining, so they won’t fall apart once dry.
Let dry fully for 3-4 days.
Paint in your desired colours. Add glitter if you wish!
Your DIY Reindeer Pinch Pot design is now ready for gifting!! ENJOY!!!
You may also like our Snowman Pinch Pot guest post here a great opportunity to have a go at a double pinch pot – or even triple pinch pot:

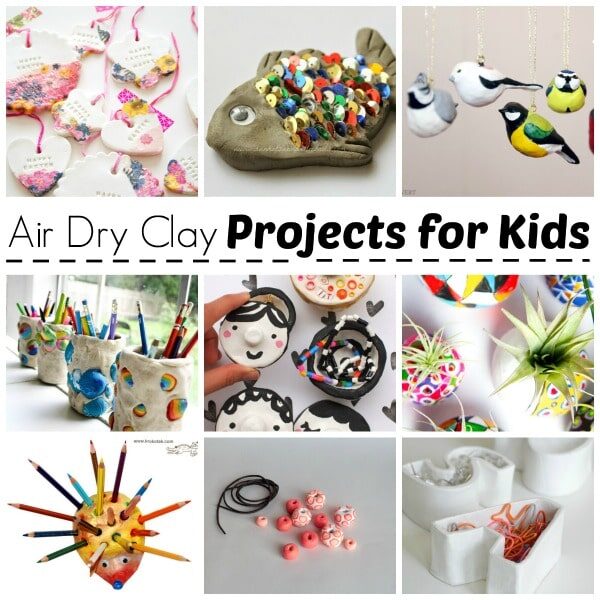
More amazing Air Drying Clay Projects for kids (with a whole section on Pinch Pot Ideas!):
Or browse the rest of our DIY Reindeer Ideas here!


