How to make an expandable Birthday Gift Card
So. It is Birthday season in our house. Autumn is always very busy, with Granny, Grandpa, The Englishman, and Pip Squeak’s Birthdays, all within a few weeks of each other.
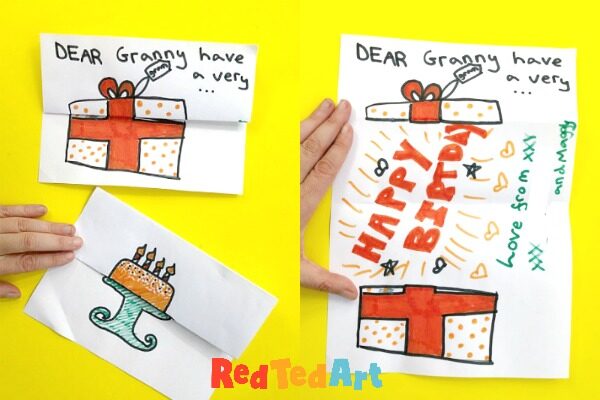
A homemade Birthday Card is ALWAYS a must. And we do love an easy Pop Up Birthday Card. But this time, we wanted something different. So I sent the kids off to design their own (they are big enough now). Pip Squeak came back with these super fun Expandable Birthday Gift Card designs. So fun. So easy!
She also made a whole set of others – some expanding Ice Cream cards as well as an expandable Birthday Cake card. More on those later! Today we want to show you how to make an expandable Birthday Gift Card!
Materials for making an expandable card:
- White piece of printer paper
- Colouring pens
- We also like to use a nice black outliner – e.g. one of these US/ UK
We also have a fab birthday gift and birthday cake printable for you!! Head to our teacher’s pay teachers store to grab a copy! So fun. The printable contains – lesson plan overview, step by step printable instructions (with photos) and two drawing prompts to help kids get started. Coloring and drawing one.

How to make an expandable birthday gift card
First, you need to prep your paper and basic drawing.
Take your sheet of paper and fold the top half down. Make a neat crease.
Life one sheet of the folded paper and fold back up. When unfolded, this makes a fold at the top quarter and then again at the half way mark.
Keep it folded.
Draw your birthday gift box and any messages
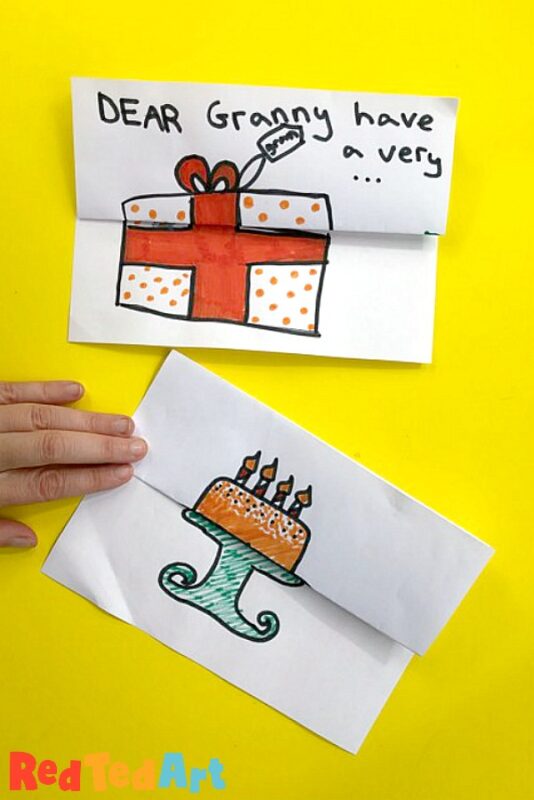
When drawing your design or gift box – be mindful, that the fold in the paper is a natural part of your drawing that can be separated. E.g. the lid to a gift is on the top half and the bottom part of the gift is below the fold.
You can apply this concept to any design. Eg. a small cake on the top fold and a cake plate on the bottom fold.
Add your surprise drawing
Open up your page fully, so you have a blank page in the middle. With the expandable Birthday Gift Card – you can now draw ANYTHING in this space – imagine that it is POPPING Out of the box! Pip Squeak did a big “surprise”, but also a cat popping (mmmh wishful thinking).
With designs like a birthday cake, you need to add “layers to the cake” – be mindful that they spread out evenly between the top and bottom layers!
Now colour in your drawings, pop in an envelope and surprise someone!
What our eay to follow Expandable Card Video:

Expandable Cards
Equipment
- 1 Sheet of Paper
- Pens
Instructions
- Fold your sheet in half
- Lift one flap and fold in half again. When you open your paper you should have 2 folds, one 1/4 of way down, one 1/2 of the way down
- Keep the paper folded and make your drawing – e.g. a gift box – take note of a "top half" and a "bottom half"
- Open the paper up and draw your surprise inside – be mindful not to draw below or above the "top and bottom" of your drawing to contain the suprise within
- Refold – your expandable card is finished!
Notes

We have a host of fun Pop Up Cards and Card Making ideas for you to explore here:

All our Card making ideas


