Kids Crafts: Butterfly Mobile
As some of you may know, we have been watching caterpillars grow and transform into butterflies these past few weeks! Well, watching them grow and transform has been an exciting journey – culminating in us actually seeing one butterfly hatch. It was truly amazing and wonderful. I have photos to share for you, but they just don’t do the experience just! To celebrate our caterpillar life cycle journey, we decided to make a butterfly craft! This is a GREAT craft for all age groups – you can make it yourself in plain white or in Mini Eco-sque bright colours (check out her lovely Butterfly Suncatcher), or like us, you can make it with the kids – we had Opapa (retired), The Englishman (ahem, almost 40), Red Ted (4) and Pip Squeak (2) (and of course me) all joining in. A lovely collaborative effort. We love Butterfly Crafts!

The Book
![The Very Hungry Caterpillar [Board Book]](http://ecx.images-amazon.com/images/I/415zAVZ9TiL.jpg)
The Very Hungry Caterpillar, Eric Carle
Well.. how can this week’s book recommendation be any other than Eric Carle’s Very Hungry Caterpillar? It is simply perfect for our experience with our own caterpillars!
In case you don’t know the story – the book begins with an egg – and from the egg hatches a little hungry caterpillar… who goes on a journey to find food. As it goes through the days of the week it eats more and more – culmination in a feast of food and a tummy ache. He takes a rest from the food and nibbles a green leaf. Then… we realise that he is big and fat and soon he turns into a cocoon. Then over 2 weeks later, a beautiful butterfly emerges. Just brilliant. And exactly what we experience with out caterpillars.
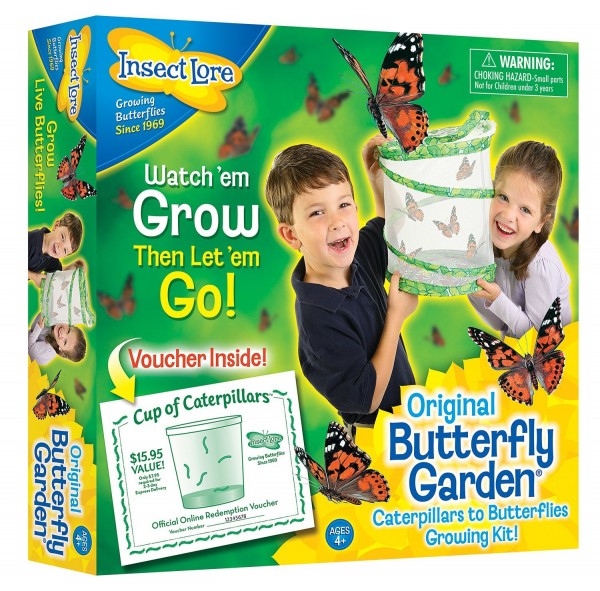
This is the Butterfly Garden Kit we used and we love it! We have gifted it to school a couple of times too. Such a brilliant and amazing experience!
(affiliate links)
Before you explore your butterflies, why not grab a hold of these free Butterfly Life Cycle Worksheets and complete these whilst observing your caterpillars?!


Day 1 (8mm) vs Day 8 (3.2cm)!

")
Day 14 The caterpillars move to the top of the jar & transform to Cocoons (Day 14/15). We moved the cocoons into the butterfly net.


We were lucky enough to watch this butterfly hatch (Day 26). This is seconds after it came out of the cocoon – the wings are still wet and folded. Once it came to releasing them 3-4 days later, Red Ted took the “handling” of the butterflies VERY seriously. What a fabulous experience for him to get to hold one!

Releasing our Butterflies! And they are off!!! What a lovely day for them to go back to nature!
When they are arrived they were a mere 8mm long. We saw them grow in front of our eyes and 8 days later they measured well over 3.2cm! Amazing growth. Finally they climbed to the top of the jar, suspended themselves and turned into cocoons. We wait just over 2 weeks… and then… the miracle happened butterflies emerged! We watched one hatch – it came out – with it’s wings tightly curled – rested and then gradually gradually expanded its wings as it dried out. Lovely. After 3-4 days of feeding them sugar water and fresh oranges, we released the butterflies. They stayed close for quite some time before leaving.
The Craft
As mentioned in the introduction – you can make this butterfly mobile or butterfly garland yourself for your child’s bedroom, or you can get the whole family involved – wouldn’t it make a lovely project for a sibling to make for a birthday of the other sibling? You will see that I sewed the garland on the sewing machine – something I have never done before and I really wanted to try out – but you can skip that and just sellotape or glue the butterfly craft to some cotton!

1) Cut out your butterflies. Use our template to help you (you may have to adjust the size a little in your printer settings) – there are two sizes, we ended up going for the smaller size. I found it easiest to cut the butterflies out across the fold – that way you get perfectly mirrored butterflies – and it doesn’t matter if you don’t cut it out too neatly. Also means you can cut out more, more quickly. You will fold your butterflies later anyway, to give them that fluttering look, so the crease is welcomed!

2) Colour your butterflies. We really fancied watercolours. But as there were 5 of us joining in, I let the children use my oil pastels – a special treat and new experience for them.
")
3) Attached to thread – either with sellotape or by sewing. If you are sewing the garland – I found it helpful to start the garland off with a small paper disc, sew across it, then let the machine keep running “on empty” and then feed in your butterfly. Sew it. Then let the machine run on empty again for a bit and feed in the next butterfly. It is a little tricky at first, but I soon got the hang of ot.
")
One of Pip Squeaks (2.5yrs)

Some of Red Ted’s (4yrs) – I love how he noticed you should “match” the two sides of the butterfly up. When I asked him, how he knew to do that he said “I saw it, Mummy”. A bless those observation skills emerging!
4) Hand from the ceiling/ from the wall or attach to a large disc/ cloud shaped card/ flower shaped card.
Enjoy!
I do hope you enjoyed our simple butterfly craft! We certainly did!
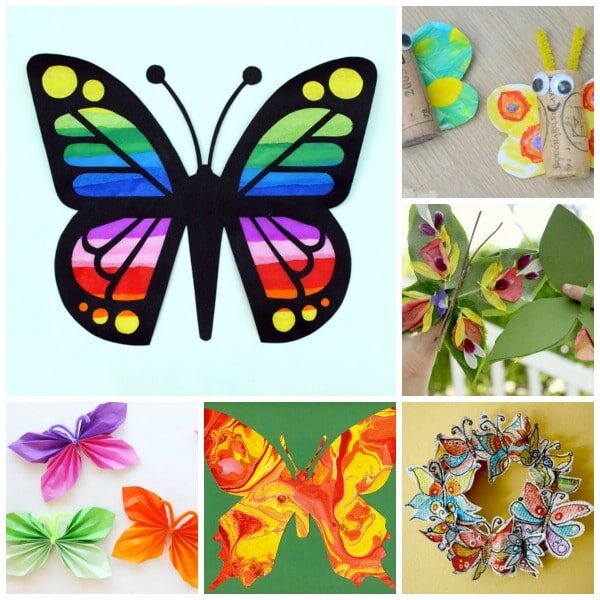
More great Butterfly DIY Resources: