Paper Plate Chick Purse for Easter
Learn how to make a paper plate chick purse for Easter. A simple craft that preschoolers will love to make and wear!
We love crafting with Paper Plates – it took us a while to “get use” to them.. but once you have started crafting with them, like with TP Rolls, you will never look back and more and more and more Paper Plate crafts idea will head your way.
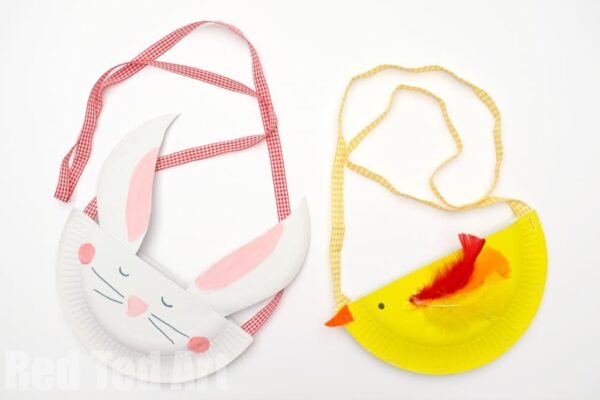
Today, we share two ADORABLE Paper Plate “Purses” that kids can make for Easter (or Spring for that matter.. or any time of year actually!) – check out this Paper Plate Bunny and this Paper Plate Chick Purse! Aren’t they simply cute cute cute?! And so so soooo easy to make! This joins our collection of extenstive Easter Crafts for Preschoolers. So very cute!
The paper plate bunny purse is COMING SOON!!!
Paper Plate Chick Purse Materials:
- One paper plate
- Ribbon, string or wool for hanging
- Paint (if you want to change the colour)
- Felt or cardboard (for the beak)
- Feathers (optional – you can also draw some on, cut out patterned feathers from pretty paper or plain paper)
- Glue
- Stapler (optional)
How to Make a Paper Plate Chick Purse:
How to make a chick paper plate purse for Easter
The video on auto play is a quick 2 min video that shows you how quick and easy it is to mae this cute little chick purse! Alternatively, follow the simple written instructions here:
Paint your plate yellow
First paint the back your paper plate in yellow (or any fun chick colour!). It needs to be the back as that is where the plate curves outwards. If you do the front, you can’t bring the two sides together to create the pocket.
Once fully dry, cut your paper plate in half.
Decorate your plate like a chick
Take one half and decorate as a chick – we added feathers, a beak and a little black eye. However you can use whatever you have to hand: felt, cardboard or draw on some feathers.. or leave your chick plain.
Connect your strap and two paper plate halves together
Take some ribbon or t-shirt yarn – measure the length you want to “fit” your child and cut a strip.
Now either glue or staple your paper plates halves together – with your ribbon positioned in place. We prefer to staple as it is instant and feels more secure. If gluing – use some clothe pegs to hold it in place whilst it dries. Done! You Paper plate chick purse is ready to be used!
More from Red Ted Art – 20+ Bunny Crafts and 20+ Chick Crafts
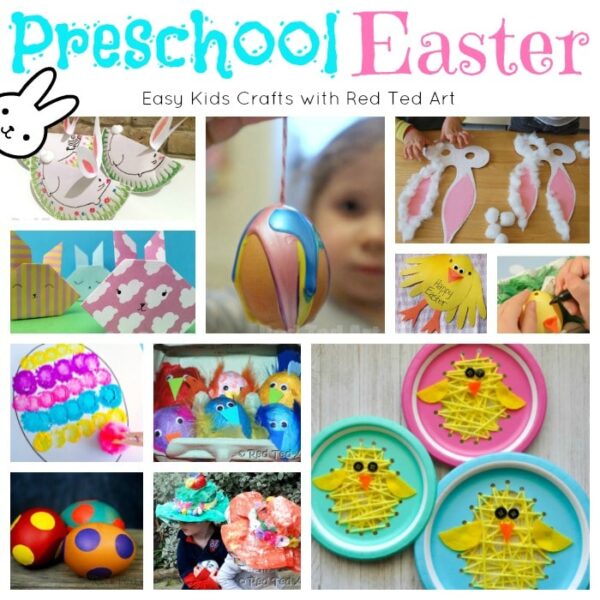
Our full list of Easter Crafts for Preschoolers here:
Hope you enjoyed the paper plate chick purse and have a go!!
This craft video is also available on YouTube (but is a little longer!)


