Paper Plate Nest – Crafts for Preschoolers
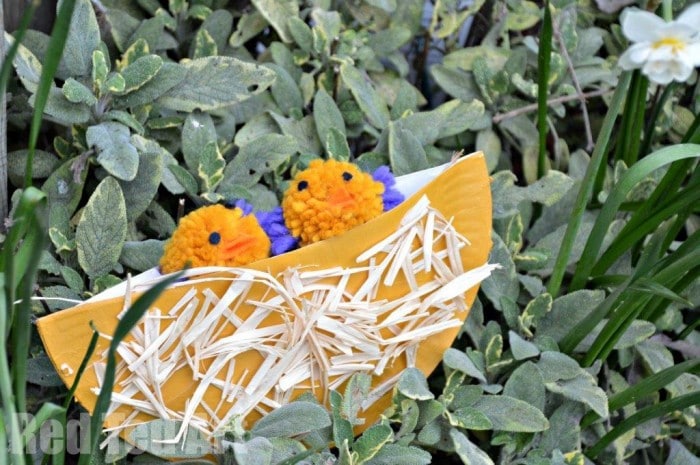
You may have noticed that we are having a little Paper Plate Crafts session in our house. Basically, we had a stack left over and need to get crafty with them. As we are still in Easter and Spring Crafts mode, we thought a cute little Paper Plate Nest craft would be in order. It is super quick and easy to do…. we added our little Pom Pom Chicks to it, but I think some footprint chicks or paper chicks would be equally cute!! Whatever takes your fancy!
Paper Plate Nest Materials:
- One paper plate
- Paint (optional)
- Raffia or wool or tissue paper or snips of paper
- Chicks (make them as part of this craft, or use them form another crafting session)
Paper Plate Nest How To:
1) Well.. this isn’t really too much of a how to.. as they are quite straight forward.. paint the BACK of your plate (if you wish).
2) Once dry, cut your plate in half, stick it together (coloured sides out) and then snip your raffia and stick it on. We had the raffia from a bunch of flowers, so a nice bit of upcycling. You can use flowers or stirps of tissue paper if you don’t have raffia! (Did you spot Pip Squeak’s new hair cut?!?)
Let it dry, pop in your chicks and let PLAY with your Paper Plate craft. Pip Squeak, keeps changing “who” lives in her nest.. sometimes I find bunnies in there.. other times, chicks and another time some plastic dinosaurs!!
Need more Paper Plate Crafts?!


