Paper Plate Turkey For Preschoolers
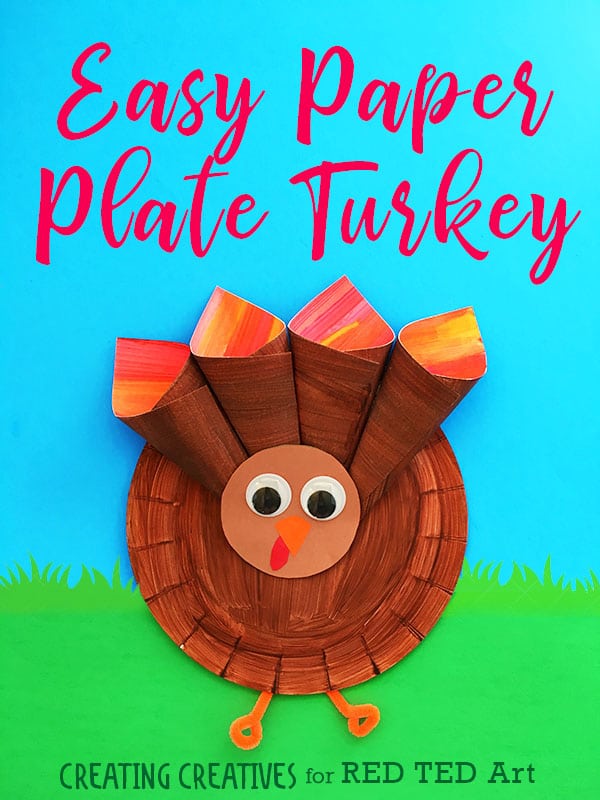
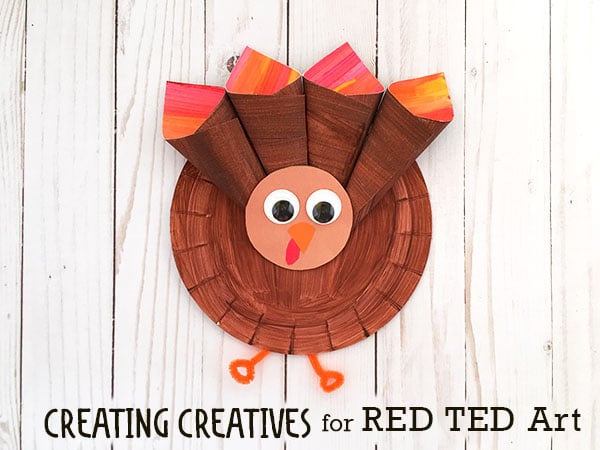
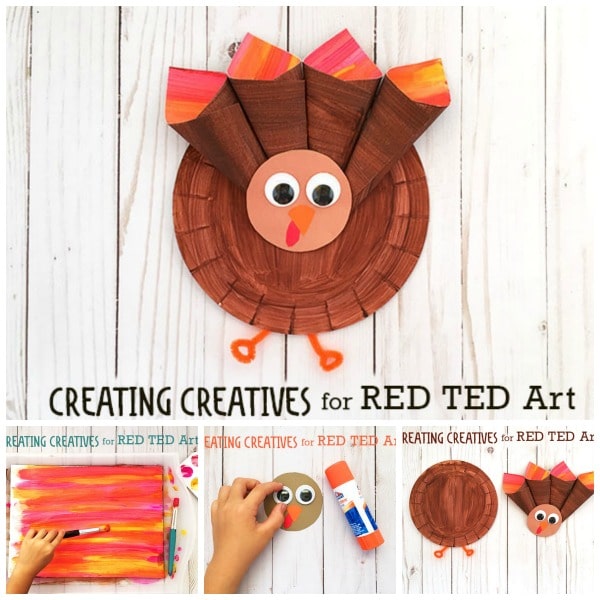
Gobble Gobble. Oh yes.. it is Easy Turkey Crafts for Kids time as welcome back the gorgeous Creating Creatives to Red Ted Art! Perfect time for Kids’ Thanksgiving Fun!! Create some gorgeous seasonal arty colours, take a paper plate, throw in some googly eyes.. and off you go to create a stunning and easy Paper Plate Turkey Craft that the kids will love!
See all of Creating Creatives wonderful projects for Red Ted Art here! She really is a misstress of paper plates and creating wonderful Paper Plate Crafts for kids!
It’s Turkey Season my fellow Tedsters and boy have we got a fun turkey craft for you today! A lot of color and a little wobble is what makes our turkey go ‘gobble gobble’! I hope you enjoy this project and if you make one of our turkeys I’d be truly thankful to see how they turn out, so feel free to tag me on Instagram.
Paper Plate Turkey Craft – Supplies:
- 1 Piece of Paper (we used watercolor paper)
- 1 Small Paper Plate
- 1 Piece of Red, Orange and Brown Paper
- 2 x Big-ish Googly Eyes
- Warm Colored Paint, Brown Paint & Paint Brush
- Orange Pipe Cleaner
- Glue, Scissors, Tape & Pencil
How to make a Paper Plate Turkey with Preschool
Preparing the Turkey’s bright tailfeathers
Paint one side of you paper with bright warm colors, reds, oranges, yellows, and pinks. Let dry.
Cutting Your Turkey’s head shapes
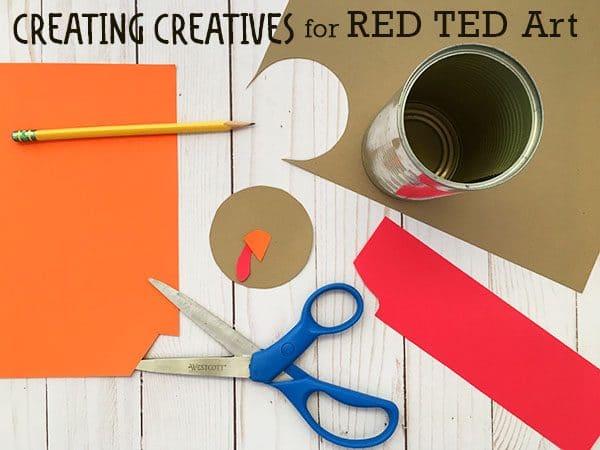
While your paper is drying make the turkey head. Cut a circle out of your brown paper for the face, we traced a tin can to get our circle. Then for the beak cut a triangle with a curved top out of your orange paper. Finally, for the red hanging bit, also known as the turkey’s ‘snood’ cut out a wobbly oval shape from your red paper.
Glue the eyes on your turkey head.
 Adding colour to the back of your turkey’s tail feathers
Once the bright side of your paper is dry turn it over and paint the back of it brown. Let dry.
When your paper is fully dry fold the bottom corner up to the top to make a triangle and cut off the colorful excess rectangle on the left. Open it up and you should now have a square shape.
Assmebling the colourful Turkey Craft’s Tail Feathers
Take your square and cut it into 4 little squares. To do this we folded the top of our square down, opened it back up, then folded the right side over the left, opened it back up and cut along the folds.
Roll each square into a cone and tape closed using either double sided or regular tape. When you have all your cones are rolled arrange them in a turkey tail form and staple them together at the bottom. This will make it easier to glue the sides together. If you want to skip the stapling and gluing you can just hot glue the cones together.
Final Paper Plate Turkey Craft Assembly
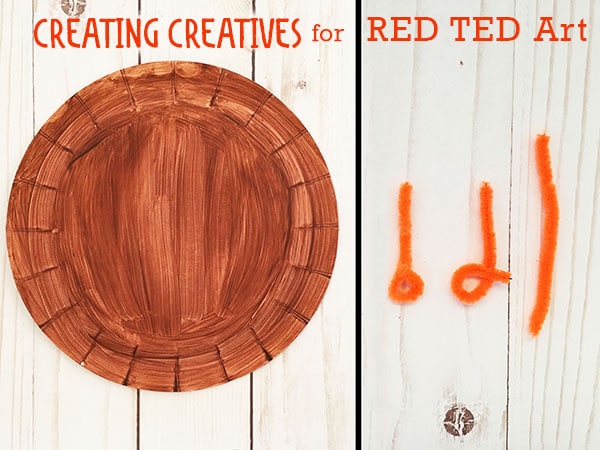
Paint the back of your small paper plate brown and make some little turkey feet by twisting a loop at the bottom of your pipe cleaner and cutting them to length.
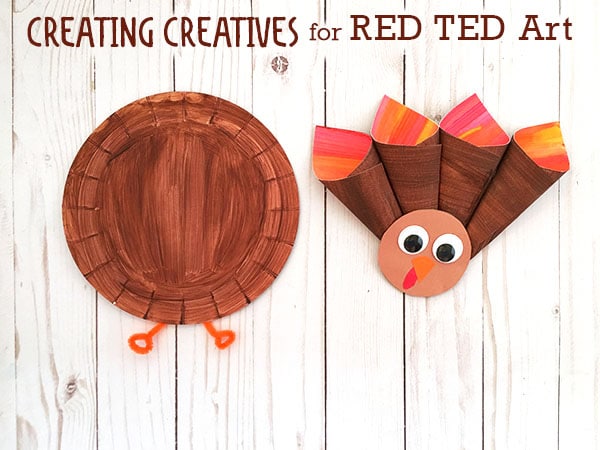
It is now time to assemble your turkey, glue the head onto the feathers and glue or tape the feet to the back of the plate.
Lastly, glue the head onto the plate and you’re done! Gobble Gobble, we hope you enjoy!
Oh my.. isn’t this the cutest! So simple and so fun!! A big thank you for Creating Creatives for sharing her wonderful Paper Plate Turkey craft for preschoolers with us today!
Visit Creating Creatives for more wonderful seasonal ideas!
12 Days of Christmas Ornaments
More amazing Turkey Crafts for kids here:
More inspirational Thanksgiving Crafts for Kids here:


