
Personalise your Christmas with Brother’s Design ‘n’ Craft
Disclaimer – this post is sponsored by Brother
Oh I do love a gadget. Especially one that makes all my Christmas needs quicker and easier and at the same time just that little bit more special. One thing I absolutely ADORE working with is photos. The problem with photographs however, is that I never seem to be able to print them out quite the right size and quite the right fit for what I am trying to make. It is a fiddle… with numerous prints necessary (how I hate to waste paper)… and then never quite perfect!
Enter the fabulous new Design ‘n’ Craft Colour Label Printer from Brother. It is just sooooo much fun. You can design labels and washi tape type ribbons to your heart’s content. Though it isn’t JUST for printing out photos on labels – there are so many designs, icons, images and backdrops to choose from and five different label sizes from 9mm up to 50mm wide. For me, it is the photo feature that I particularly love!! Combine your photos with brilliant graphics and you have all your personalised Christmas needs sorted.
Here is how I’ve personalised our Christmas with the label printer.
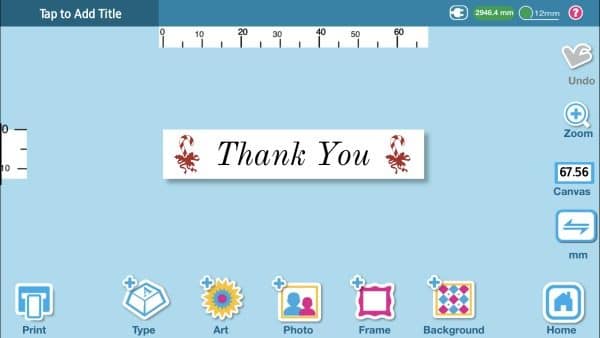
Create a design
Creating a design with the label printer can be as simple or as complex as you like. You can choose to make a simple ribbon, with a background pattern available for free with the Brother Color Label Editor app. Or you can use the art supplied in the app or use your own photos. There are 100s of themes – whether you are creating for Christmas (as I am) or birthdays or another special occasion (ooh how fabulous would this be for weddings!!).
You can simply print the pattern or artwork and use it as a label on its own. Or you can layer different aspects and make your own detailed creations. Then you can use your work in lots of different ways.
How to use the label printer
This video shows a GREAT example of how to create a personalised photo collage gift. And also walks you through the basic functions of the label printer.
My basic personalised photo label
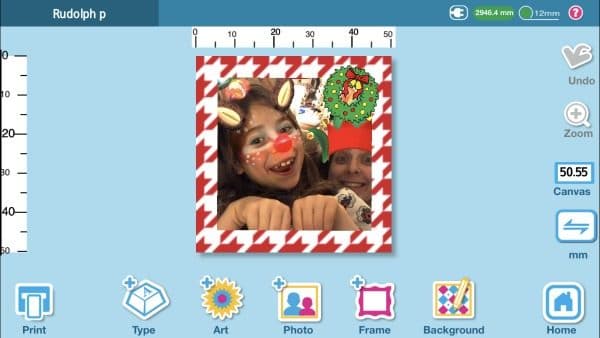
I decided to keep things simple and label our presents using the printer this year, choosing a festive background, a family photo and some art from the app.
The great thing is, when you have made your label once, you can duplicate it and quickly adjust it and “re-personalise it”. So I first made a little label of my daughter. I picked a festive background, added and cropped her photo (you can even add a filter to the photo if you wish) and added some Christmas touches from the art collection within the app. For this, I used the 50mm tape – I think it’s the best for printing photos.
Saved it.
Copied it.
Then edited the copy and switched out the backgrounds, photos and art. Quickly I had labels for the husband, son, daughter and even our cat!
One personalised photo label – three quick makes for Christmas
Now you have made your basic photo labels… here are some fun ways to use them!
Gift wrap labels
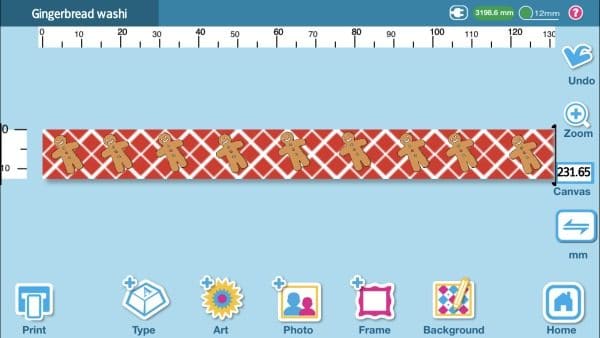
GIFT WRAP! I used our smaller personalised photo label. Then quickly and easily made some Christmas washi tape on the 12mm width tape, using some fun backgrounds and a little gingerbread man from the art collection. I also created a “with love” label too.
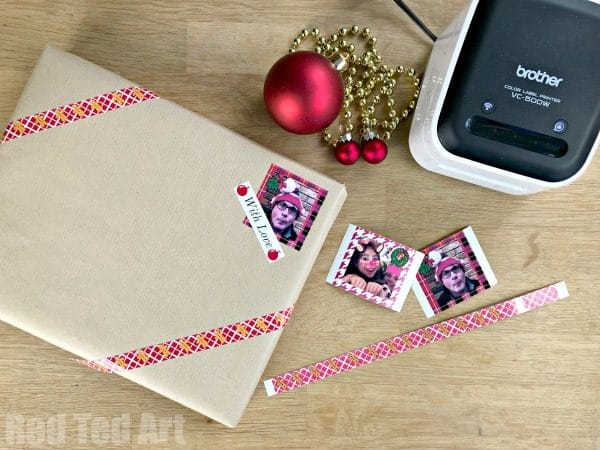
As you can set to print more than one image at a time, you can print out everything you need for multiple gifts.
Simple photo ornament
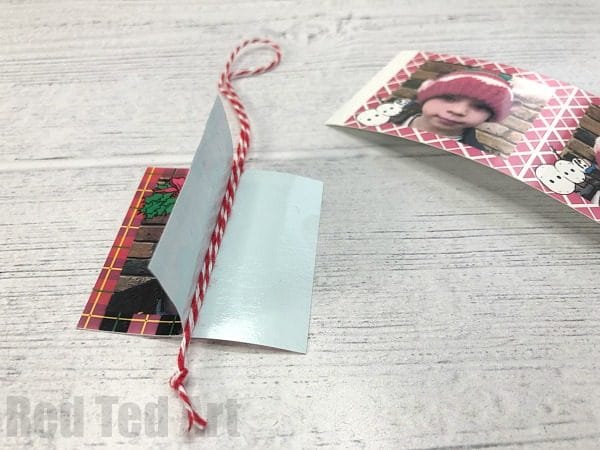
For the simple photo ornament, I used 3 of the personalised photos (my husband, daughter and son… and later one of our cat too).
Lay one label face down on the table.
Add some baker’s twine down the middle.
Fold a second label in half (don’t crease it) and carefully place on top, sticking two halves together.
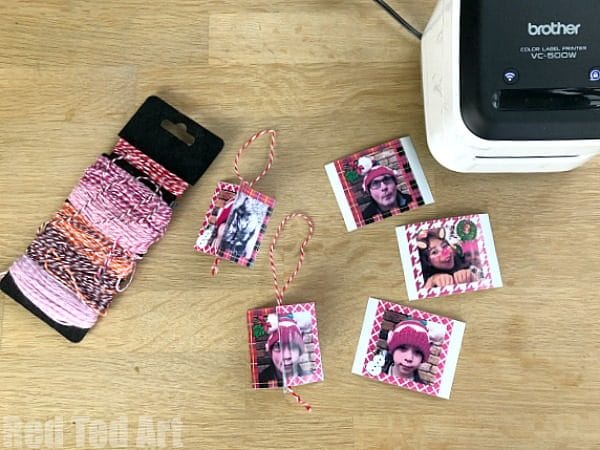
Then take the third photo label, and again fold it in half (without a crease) and gently stick it to the first and second photo label. Finished. So quick and easy! You can make one for everyone in the family.
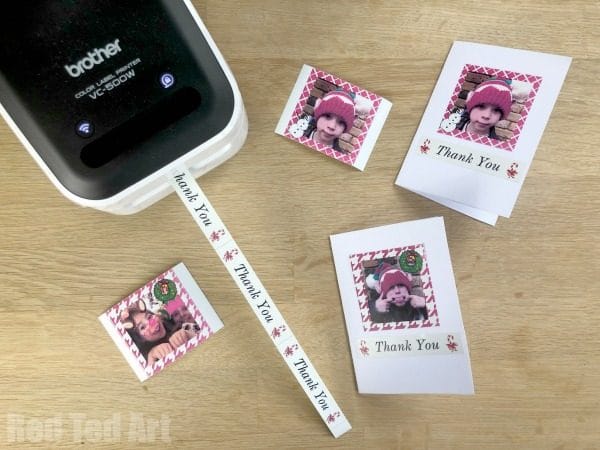
Quick thank you cards
Again, use your personalised photo label… create an extra “Thank You” washi tape style label and place both on a simple card. Simple, but oh so cute. These will come in handy post-Christmas!
Aren’t they fun? And such a quick and easy process too! I can’t wait to make more labels for our Christmas gift wrap, as well as using this for birthdays and teachers’ cards too!
Want another idea? Check out this lovely personalised greeting card design
One label printer.. SO MANY great things you can make with it!!!
To find out more and for where to buy, visit https://www.brother.co.uk/labelling/design-n-craft.