
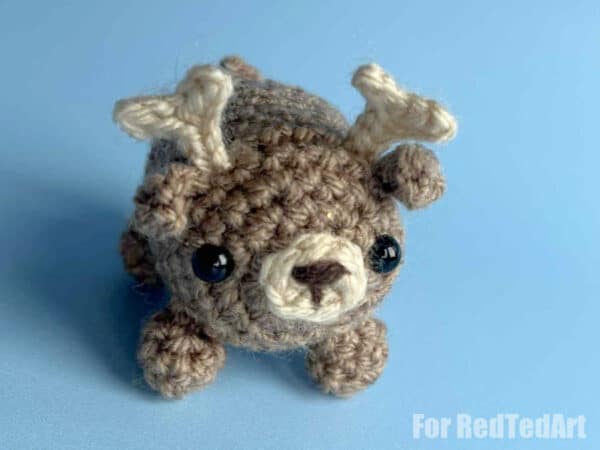
Reindeer Crochet Pattern – Free Christmas Ornament Crochet Ideas
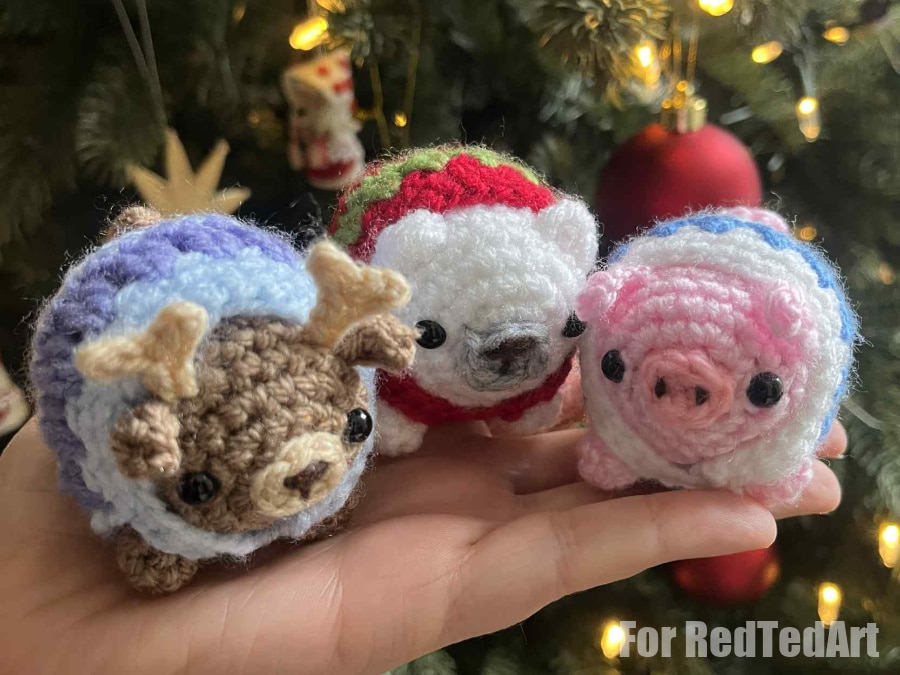
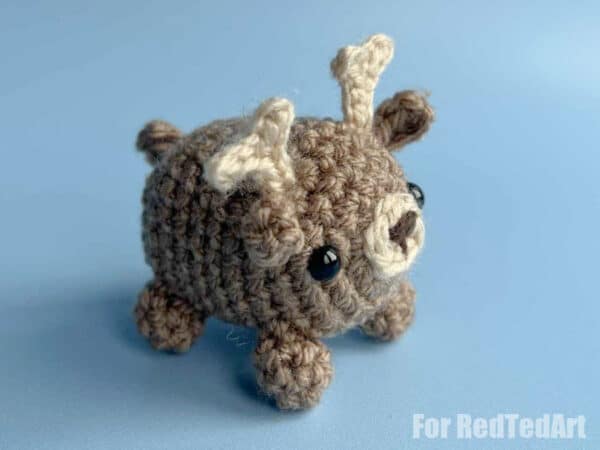
The final little crochet ornament in our trio of crochet ornament friends – today, I share the LOVELY and Free Reindeer Crochet Pattern. This reindeer crochet pattern makes a great christmas corchet bauble (it so fabulously chonky), but you could also make the reindeer pattern in plush yarn to make a super cute loaf reinder plushie!! One pattern, super versatile!!
Supplies needed to make your Reindeer Crochet Ornament:
- DK yarn in desired colors – light brown and beige for this reindeer
- DK yarn in sweater colors – e.g. blue and dark blue was used here
- Scrap brown or black for nose detail
- Corresponding hooks
- Safety eyes (8mm used here)
- Stuffing (we like to upcycled old pillows that have been washed first)
- Yarn needle
- OPTIONAL: ribbon for hanging
As mentioned before – I reckon this little loaf reindeer would look ADORABLE made from plush yarn too!
Also note: this reindeer crochet pattern DOES require a little sewing. Many people shy away from “sewing” crochet projects. However, sewing crochet projects tend to be far more versatile than no sew projects and require less clever stitches (e.g. the bobble stitch).. so it is worth bearing that in mind too! We encourage people to EMBRACE sewing!
How to crochet a Loaf Reindeer Body:
In main body color,
Rnd 1: 6sc into mc [6]
Rnd 2: 6inc [12]
Rnd 3: (1sc, inc) x6 [18]
Rnd 4: (2sc, inc) x6 [24]
Rnd 5 – Rnd 12: 24sc [24]
Rnd 11: (2sc, dec) x6 [18]
Place eyes between rnds 3&4, on each side of the mc (roughly 6 stitches apart).
Begin to stuff.
Rnd 12: (1sc, dec) x6 [12]
Rnd 13: 6dec [6]
Fasten off & seal hole.
Crochet a Reindeer nose:
In beige for reindeer,
Rnd 1: Ch 4 [4]
Rnd 2: Skip 1st chain stitch, 3sc, now working on the other side of the chain, 3sc [6]
Fasten off & leave a long tail for sewing.
Sew the muzzle/nose directly between the two eyes. Using a piece of dark brown/black yarn, embroider a nose for the reindeer.
Make for crochet legs x4:
In main body color,
Rnd 1: 6sc into mc [6]
Rnd 2 – Rnd 3: 6sc [6]
Fasten off & leave a long tail for sewing. Do not stuff the legs.
Front legs:
Sew the front of one of the legs between rnds 5&6 of the body and sew the back of the leg between rnds 7&8. Repeat this for the other front leg. The two front legs should be 3 stitches apart and in line with the eyes.
Back legs:
Sew the front of one of the legs between rnds 10&11 of the body and sew the back of the leg between rnds 12&13. Repeat for the other back leg. The two back legs should be 3 stitches apart and in line with the front legs.
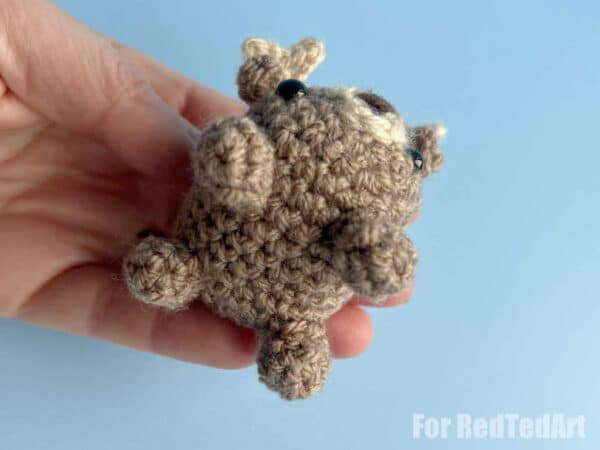
Your Crochet Reindeer antlers x2:
In beige,
Rnd 1: ch 6 [6]
Rnd 2: Skip 1st chain stitch, 2slst, ch 3 – Skip 1st chain stitch, 2slst down the chain, – now working back into the original chain, 3slst [7]
Fasten off & leave a long tail for sewing. Sew the antlers between rnds 5&6 of the body. The antlers should be around 4 stitches apart and in line with the eyes.
Reindeer ears x2:
In main body color,
Rnd 1: ch 4 [4]
Rnd 2: Skip 1st chain stitch, 1sc, 1dc, 1sc [3]
Fasten off & leave a long tail for sewing. Sew the ears between rnds 5&6 of the body. The ears should be sewn directly next to each antler.
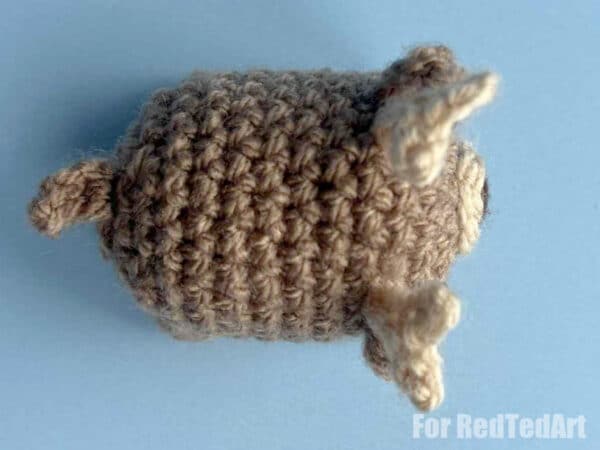
Finally a little Crochet Reindeer tail:
In main body color,
Rnd 1: ch 4 [4]
Rnd 2: Skip 1st chain stitch, 3sc [3]
Fasten off & leave a long tail for sewing. Sew the tail between rnds 14&15 of the body. The tail should be directly in line with the middle of the two ears.
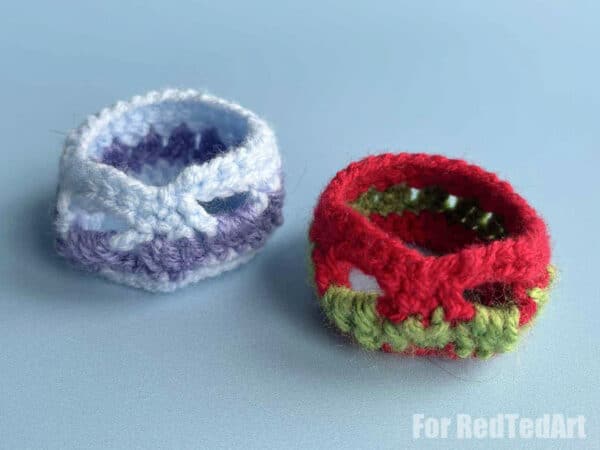
Now we need to crochet the Sweater:
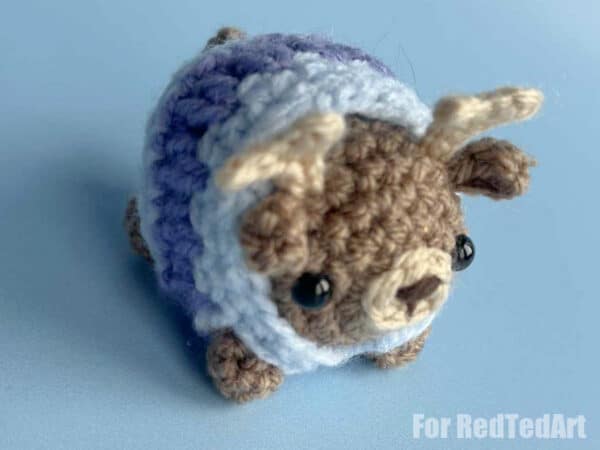
In sweater color A,
Rnd 1: ch 30 [30]
Rnd 2: Join the two ends of the chain together with a sc to create a ring, 29sc [30]
Rnd 3: 1sc, ch 5, skip 3 stitches, 21sc, ch 5, skip 3 stitches, 2sc [30 (not including the chains)]
Rnd 4: 1slst, Change color to sweater color B, Ch 3, 3dc into the hole made last rnd with the ch 5 – this is going to be the first arm hole, ch 1, (2dc all into the next stitch), (ch 1, skip 1 stitch, 2dc all into the same stitch) x 10, ch 1, skip 1 stitch, 3dc into the loop made last rnd – this is the second arm hole, ch 1, skip 1 stitch, (2dc all into the same stitch), 1slst into the 3rd chain made in the ch 3 from the start of the rnd. [30 (not including the chains)]
Change color to sweater color A,
Rnd 5: 1sc into each of the dc stitches made last rnd – do not sc into the chains from last rnd [30]
Rnd 6: 30slst [30]
Fasten off & leave a long tail for sewing.
Sew together the two ends of the chain from rnd 1 together as neatly as possible – this is the front of the jumper. Weave away any loose ends.
You could add a bit of ribbon or yarn to the jumper and turn your adorable creation into an ornament!
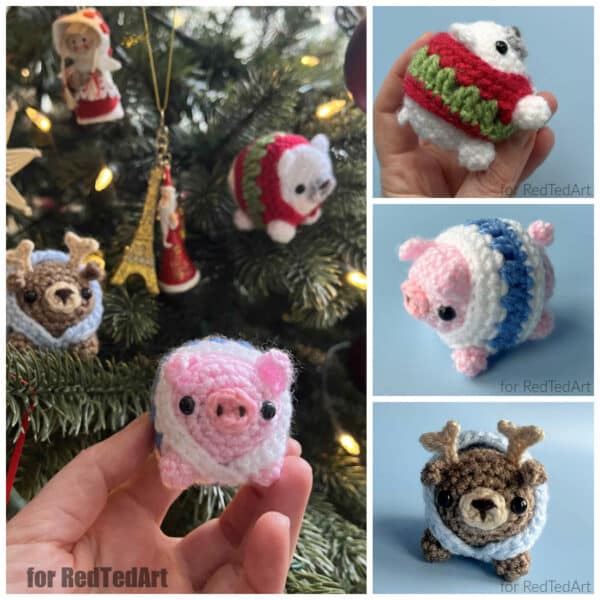
And now meet the Reindeer’s Crochet Friends: Polar Bear and Pigs in Blanket! SO CUTE!
More from my (of course FAB!) daughter:
SOME NEWS: if I may, I can’t resist a quick plug of my our BRAND NEW CROCHET BOOK – the Big Book of Beginner Amigurumi – a crochet book designed to get your crocheting super cute projects quickly and easily, whilst also ensuring you upskill as you go along. (Affiliate links to the book have been added… yes this is weird, as it is indeed our book, but it is kind of a circular thing – by buying through the affiliate link we earn an extra little amount that goes towards the upkeep of this blog at no extra cost to you). So.. this book is available for PRE-ORDER.. it has a version of the Reindeer Ornament (minus the jumper – he even made it to the front cover of the book!) in it, to give you a feel for the kinds of projetcs!

More great Christmas Crochet Ornaments here:
