
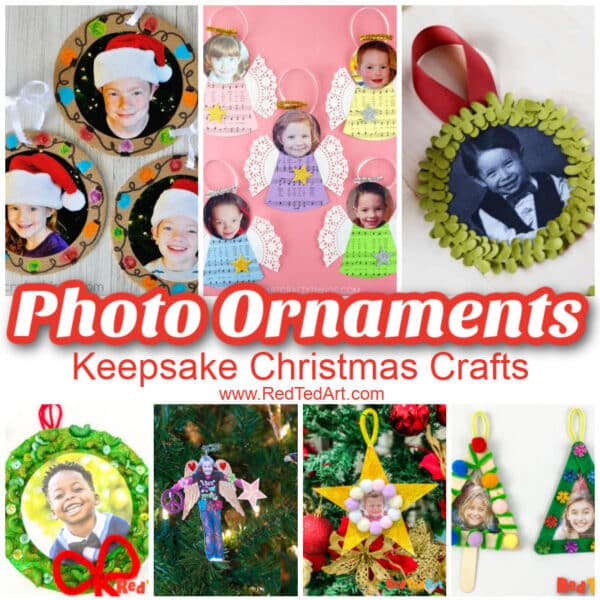
Star Photo Ornaments Keepsake Craft for Preschoolers
It is that time of the year to start thinking ahead to the oh so lovely Christmas Season!! Yes, let’s start planning the year ahead, with some wonderful Christmas in July Activities! First off, I have a lovet set of Photo Ornaments for Preschoolers and Toddlers. Photo Ornaments are such a wonderful Christmas Keepsake Craft. First up – a cute Star Photo Ornament with free templates!
Star Ornaments with Photos on Red Ted Art

Isn’t it adorable? Though we have had fun with glitter and pom poms, this star ornament can be decorated in whatever way you like! The key is grab our free Star template (in different sizes) below and have a go with the supplies you have to hand. But first we will talk you through our step by step process (or watch the handy, quick video tutorial on auto play!). Enjoy!
Why make this Star Photo Ornaments?
I was talking to some friends recently about Christmas and our favourite Christmas moments each year.. and do you know what ALL the parents said? They loved love loved when the moment, when they pull out all their Christmas Tree Decorations and out pops a photo ornament that their child had made in class or at home when they were little. The homemade ornaments were pretty special anyway, but the ones with their sweet little preschooler faces or KS1 faces where their most cherished!! There is now doubt that a diy photo ornament is a precious moment in all parent’s holiday preparations! Any many “thank their teachers” many years later for having taken the time to make these with the preschoolers and early years students.
Star Ornaments – Extension Ideas
We have made our star ornaments as simple stars to hang in your tree, BUT, you could also:
- Make the stars double sided – stickingt two cardboard stars together – leave a gap at the bottom so it can fit on top of your Christmas trees as a Christmas Tree Topper with photos (add photos to both sides)
- Use the star to glue to the front of a greeting card to grand parents (or blue tak it on, so grandparents can take it off and hang the stars in their tree).
- Don’t make yellow stars, but make stars to match your holiday decor – so if your them is pink, make pink stars etc.
- Make a star garland – you can use a range of photos of your kids, or keep some stars with photos and some “just” decorated. Then staple to some ribbon or string – or run the ribbon through hole punched holes at the top of the star
Supplies needed for your Photo Star Ornament

Note: as with all the crafts here on Red Te dArt, do work with what you have ALREADY. Don’t go rushing out buying supplies. Be inspired by this craft tutorial and then make it your own! Just don’t skip the precious toddler photos!
- Cardboard (recyclin packaging is great)
- The free star template (enter $0 at check out)
- Yellow or gold paints
- Biodegradable glitter
- Other decorative items – e.g. small pom poms or scrunched up tissue paper
- A photo of your child (or students in your preschool class)
- Pipecleaner or ribbons for hanging
- Scissors, brush, glue stick and hole punch
This is a free Star Template hosted in my gumroad store, simply add $0 at check out!

How to make a Star Ornament with photos
Now you have gather your craft supplies, you can watch the Video Tutorial on auto play or follow the step by step instructions below.
Step by Step Photo Ornament making instructions
You will see, that making these Star Photo Ornaments is super QUICK and easy! And the your preschoolers will LOVE to help make them with you!

Cut out your star in the desired size (the free templates in the supplies section comes in 3 sizes!). Here we got the yellow paints out – but you can match the colour of your paint to your Chirstmas tree theme. Ours is a higgly piggilty tree, so yellow it is. But maybe you want pink stars, or blue stars or silver stars!


Paint both sides of your cardboard star yellow or gold. You can paint just one side of the star if you wish, but I think it is nice and brighter if both sides fully painted – or you can make two stars and glue them together (esp if you want to use them as a Star Christmas Tree Topper).
Add glitter glue – or better still, use regular glue and eco friendly bio degradable glitter (this is an old skool post, and these days, I would def opt for more eco friendly products).


Hope you have already printed out your child’s photo. I do find getting the size of the photo is the trickiest bit. It is worth the fiddle. Once you have your child’s photo, cut it down to size.
Glue the photo onto the centre of your star ornament!


Now “frame” you child’s photos with other craft suppies – pom poms are fun and look a bit like snow balls. But you can use anything really. We love scrunching up tissue paper (great for fine motor skills) or maybe you have other bits and pieces in your craft box to use up!
Finally – add some hanging ribbon or some pipecleaner to the top of the star ornament for hangin (a hole punch is handy!).

That is it, you Star Photo Ornament is finished! Doesn’t it look great against the greens and reds of a Christmas Tree? Such a cute project!
See more in the Photo Ornament Crafts ideas section:
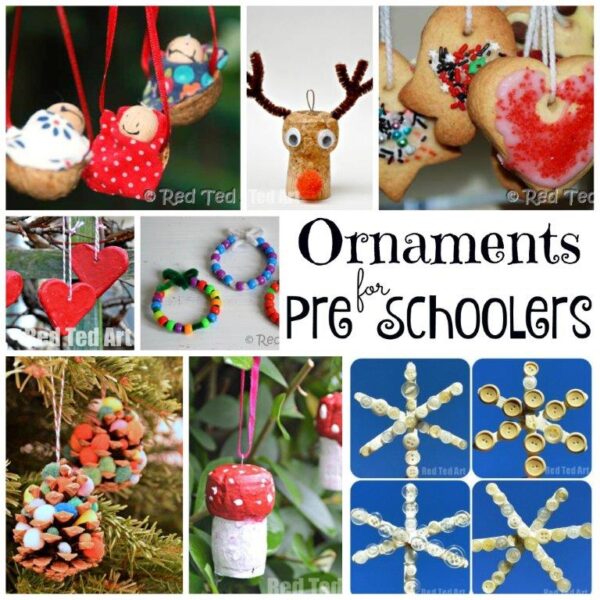
Now.. if you loved this Photo Ornament, be sure to watch out for more photo ornament craft ideas heading your way! In the meantime, check out these Christmas Ornaments for Preschoolers to make:
Check out our Star Photo Ornaments again:
