Turkey Bookmark Corner DIY
Well.. how can we NOT make a Thankful Turkey Bookmark Corner, literally JUST in time for Thanksgiving coming up? Whether you celebrate thanksgiving or not, I think you will adore this Kawaii Turkey Bookmark.
As with all our DIY Bookmark Corner Designs, this little guy will comfortable pop over the corner of the page that you are reading and keep your reading spot safe and secure for onward reading. Just lovely! We have more Turkey Craft Ideas for you to browse too!
FYI – Our Thanksgiving Bundle
I now have some WORKSHEETS for this adorable little bookmark corner. And it is available as part of a TIME SAVING bundle for you over on Teachers Pay Teachersfollow… or you can keep scrolling! ?
5 of our favourite activities for Thanksgiving all in one Download Bundle!
Turkey Bookmark Materials:
- Half a sheet of A4 red paper (actually, it can be any colour, we chose red)
- Some contrasting coloured paper (we chose, blue, green and yellow)
- A little brown packing paper (or brown paper) stuck on plain paper to strengthen it
- pink paper
- black pen
- scissors
- glue stick
Turkey Bookmark Corner How To:
As with all our bookmark corner designs, our Turkey DIY is based on the classic “Origami Bookmark Corner”. We then go on to decorate it and adjust it. I hope you enjoy our how to!!!
Basic Corner Bookmark (in red)
Begin by making your basic Origami Bookmark (we have the video instructions above, or you can check out the step by step photos here). We chose to make the basic bookmark in red, which will make the “outside feathers” of your bookmark red too. So choose a base colour, according to the feather colours you want!
Turning your Origami Bookmark into a Turkey

Now it is time to turn the origami bookmark into a turkey!
Choose a color of paper to make your basic corner bookmark in the color you want your outside feathers to be.
Fold in the thin flap of the corner bookmark, to make a triangle and make a neat crease.

Using brown paper cut out two oval shapes – if easier, circles can be used too. Stick down on to your rectangular bookmark corner.
Decorate the top circle in the fashion of a turkey – a yellow beak, red wattle, eyes and cheeks (optional).
Trim the three corners of your bookmark corner as per the picture.
Cut out five additional feathers – they are oblong shaped with a rounded top. Here we chose two blue, two green and one yellow feather.
You can choose to add messages of thanks and gratitude to your feathers before gluing them to your turkey bookmark.

Glue the single feather behind the turkey’s head. Then fan out the remaining feathers on each side and glue in place.
Finished! Make more for family and friends!
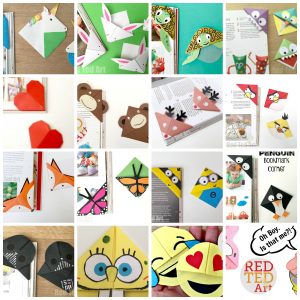
More DIY Bookmark Designs here:
More Turkey Crafts for Kids here:
This bookmark video tutorial is also available on Youtube


