
How to make an Origami Bookmark Corner
This post is an additional post to show you how to make a basic origami bookmark corner. As you know we have lots of cute bookmarks ideas here on Red Ted Art.
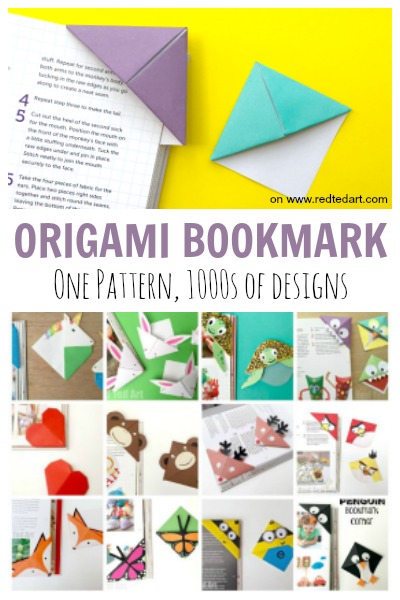
I thought it would be useful for those that do not always wish to see video instructions for making this easy origami bookmark. We then take this basic paper bookmark and turn it into one of our many Corner Bookmark Designs! Be it an Panda or the super popular Monster Bookmark design!
This basic Origami Bookmark was first published in June 2017 and has been updated and republished for your convenience!
We have either a handy Origami Bookmark Video here or follow the instructions below!
To make an Origami Corner Bookmark you will need:
- any square paper (though I show you how to shape your paper into a square perfectly)*
Optional:
- scissors (if using a rectangular piece of paper or looking to embellish the bookmark later)
- makers (again, if you wish to embellish your bookmark later)
*15 x 15cm is a good size, but bigger and smaller paper works too!
Do I need to use Origami paper?
No, you can make bookmark corners using pretty much ANY paper you wish, though I would say printer paper or thinner is best. Origami paper tends to be a little thinner, which also for neat folding and creases. Printer paper works just fine too. Construction paper can get a little thick and chunky. But because these basic origami bookmarks are quite simple and only need a few folds, you could probably get away with construction paper too!
Begin by making your bookmark corner- step by step instructions:
If the video instructions are not for you, here is how to make this easy paper bookmark following step by step photo instructions! Let’s learn how to fold an origami bookmark corner!!
First you will need to make a square out of your paper. Corner bookmarks need squares of paper, but here we show you how to create that perfect square!!
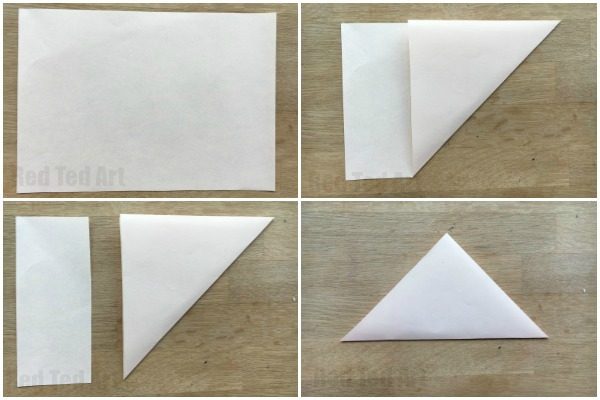
- Take your A5 sheet of paper and fold over one corner to create a triangle.
- Cut off the excess and rotate your triangle so the long edge is at the bottom and the right angle faces up. Make sure the top of the triangle is looking up and you have the long edge running perpendicular.
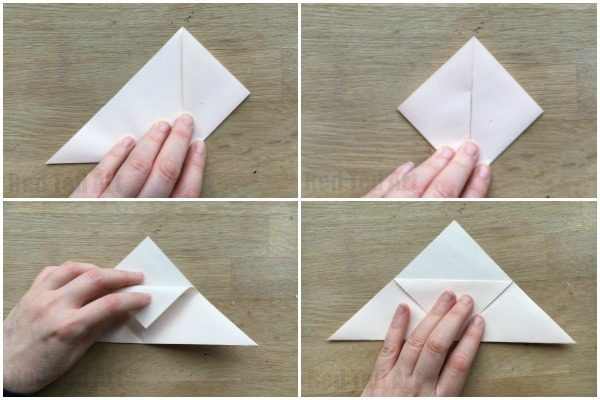
- Fold the lower right corner up to meet the top right angled corner.
- Repeat for the left side.
- Fold these two back open.
- Flip down ONE of the top sheets and crease.

- Now fold the flaps you created back up and tuck INTO your bookmark.
- Repeat for the other side
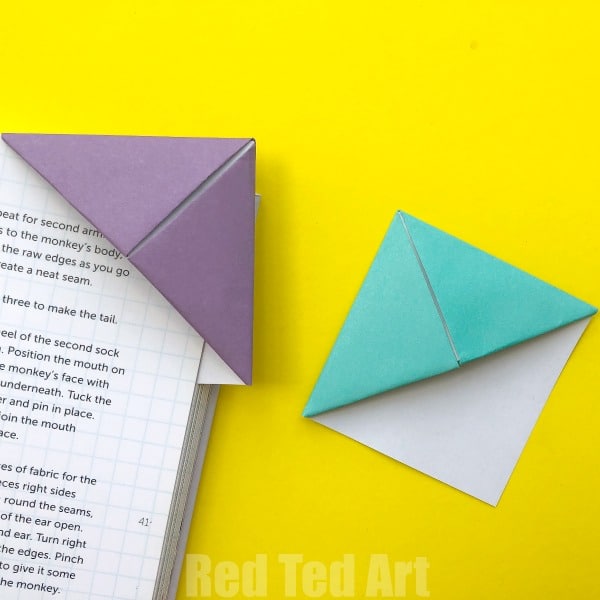
- Congratulations, you have just created your basic Origami Corner Bookmark!
Or Watch the Corner Bookmark Video!

Origami Bookmark Corner
Equipment
- Square piece of paper – 15 x 15cm
Instructions
- Fold the square paper across the diagonal to make a triangle
- Rotate to bring the long edge parallel, then bring the right corner up to meet the top corner
- Repeat with the corner. You should now have a smaller diamond with a line down the middle
- Open up the last two folds
- Folds down the top corner – only take one sheet of paper
- Bring the right corner back up and fold into the flap
- Repeat with the left corner
Video
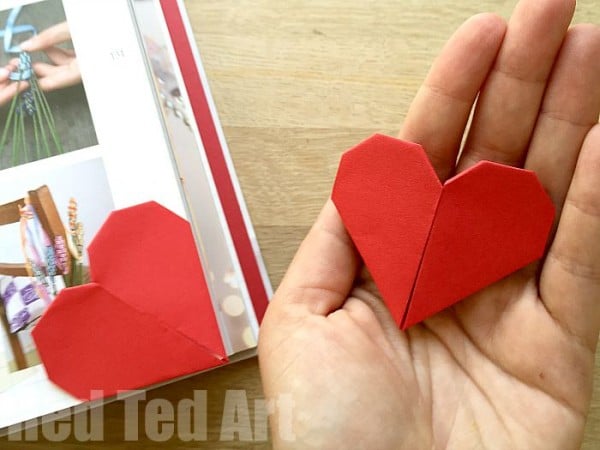
How do you make an origami corner Heart Bookmarks?
You can either cut down the tradtional cornerbookmark (like we have done here, for our lovebug bookmarks) OR you can check out our DIFFERENT origami heart bookmark pattern which uses rectangular pieces of paper:
How do you make an origami bulldog bookmark?
Again, there are specific origami bulldog patterns out there, however, I think you may like our simple bulldog corner bookmark designs too! It uses the basic origami corner bookmark and with some simple paper cut out embellishments turns it into a bulldog like bookmark!
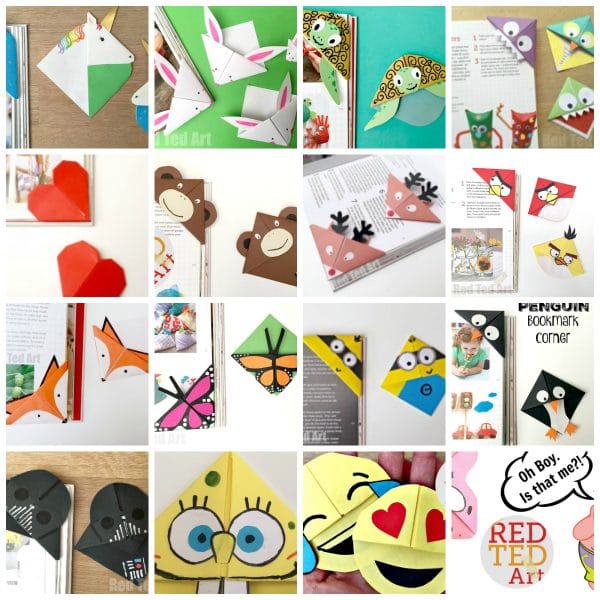
More fabulous corner bookmark designs
Now you have master your Origami Bookmark – hop over to our extensive list of different Corner Bookmark Designs – we add to this on a weekly basis! Highlights from this list include:

These super fun Emoji Corner Bookmarks
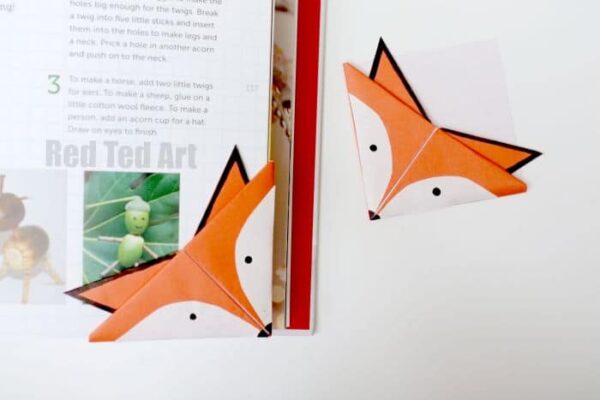
Adorable Fox Corner Bookmarks for Autumn

And everyone’s favourite, the MONSTER Corner Bookmarks!
Or why not give our top very simple Origami Projects for Beginners a go here:

But of course you will find much much more here where you will find lots more cool origami bookmarks!
Watch this Origami Bookmark how to on Youtube
You can also follow me on Instagram!