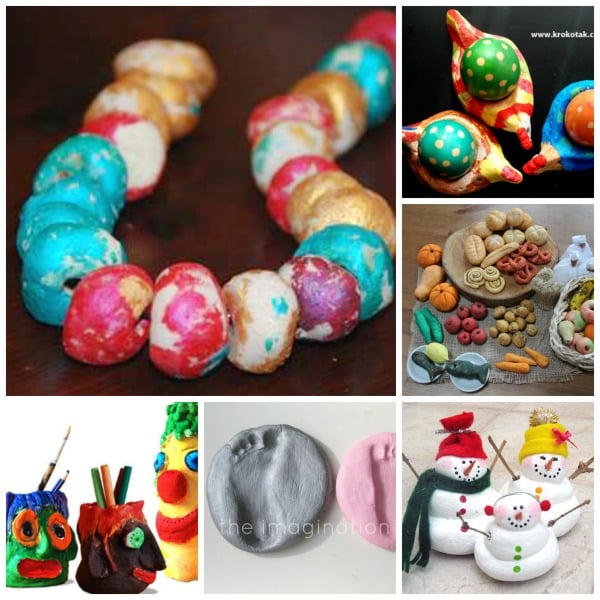
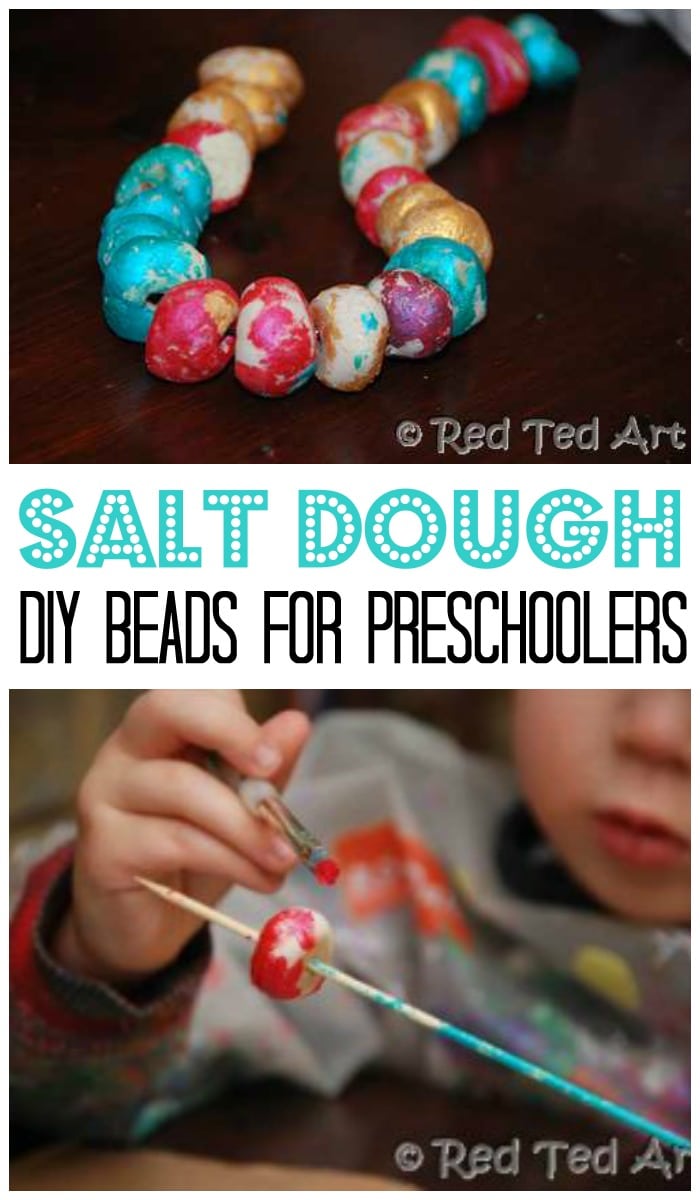
Salt Dough Recipe – Bead Necklaces
Welcome back to Kids Get Crafty and today’s Salt Dough Recipe, with which we had a go at making some Salt Dough Bead Necklaces! Our collection of fun Salt Dough Projects grows! We absolutely adored every single stage of this craft and where so chuffed when it was all finished! I do hope you enjoy it too! The best thing about it is, is that it is perfect for these long summer holidays, as there are several stages to the craft that draw it out over several days! These also make a great Mother’s Day Crafts – keepsake gifts mum will love!
If you want to avoid a brown goo at the end, I often recommend that you use “two colours” only with over enthusiastic toddlers and preschoolers. So today we focussed on Yellow and Blue – you can then add a little bit of basic colour theory and explore Green!
The Book
There is simply one perfect book for this:
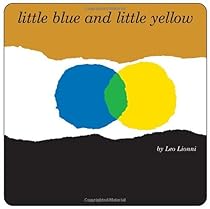
Little Blue and Little Yellow by Leo Lionni. I love Leo Lionni and all his little mice books and this is just another wonderful story from him! I confess to having mislaid our copy (tsk tsk), but the basic story goes: Little Blue and Little Yellow are best of friends. One day they give each other such a big hug that they merge and become Green.. oh no! Especially since both their parents now don’t recognise them and send them away. So off they go to figure out how to separate again.. will they do it? A lovely story about friendship with some cheeky colour theory thrown in.
The Craft & Salt Dough Recipe
Well.. as you may have guessed by now we LOVE salt dough, even more than playdough – it is quicker and easier to make AND you can let it harden and keep your creations for (almost) ever… we decided to go back to our basic salt dough recipe and make our own beads.. When we made our Dinosaurs I discovered that you can add paint “really well” to salt dough and thus turning it into fabulous play dough substance (better than if you use food colouring). So today we did two batches: one coloured set (Yellow and Blue) and one plain set for painting later.
UPDATE: Exprimenting over the years (this post is from 2011!), I have learnt that using HIGH QUALITY food coloring is best!
Easy Salt Dough Recipe:
We have a great post on how to make salt dough here as well (you can also watch the video on auto play) – which looks at all the top tips and tricks and answers all your questions around trouble shooting puffing or mouldy salt dough or how to store it – especially for keepsakes like salt dough handprint ornaments or Christmas Tree decorations, that you do really want to preserve! But do read on here, in the meantime!

- 2 cups of all purpose flour (do NOT use self-rising flour)
- 1 cup of salt (buy regular table salt in bulk)
- UPTO one cup of water
- Paint of choice – UPDATE: I originally just added regular thick poster paint to this. But have experimented since and find that some HIGH QUALITY food coloring works best! If using paints, use less water in your salt dough mixture
- Toothpick, Straw or Chopstick for making holes
- Acrylic paints for painting plain beads (we had some fabulous metallic colours.. but I think you could do this with felt tips too)
- Elastic/ bakers twine/ string
- Cookie sheet/ baking sheet for drying
- You can use a sealer like mod podge if you wish, but we didn’t bother and still have these all these years later (YES! Since 2011!)
How to make Salt Dough Beads
There are many stages to this craft that are pleasing to children:

1- The mixing and stirring of the salt dough recipe and colour!
Pop your flour and salt into a large bowl. I let the kids play with the flour and salt, before adding the water and paint to the mixing bowl myself (it is rather sticky at first if you use regular paints, it is less of a problem with quality food colorings). Pour in the water bit by bit. You don’t want the salt dough to be too wet. I kept ours quite dry – and added the last bit of water with the paint.


2. Shaping Beads!
Red Ted loved making the beads – well he loved making about 4 and then wanted to make dinosaurs again.. Pip Squeak managed about 2… I made the rest. I don’t think it is a problem – afterall they got to have a go AND do their own thing.. and they loved the next stages too… Basically – form a ball and then use the chopstick to make a hole. This means the bead will end up more oval – as the chopstick squashes the bead a little. The first picture shows Red Ted mixing blue and yellow to get Green! Daddy didn’t think it would work, but it did!

4. Drying/ baking your beads.
Now salt dough has a tendency to “spread” a bit like cookies do in the oven – especially if it is a little on the wet side. So whilst drying them you will have to repoke them with your chopstick to make sure the holes don’t close up.
In theory you can air dry salt dough, but it takes a good few days, so we place them in the oven using a low temperature – around 70-100C. After 5 min I turned them and open the holes again. and repeated this another 2-3 times. It isn’t strictly necessary, but better! Even when dried – the beads are a little soft – i.e. I think it takes a little longer for them to fully dry (e.g. maybe a week). But it is ok – only 2 of ours broke (we made 35-40??). The rest are fine!


3. How to paint salt dough beads
We made two types – as I wanted to see what they would look like. I love the natural look that the coloured salt dough has, whilst the also loving the snazziness of the metallic colours. Both fab for different reasons! Red Ted loved painting the beads, as he saw me doing some “adult beads” a few days earlier (see this week’s special how to!). He loved “using the skewer” to “hold” the beads with. It made it rather awkward for him, but fun! I love how he painted the beads all himself and I love the unevenness of the paint!


4. Do your threading onto twine or ribbon
I had some elastic and bakers twine. The elastic got a bit stretchy as the beads are a little heavier. Using the twine was better, but I added some sello tape for easier threading to the end – i.e. it became a little like a shoelace end. Red Ted beaded all of his and Pip Squeak managed two beads! Fabulous!
Finished:

Snazzy Painted or

Whimsical Earthiness!
More wonderful Salt Dough Crafts for Kids here: