Kids Crafts: Paper Mache Dino Bank
I decided to quickly take advantage of the remaining days of holiday to make some Paper Mache Piggy Banks with the kids! They have recently really gotten into their ceramic piggy banks (don’t ask) and are forever playing with them. I thought a paper mache version maybe safer and less likely to break. We love cute Dinosaur Activities for preschoolers!
With paper mache I have two “main tips”: give yourself PLENTY of time. This is not a “do it one day craft”, I would say at the very least two days of crafting, with a week in total: one day for making and one day for painting, with lots of drying in between. For our dinos, which were a little more “ambitious”, we actually had 2 paper mache days and one painting session.
 So. Onto our Dinos!!!!!!
We actually started off by making Piggys.. but unlike with our Solar System Paper Mache, Red Ted quickly lost interest (just wasn’t one of his days???). So I discussed with him, what he would like to do and how we could “reinvigorate” the piggies for him. And somehow.. we ended up with the idea of Paper Mache Dinosaur Piggy Banks!!!!! Result. I made. They painted.
 Materials: Homemade paper mache paste, newspapers, balloon, a piece of card (for the triceratops), paint (we used acrylic, but you can use ordinary poster paint and then varnish your creations afterwards)
Easy Paper Mache Paste:
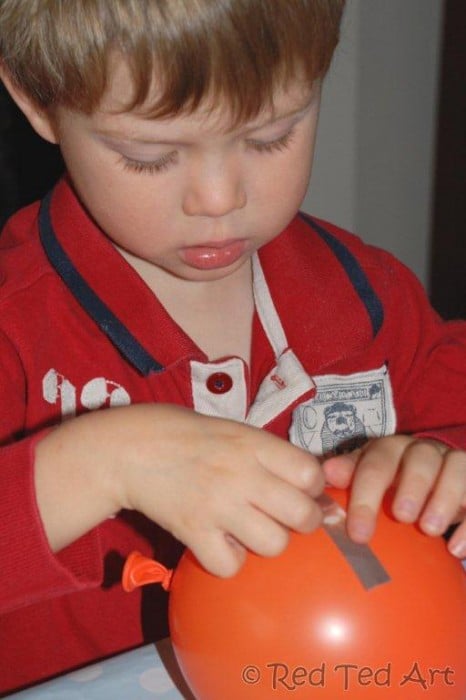
 4) In the meantime, I made the Apatosaurus head – as it is so long, it is handy to make it first and also let it dry, else it will topple off your dino. I made a ball out of newspaper, then scrunched up some more in a long neck shape. I then took a long strip of newspaper, smoothered the neck in paper mache paste and wrapped the strip around, smoothing it as I went along. Add more strips of paper mache. Take another medium strip of newspaper, smoothered in pasted and wrap it around the head. Smoothing and shaping as you go along. Connect the head to the neck, with one long strip of newspaper – running from nose, across the head and down the neck. Then lots of little pieces around and under the head and neck area. Add more layers to be on the safe side!
Let dry FULLY!
I made the triceratops face and tail in the same way – but they didn’t have to dry first!
 5) Once balloons are fully dried, make some feet: roll up some strips of newspaper and fill with more scrunched up bts of newspaper. Add lots of paste to keep it all in place as you go along. Make 4 for each dino. Place all 4 legs on table and place the balloon on top of them – this will help you find a good position for the feet. Now attach them with small strips of newspaper and paste. Criss cross your strips of newspaper to make it nice and secure.
6) You can attached the Apatosaurus’s head with more strips and paste. Then make a tail in the same fashion as 4) – i.e. scrunch up a piece of newspaper into a tail shape, wrap strips of paste dunked paper around and shape. Attached the tail with further strips of newspaper and paste. Keep smoothing and shaping!
 For the Triceratops – do exactly the same. Save for that you need a piece of card for the brow. See image. Again, attach it with newspaper strips. Then place the scrunched up newspaper face in front of it and start laying it with more paste and paper. Shaping and squishing as you go along.
Make 3 little cones for horns and again secure with paste and newspaper.
 FINALLY… let dry.

 Ta-da!!!! Finally when all is completely dry, stick on some googly eyes and cut some slits for your money!
Isn’t Papier Mache simply amazing? Why not give our papier mache recipe a go. It is so easy and works wonderful.
More adorable Dinosaur Crafts for Preschoolers:
Use our easy peasy guide to how to make paper mache from flour – inexpensive, environmentally friendly and quick!
Secondly: do not rush the drying process – I have seen a number of paper mache failures in the past shared by my readers – where the balloon inside contracts before the mache is fully dry and your perfect sphere, suddenly is all crumpled. My impression, that the main culprit for this is speedy drying – e.g. placing your paper mached balloon on or near a radiator or other heat source. Just hang your creation up and wait a day or two for it to dry gradually.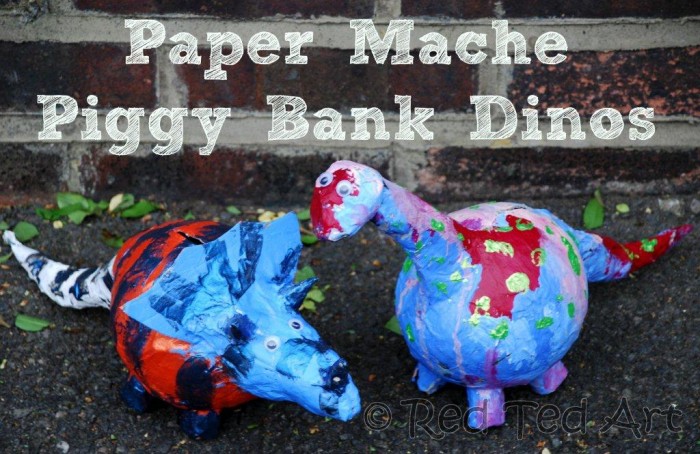 So. Onto our Dinos!!!!!!
We actually started off by making Piggys.. but unlike with our Solar System Paper Mache, Red Ted quickly lost interest (just wasn’t one of his days???). So I discussed with him, what he would like to do and how we could “reinvigorate” the piggies for him. And somehow.. we ended up with the idea of Paper Mache Dinosaur Piggy Banks!!!!! Result. I made. They painted.
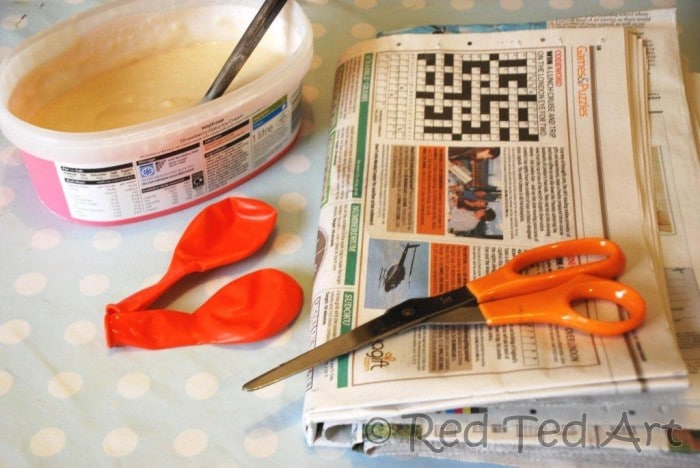 Materials: Homemade paper mache paste, newspapers, balloon, a piece of card (for the triceratops), paint (we used acrylic, but you can use ordinary poster paint and then varnish your creations afterwards)
Easy Paper Mache Paste:
- 1 part flour, 2 parts water – mix.
- Place in the microwave and blast at full power for 40 seconds. Stir. Repeat. Stir. Repeat etc.. until you have a nice thick paste.
- Try and remove any lumps, they only get in the way later!
 4) In the meantime, I made the Apatosaurus head – as it is so long, it is handy to make it first and also let it dry, else it will topple off your dino. I made a ball out of newspaper, then scrunched up some more in a long neck shape. I then took a long strip of newspaper, smoothered the neck in paper mache paste and wrapped the strip around, smoothing it as I went along. Add more strips of paper mache. Take another medium strip of newspaper, smoothered in pasted and wrap it around the head. Smoothing and shaping as you go along. Connect the head to the neck, with one long strip of newspaper – running from nose, across the head and down the neck. Then lots of little pieces around and under the head and neck area. Add more layers to be on the safe side!
Let dry FULLY!
I made the triceratops face and tail in the same way – but they didn’t have to dry first!
 5) Once balloons are fully dried, make some feet: roll up some strips of newspaper and fill with more scrunched up bts of newspaper. Add lots of paste to keep it all in place as you go along. Make 4 for each dino. Place all 4 legs on table and place the balloon on top of them – this will help you find a good position for the feet. Now attach them with small strips of newspaper and paste. Criss cross your strips of newspaper to make it nice and secure.
6) You can attached the Apatosaurus’s head with more strips and paste. Then make a tail in the same fashion as 4) – i.e. scrunch up a piece of newspaper into a tail shape, wrap strips of paste dunked paper around and shape. Attached the tail with further strips of newspaper and paste. Keep smoothing and shaping!
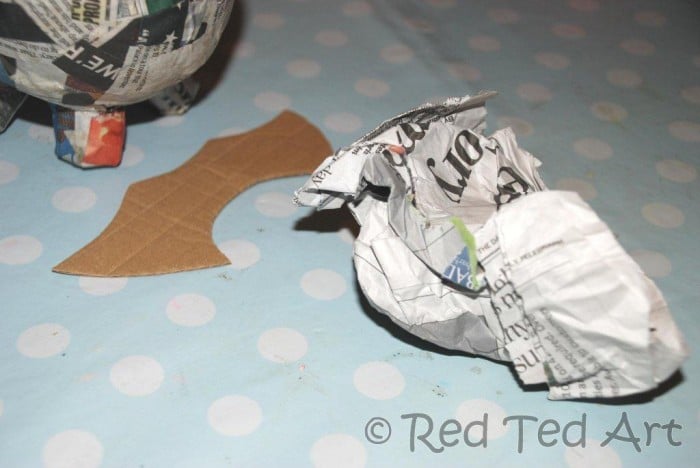 For the Triceratops – do exactly the same. Save for that you need a piece of card for the brow. See image. Again, attach it with newspaper strips. Then place the scrunched up newspaper face in front of it and start laying it with more paste and paper. Shaping and squishing as you go along.
Make 3 little cones for horns and again secure with paste and newspaper.
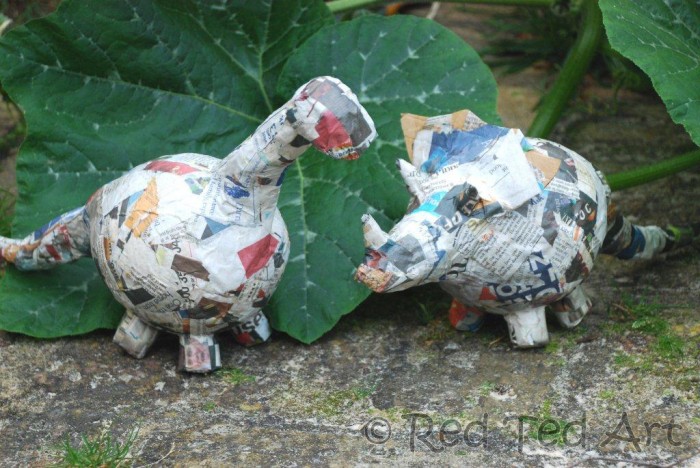 FINALLY… let dry.
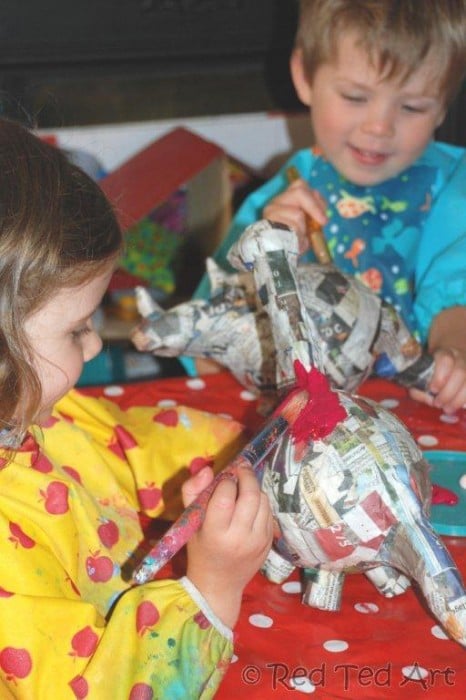
And once dry.. let the kids loose on it!! Whoop whoop! They painted in two sessions – first layer. Let it dry and then added spots and stripes.
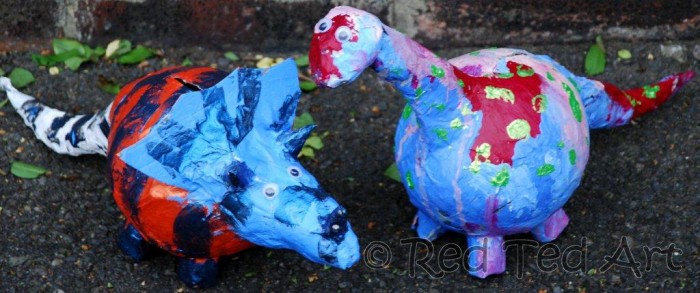
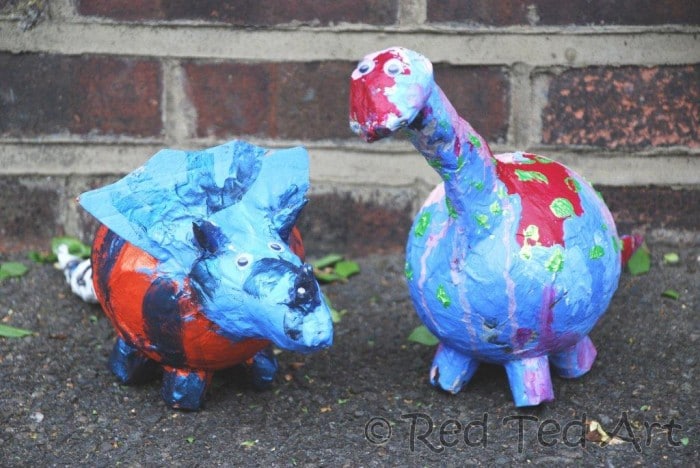 Ta-da!!!! Finally when all is completely dry, stick on some googly eyes and cut some slits for your money!
Isn’t Papier Mache simply amazing? Why not give our papier mache recipe a go. It is so easy and works wonderful.
More adorable Dinosaur Crafts for Preschoolers:

