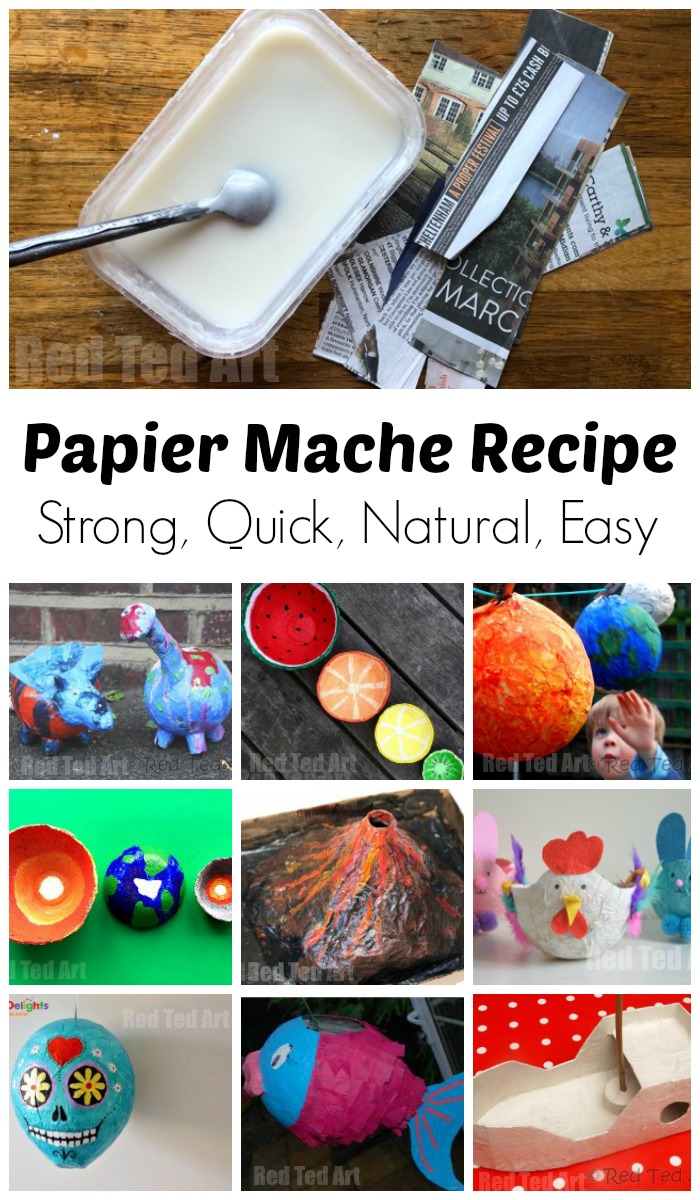
How to make Paper Mache Paste from Flour (including mistakes to avoid)
Easy paper mache recipe that is strong, durable and made from every day ingredients. You can make your own Papier Mache Paste quickly and easily – and a cheap recipe that is also eco friendly and for working in large groups or in the classroom. I also outline 3 common mistakes. These are really important for you to check out!
How to make paper mache glue – quickly & easily

Perfect for anyone that loves to craft with newspapers! Our simple paper mache recipe only requires two ingredients – yes that is correct – flour and water. I have used this paper mache recipe at summer camp many times before, as well as used it at home. Things I have made with it have lasted for years (I still have a paper mache piggy bank that I made 20 years ago at summer camp!! In that instance, I made the paper mache paste in the microwave too).
It is the most traditional method for how to make paper mache paste and gives you a strong, durable papier mache glue. With the added bonus that this papier mache glue is cheap, can be made from household items, is not as messy as PVA Papier Mache paste AND is good for the environment.
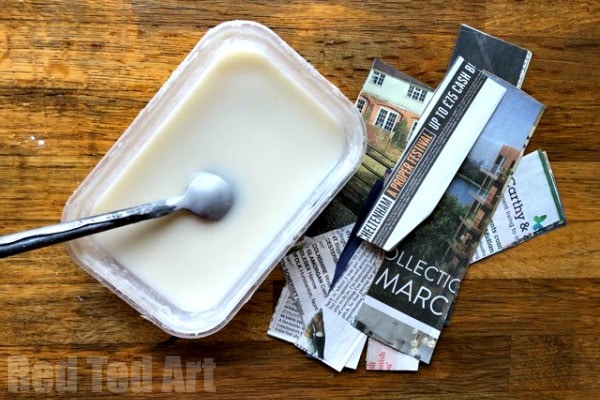
So without further ado.. here is our very easy paper mache paste made from flour and water:
Ingredients for papier mache paste:
So, how do you make paper mache at home?
- 1 cup plain flour (all purpose flour)
- 2 cups tap water
- OPTIONAL: some people like to add a tablespoon of salt to help preserve the paper mache glue – but we have never needed to do this. If you live in an area with high humidity you may wish to add some
Yes. That is literally it!
Though we do heat it, so you will need a microwave or cooker too – as this helps release the starch in the flour which is your acting agent! It is possible to just use flour and water, with no heating, but the resulting paste won’t be as strong -if you have no accesses to bring your flour water mixture to the boil, do try and pour on boiling water instead and be sure to give it a good whisk – I encourage you to experiment with this first, before using it in a group setting and making sure YOU are happy with the result. This paper mache paste won’t be as strong, but the diy glue will work.
Next you will need is strips of newspaper/ any paper strips (we have used tissue paper before too) and you are ready to go!
(If you love how amazing flour is, you may also adore our 3 ingredient salt dough recipe!!)
You will also need
- A disposable container/ old pan if using a cooker (though you can use a normal bowl, as this washes up nicely and won’t get ruined!)
- Measuring cup (it really doesn’t matter what size, it is the relative quantities that matter)
- Spoon for stirring
- Microwave or cooker
If you don’t have a microwave, you can do this on the stove top – just heat the mixture in a pan gradually, bring to the boil and keep stirring!
Is PVA glue or flour better for paper mache?
Form our years of making paper mache at summer camp and in the classroom, we find that flour is strong and durable. PVA glue, like elmer’s glue, of course is also strong and durable, but as flour is so cheap and also eco friendly, I would always put the flour paper mache recipe first. The only “upside” of a paper mache glue recipe, is that it is “whiter”. A flour recipe will be slightly off white. So if you are using white tissue paper in your craft, you may like a glue recipe instead. Most people however, tend to paint their finished projects, so the colour of the paste really shouldn’t make a difference!
Go with flour!
How long does Paper Mache paste from flour KEEP FOR?!
I usually keep my homemade paper mache glue, in a covered bowl or sealed container or jar and it should last in the fridge for about a week. The water and flour mixture may separate out a little, just give it a good stir and you will be ready to use it again. Personally, I like using it straight away (once it has been cooled down) or with in a day or two. I wouldn’t keep it too long, but it CAN be made ahead of time.
As mentioned you can add a tablespoon of salt or two and that can help preserve it for longer. Having said that, (and as mentioned earlier), I still have a paper mache piggy bank, that I made well over 20years ago at summer camp. And no salt was added to that!
How to make Paper Mache Paste (Recipe with Flour)
This short video shows you how very quick and easy it is to make your Paper Mache Paste! Or follow the step by step instructions below!
How to make paper mache paste from flour and water – step by step instructions
This really is one of the easiest and least messy DIY Paper Mache Recipes!
- Mix one part flour, with two parts water. Pour the water in gradually and keep stirring.
- Try and remove as many lumps as possible.
- Pop into the microwave at full blast for 30-40 seconds (remember microwaves do vary, so add it for less if need be). Remove, give it a good stir.
- Pop back into the microwave for another 30-40 seconds etc. You will see some air bubbles forming, that is fine. You can “stir them out later”.
- Repeat this 2-4 times (depending on microwave) until you start seeing the mixture thickening up. It should look like thick soup – but not TOO thick. If it is too thick, it will not apply or soak into the newspaper as well – but you can always add a little water to make it runnier again!
- NOTE: Some people prefer it more paste like.. but I like it a little “runnier” (not too runny mind you). It really is a question of preference.
- Remove the flour mixture and give it a good stir. Try and “squish out” any lumps against the side of the container. They are not a “disaster”, but your work will look neater and smoother, if there are no lumps.
- Let cool a little and you are ready to use your mixture.
I do think that this is stronger than bonding glue or modpodge and I love that this recipe is natural and biodegradable. The natural starch in the flour simply is amazing! And it is fantastic how it results in qiute a hard material!
Stove Top Paper Mache Paste DIY
You can achieve the same result on the stove top. As you are only working with flour and water, this will papier mache recipe will not ruin any of your saucepan or pots!
- As before, add your mixture to a pan and stir to make as smooth as possible.
- Place on the cooker, on low heat and slowly heat it up.
- Stir continuously until you have a thick soup like constitency.
- Remove from stove and let cool!
Your Papier Mache Mixture is ready for us! As mentioned, it should last in your fridge for up to around a week.. but I prefer to use it with in 2-3 days.
Papier Mache Paste
Equipment
- 1 Cup of flour
- 2 Cups of water
- Microwavable container (can also be made on the stove top)
Instructions
- Note: this can also be made on the stove, by lightly heating the mixtue and stirring continuously
- Mix one part flour, with two parts water. Pour the water in gradually and keep stirring. Try and remove as many lumps as possible
- Microwave at full blast for 30-40 seconds (remember microwaves do vary, so add it for less if need be). Remove, stir
- Repeat the step above 2-4 until you have a consistency you like (some like it runnier, some like it thicker)
- Let cool and use
- Store in an air tight container in the fridge for up to a week
Video
Once you have your basic paper mache glue ready (no white glue in sight!), you can get started on your paper mache projects. You will of course need strips of newspaper, though you can use other paper too – having said that, the more absorbant the paper, the better. Simply dip your paper in the paper mache paste and start working on your projects. I tend to get very messy and “hands all in” when using paper mache, but you can keep things a little less messy and use a paint brush too. Be sure you have a nice clear work area before you get started!
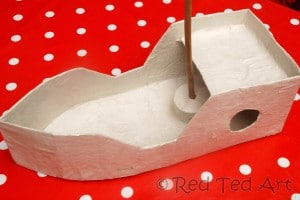
Most paper mâché projects also like to work with a balloon – you get the fabulous shapes that way! And you can really vary the size of your project depending on how big your balloon is! We LOVED making a Death Star pinata that way! But you can also make small piggy banks or papier-mâché fruit bowls using smaller balloons.
You can also use your papier-mâché recipe to make pulp clay or paper mache clay recipe. I have a post on paper mache clay recipe here. This is great for small projects requiring different shapes.
3 Mistakes to avoid when making your own Paper Mache
There are some common mistakes that you should avoid:
- MOULDY PASTE: The first one, is to not store your paper mache paste properly – as you are using flour – which is an organic matter, the paste itself can go mouldy in a few days. However, if you keep it refrigerated in a sealed container you should be fine.
- HUMID COUNTRY: A finished paper mache project that has fully dried, especially if painted with acrylic paints (these act as a sealant), will last “forever”. However even fully dried paper projects are not waterproof – so you cannot leave paper mache project outside! A common question, I have is from people who live in humid countries. Unfortunately, if you live in a very damp country or your home is very damp, it is hard to get papier mache to dry properly. So it may go mouldy or loose its shape before it has had a change to fully dry. If you are in a humid country, I recommend GENTLY drying it in a low heated oven. BUT PLEASE TAKE CARE and do not set fire to your work.
- COLLAPSED WORK: If you paste is too wet or if you add too many “soggy” layers of newspaper, your work can collapse. Similarly, if you remove any supporting materials (e.g. the balloon inside of a spherical project) too early, it can result in your project collapsing. Make sure you work is fully try. Similarly, if you your paints are “very wet” when you decorate your paper mache, this can also cause the paper to get too soft again and collapse. So do take care with that too!
Some of our favourite Papier Mache Projects to day include the following:
For any paper mahce project, you will need your paper mache paste, layers of newspaper strips and some paints (we love acrylic paints.. and for some projects you can use white acrylic paint to create a “white canvas” and then draw on it with pens and create interesting designs and details -a great little trick!). Sometimes you will need scissors or a craft knife to finishing this off.
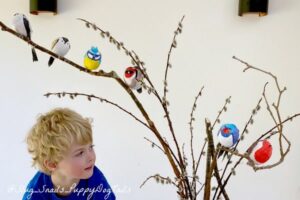
Stunning Papier Mache Garden Bird Ornaments
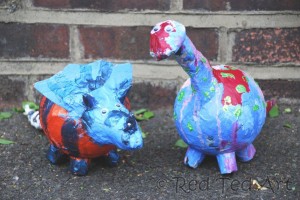
Papier Mache Dino Banks (again, we still have these years and years later! The paper mache paste recipe really is the best!)
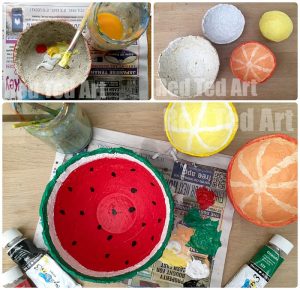
Papier Mache Melon Bowls – love these fruit bowls! They are so cute and full of bright colors!

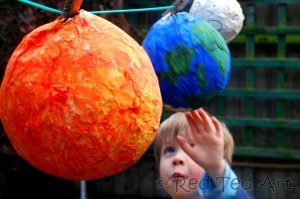
Layers of the Earth Bowls – a lovely educational craft
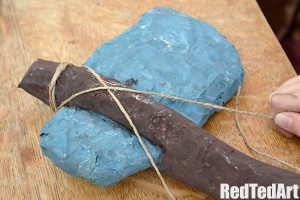
Stone Age Axe – another great project for KS2 Primary school. So many great things to make from old newspaper!

Sheep Sculpture – an example where white acrylic paint makes a great “canvas” for kids to paint! You could also add coats of emulsion paint!

Hen Basket here we used tissue paper instead of strips of old newspaper. It work just as well. You could even use patterned floral tissue paper. How cute would that be?

Papier Mache Volcano – probably one of our most popular paper mache projects! Great for science fair projects both in school and the homeschooling community!
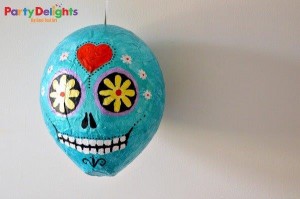
A fab Day of the Dead Pinata – a real balloon paper mache project classic! As a top tip, some people like to add a light layer of vaseline to the ballon, to prevent it from accidentally popping and “imploding” your work whilst it dries. Alternatively, some people like to add a later of plastic wrap. But I don’t think it is strictly speaking necessary!
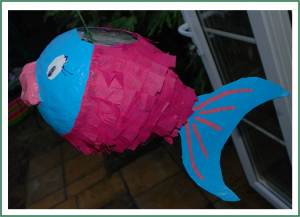
Fish Pinata – one of the first paper mache projects I made for Red Ted Art. The dried paper mache really made a strong hard material and it lasted us for years (we used it as a decoration!). I love the tissue paper scales.