
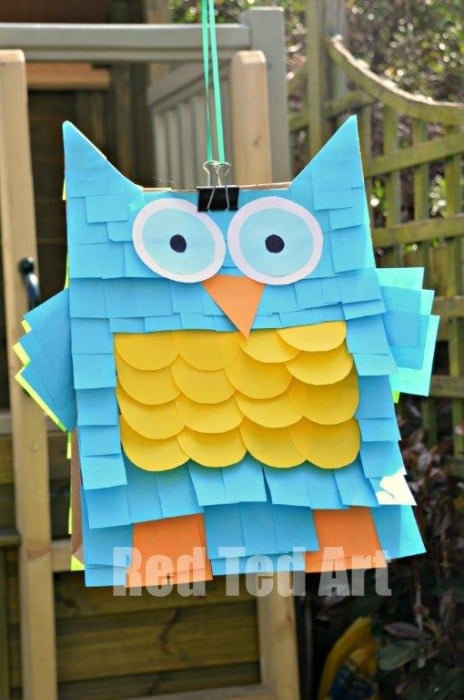
Easy Pinata – Paper bags and Post-Its
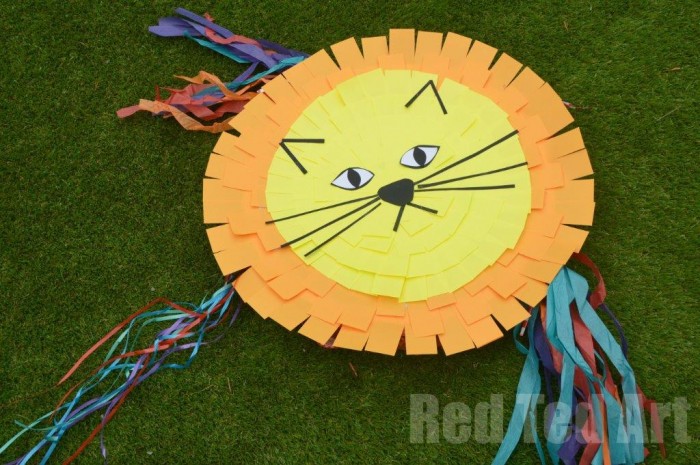
Oh the things you can make from Paper. We love Paper Crafts.. I made the EASIEST PINATA ever at the weekend. I am sharing an Owl Pinata, a Monster Pinata and a Lion Pinata. All you really need are some Post-its from 3M and a brown paper bag. The Post-it Brand from 3M challenged me to decorate a ready made pinata (see our lion below) and I that gave me the idea of how simple it would be to make a Pinata from scratch – using a paper bag – i.e. our Owl Pinata and Monster Pinata.
 This easy no mess pinata DIY was first shared in May 2013 and has been updated for your convenience!
UPDATE: Since these pinatas, we have also made a Sulley Pinata from Monsters Inc. He is adorable. Check him out!!!
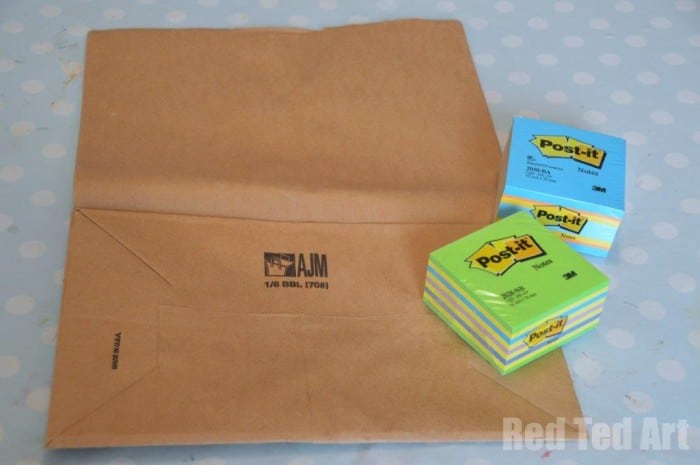
Materials: Paper bag, Post-it Brand from 3M, Paper & Glue (for embellishments), String (for hanging)
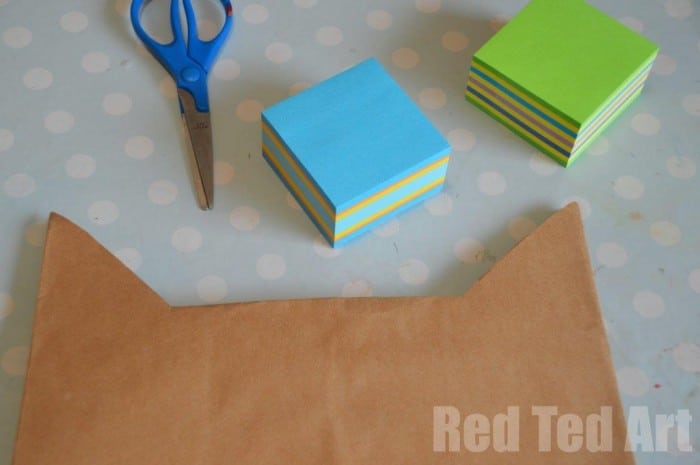
1) Snip into your paper bag at the top opening to shape for ears. I folded the excess paper inside the bag – which also gives it a couple of extra layers for hanging later.

2) Then take your 3M Post-its – cut them in half length wise and start your easy pinata at the bottom. I made an owl pinata on one side and a monster on the other, as couldn’t decide on which to do. The orange is for the owl’s feet. It isn’t too important to layer these neatly… Pinatas are not an exact science and a bit of disorder goes with the that Pinata feel.
If I made these for a party (rather than a challenge), I would then cover the back of the pinata in the appropriate coloured Post-its – blue for the owl, green for the monster.
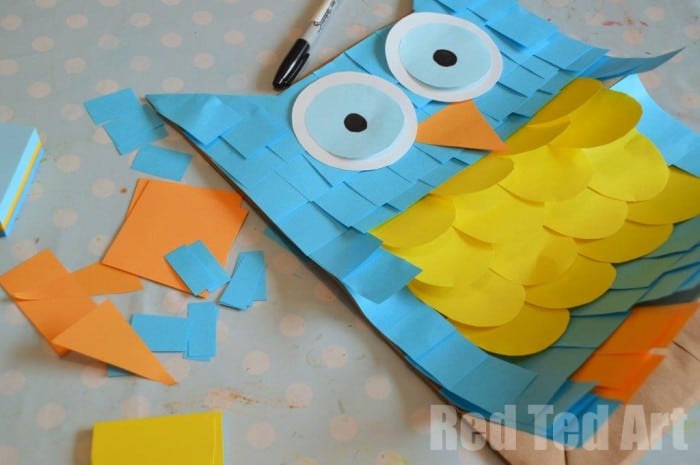
3) For the Owl’s “stomach”, I cut a semi circle/ curve into my square Post-it. Then added some layers and blue “feathers” all around my Owl Pinata. When I got to the ears, I tucked the post it round the triangle to shape. You can always use a little glue stick to secure. Then cut an orange Post-it beak and some large eyes from odinary paper. Layer a second circle and add pupils. I also stuck three square posts down the side of the owl to represent wings.
The front of your owl is done. Wasn’t that an easy pinata craft?
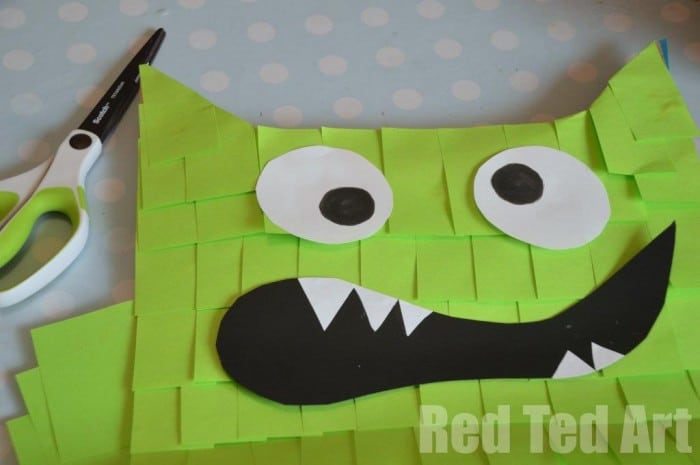
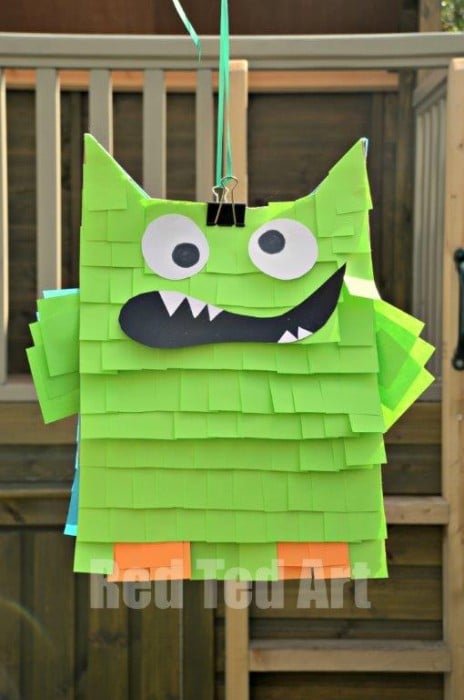
4) Similarly the Monster! He got orange feet (like the owl) and a black paper mouth with white teeth stuck on. This time the 3 green square Post-its (lined up with the Owl’s wings on the other side) made for the Monster’s arms.
5) Fill with treats, stuff a little with bubble wrap to give shape. Cut some slits at the bottom to assist the “breaking” when hitting with a stick” and hang!
On to the Post-it Brand from 3M challenge of embellishing an existing Pinata (check out Post it UK on Facebook for more Post-it fun!) – and the LION! ROAR!
Happy Easy Pinata Craft making!!
![]()