
Fabric Hearts Sewing Project
Today we have the lovely Chris Guest posting for us on the last few days (of the 31 Days of Love series)…. She shares a super cute and simple Heart Sewing Project! So pretty and fun!
Check out all the other wonderful guests posts to date by browsing 31 Days of Love here!

 Hello! I’m Chris and I blog at Thinly Spread where I write about my life and loves as Mum to my four children. You can find me on Facebook, Twitter, Pinterest, Instagram, YouTube, G+ and over at Life is Delicious where I share vegetarian recipes as well as more crafts and lifestyle ideas – because one blog just isn’t enough!
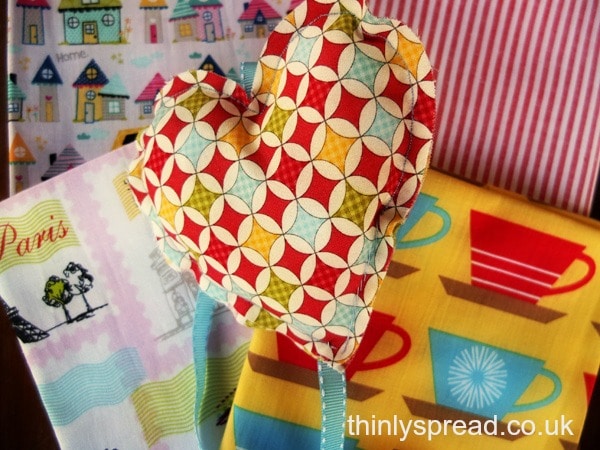
As my children have grown our crafting has evolved to accommodate their new skills and interests. This fabric heart for Valentine’s Day is a very good introduction to some of the skills required when using a sewing machine but can equally be hand sewn to reinforce sewing skills or to introduce them to a beginner!

Fabric Hearts First Sewing Project – You will need:
- Cardstock
- Cotton fabric scraps (we made this with half of a left over fat quarter)
- A metre of contrasting or complimenting ribbon
- Fabric pins
- Thread
- Sewing machine
- Sewing needle
- Toy stuffing or fabric scraps
- Scissors
How to Make Valentine’s Fabric Hearts
- Begin by drawing or tracing a heart shape onto thick card to use as a template. Ours measures 12cm from top to bottom and 12cm across at its widest point.
- Fold your fabric in half and draw around your template on the wrong side of the fabric. We drew around it four times to make four hearts (the doubling over of the fabric gives you both sides of your heart)

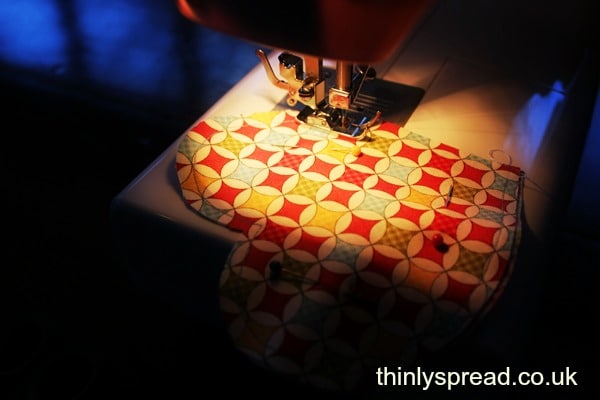
- Pin your hearts, wrong sides together and your pretty pattern facing out at you.
- Sew all around the edge leaving a nice rough hem of about ¼ – ½cm depending how skilled you are with machine or needle. If you are teaching children to sew this is a good time to introduce how to thread a needle, how to knot your thread, how to back stitch and how to tie off. If you are introducing the machine you will be moving on from straight lines and can introduce moving your fabric around the needle to change direction slightly!
- Leave a gap of about 6cm along one of the straight edges for stuffing and tie off.
- Stuff your hearts with toy filling, pushing it gently into the tops of the heart and the tricky corners with your fingers or the blunt end of a pencil.
- Hand sew the gap with back stitch and trim off any loose threads.
- Pin your hearts onto your ribbon (we left about 15 com between each heart) and then sew on by hand with a few stitches.
- Make a loop at the top of your ribbon for hanging.
You could sew buttons on to the hearts, use a different fabric for each one or add bells and beads to jazz them up. I love how forgiving the rough edges are for a new sewer! Which fabric do you think we should try next?!
More Ideas From Thinly Spread

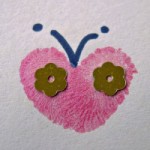
Fingerprint Love Heart Butterflies
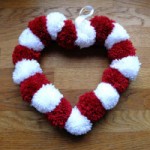
Interested in More Valentine’s Day Decorations? Take a peak?


Browse all 31 Days of Love posts here! To check out all the lovely Guest Posts about Valentine’s Day to date!