3D Unicorn Card DIY
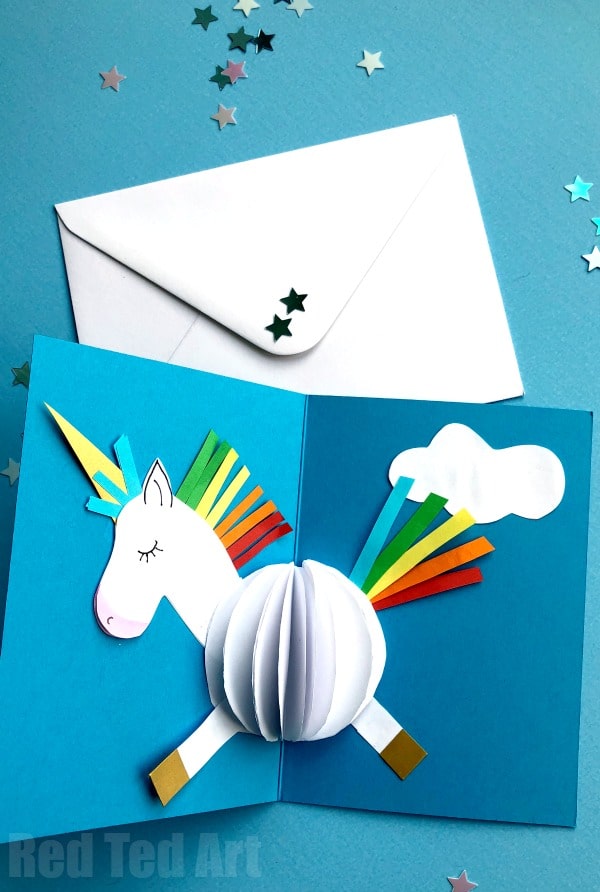
You will maybe have seen our cute and easy Paper Unicorn Decoration early this month.. after I had made it.. I thought it would look fantastic as a little 3D Unicorn Card too.. don’t you think? We love Unicorn Crafts for Kids. More lovely Pop Up Cards for you to explore here!

These Paper Unicorns are super easy and FUN to make. My daughter is obsesses.. and I hope you enjoy them as much as we do too. I have created step by step videos and instructions, to help you make your OWN Paper Unicorn, but have ALSO included some unicorn templates, if you need a little help or are short on time.
But I promise you, these Pop Up Unicorn Cards are super easy and oh so cute, don’t yout think?! So if you need some greeting cards, have a go at this tutorial today!
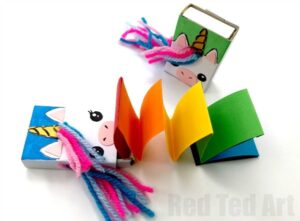
If you love this darling Pop Up Unicorn Card.. you may also like to check out our “Colourful Secret Unicorn Notebook“:
3D Unicorn Card – Materials
- Card stock/ blank card in desired background color
- A4 sheet of white paper & white envelope
- Some coloured paper scraps (or use pens to decorate some white paper)
- Some gold paper (or use silver foil or make your unicorn horn pink!)
- Glue stick
- Bakers Twiner for hanging (we used this gorgeous Blue & White Twine US/ UK (affiliate links))
- Pens for decorating
To make things easier, I have created a 6 page printable lesson plan, worksheet and templates over in my teacher’s pay teacher’s store. Go take a look and grab your download today!
How make a Pop Up Unicorn Card
I have TWO How to Videos for you to check out – the first shows you how to make all your “Unicorn Card PARTS”, the second shows you how to assemble them. Alternatively, read the WRITTEN INSTRUCTIONS BELOW each video! Let make this adorable card!
Creating your Unciorn Parts
Remember that you will need to SKIP the part where you turn your bauble into “one full 3d sphere”. It is at THIS point that you need to move onto the 3D Card Assembly video!
Preparing the Paper Unicorn Head
Make use of our printable workheets on teacher’s pay teachers or follow the video/ step by step instructions.
- Sketch out your unicorn head or use our unicorn template. You will need 2 of these facing in opposite directions (draw one, get two pieces of paper, cut 2 at the same time.. flip one over)
- Add details in pen – e.g. for the ear, eyes and nose
- Now it is time to cute some rainbow paper strips – I cute red, orange, yellow, green and blue – I made them very narrow – 2mm wide and about 3-4 cm long (but you will trim them later).
- Add a little glue to your unicorn head… and start sticking down your main. Stick it as neatly to the edges as you can as sometimes the line is visible through the white paper.
- Add the a golden horn
- Add some extra main to the other side of the horn, so it matches both sides. Trim the mane if need be!
- Glue on your second head piece, so that your paper unicorn is pretty on both sides.
The Unicorn head is now finished.
Preparing the Paper Unicorn Tail
- A an extra red, orange, yellow, green and blue strip of paper – again approximately 2mm wide and 3-4 cm long and put those to one side
Preparing the Paper Unicorn Legs
- Cut strips of white paper 1cm wide and 2-3 cms long.
- Cut gold strips of paper – approximately 1cm wide 1.5cm long. Fold in half. You don’t have to use the gold, you can use pens to draw on some hooves too.
- Glue over the bottom of the white strips of paper to form a golden hoof. Trim to neaten.
- Put to one side.
Make your Paper Unicorn “Bauble” Body
- Cut 9-10 white circles (you can use our template for size)
- Fold the circles in half.
- Add glue to one half of the circle and lay a second circle on top.
- Continue until all half circles a stuck together.
We are now ready to assemble your card.
How to assemble your Pop Up Unicorn Card
Watch the 3d Unicorn Card Assembly video, or read the step by step instructions below!
Final Assembly of your Unicorn Pop Up Card
- Make sure you have NOT closed the paper bauble “in on itself”.
- Position the paper bauble in the centre of the card and glue the bottom half of it down (not the top, as you still want to slide “bits” in)
- Now you can add glue to your Unicorn head and slide it under the bauble on the right.
- Repeat the same ofr the tail. IF you have glued the whole bauble down already – don’t worry, just glue it on top of the last piece of paper, it will still look nice!
- Finally postion your unicorn’s legs and also glue them in place.
- If wanted, added a little cloud to your sky.
Your 3D Unicorn Card is now finished!!! Isn’t it adorable. If you want you can fill it with confetti stars for some extra special sparkle…
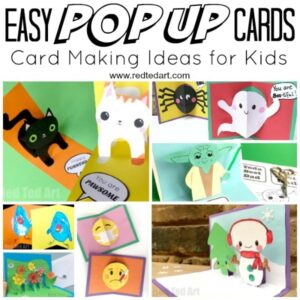
Check out the rest of our fabulous Pop Up Card DIYs here:
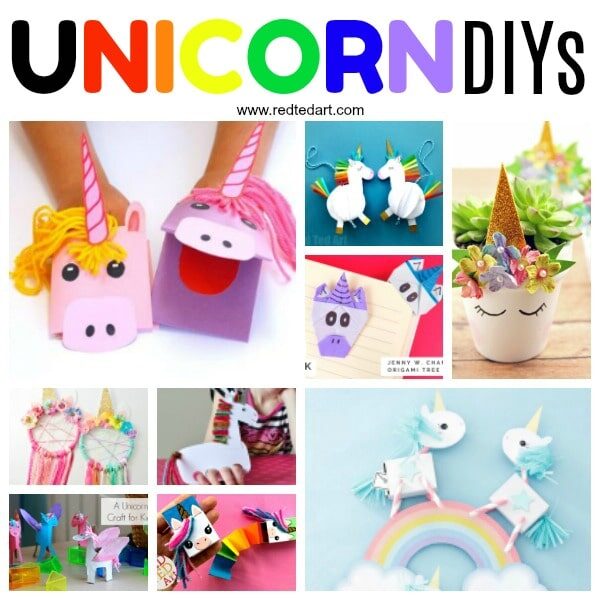
Having a unicorn-themed birthday party? Check out these magic unicorn craft ideas and make your birthday magic!


