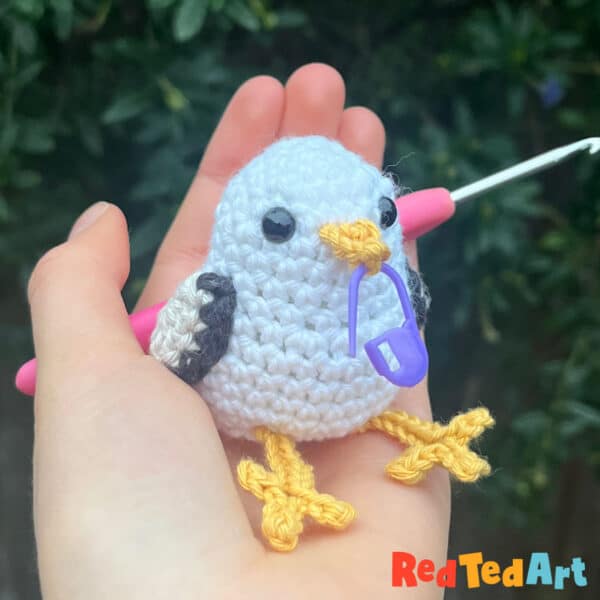
How to Crochet a Seagull for Beginners
Come and crochet a lovely Seagull with us today! If you love to crochet and are looking for super cute and easy beginner crochet patterns, then try out today’s Easy Beginner Crochet Along and make this lovely little Amigurumi Seagull with us today. A free seagull crochet pattern by Craft Alotl for Red Ted Art readers! Perfect for any white yarn you have to hand.

Note: affiliate links have been added to this post – should you choose to purchase via these, I will earn a small commission that goes towards the upkeep of this site!
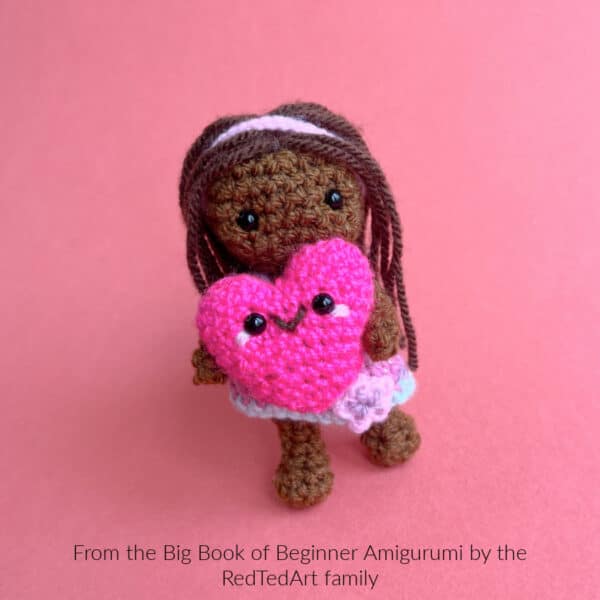
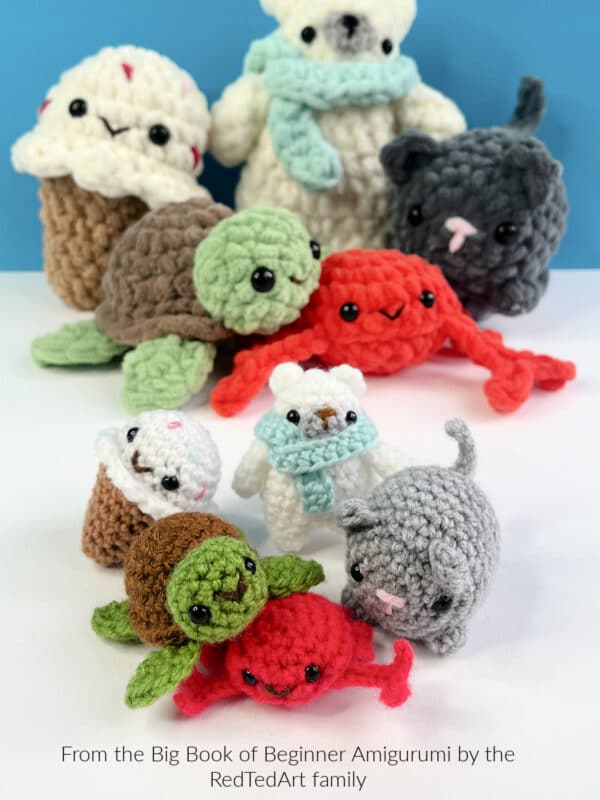
The Big Book of Beginner Amigurumi
Well, in case you have heard yet.. we do have a brand new crochet book out for you to check out – The Big Book of Beginner Amigurumi! It 60 super cute and relatively quick makes to make.. the majority of which you can scale up and down to make mini amigurumis (cute desk buddies, purse charms or keychains) or scale up to make lovely little plushies for Market Stalls or friends and family… one book. Endless possibilities… (read more about it here – or hop on over and just order it today!!!)

We love this little seagull so much, that OF COURSE he had to go into our BRAND NEW crochet book.. SO, if you love crochet, if you love Red Ted Art and if you want to support us, please do pop over and grab yourself a copy of our lovely amigurumi crochet book – out June 2026 in the US, and about 4-5 weeks later in the rest of the world. I hope you LOVE this book as much as we do. THANK YOU * THANK YOU * THANK YOU for all your support. Pre-orders are the bees knees and can make ALL the difference on launch day.

Now, with that out of the way… let’s learn how to crochet an amigrumi seagull today!
Supplies for Seagull
- Your favourite yarn in white, yellow, grey and black – we used DK acrylic yarn in the photos and a Ricorumi Cotton yarn in the video (White, Yellow, Grey, Black)
- The corresponding yarn hook
- Safety eyes (in our case 6mm)
- Darning needle
- Scissors
- Stuffing (we like to recycled pillow stuffing that has been washed and dried again)
Abbreviations
You can check out all our basic crochet stiches on the learn how to crochet blogpost or the Learn to Crochet YouTube list!
- Mc – magic circle
- Ch – chain
- Slst – slip stitch
- Sc – single crochet
- Dc – double crochet
- Hdc – half double crochet
- Inc – increase
- Dec – decrease
- Rnd – round
Crochet Along Seagull Crochet Pattern for Beginners
So, for our lovely readers, Craft Alotl has done a crochet a long video on YouTube, it is about 50min long, but shows you that you can really make this little Amigurumi Seagull relatively quickly (we only skips forward on a couple of bits – but it mostly crocheted “live” so to speak). Each step has the rounds written out again too, and there is the handy link to other crochet youtube tutorials. What I like about the video, is that you can really SEE, how e.g. close off a hole or how to sew on your projects. So the video really is a fanastic resource for beginner crocheters. You can always skip forward, skip back or pause the video where you need! Below we then have the written pattern for those a little more confident and who just want to get on with their crochet!
Or if easier, you can watch the YouTube video here:
How to Crochet A Seagull – written Pattern
Top of Seagull Head
Starting with the Head in White
Rnd 1: 6sc into mc [6]
Rnd 2: 6inc [12]
Rnd 3: (1sc, inc) x6 [18]
Rnd 4–Rnd 8: 18sc [18]
Rnd 9: 3sc, 5inc, 5sc, 3inc, 2sc [26]
Rnd 10: 6sc, 4hdc inc, 16sc [30]
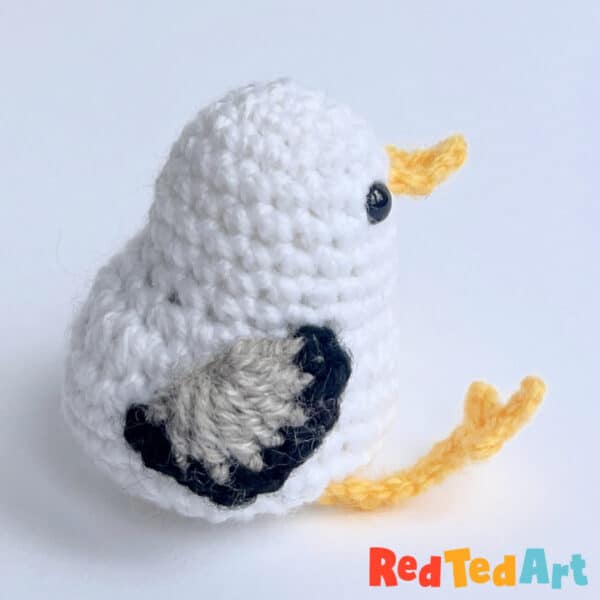
Place eyes between rnds 4 and 5, roughly 4 stitches apart. The eyes should be on the other side of where the hdcs have been made (the hdcs are the back of the seagull to form the tail). Stuff the head.
Rnd 11–Rnd 13: 30sc [30]
Rnd 14: (3sc, dec) x6 [24]
Rnd 15: (2sc, dec) x6 [18]
Begin to stuff the body.
Rnd 16: (1sc, dec) x6 [12]
Rnd 17: 6dec [6]
Fasten off and seal hole.
Crochet two Seagull Wings
In grey
Rnd 1: Into mc, ch 1, 7dc [7]
Change color to black.
Rnd 2: Ch 1 and turn, 7sc, 1sc into the ch that was made at the beginning of the first rnd [8]
Fasten off and leave a long tail for sewing. Sew one wing on each side of the body. The top of the wing should be positioned diagonally in line with the eye, and it should be sewn between rnds 8 and 9.
The bottom of the wing should be sewn between rnds 11 and 12. Sew the rest of the wing in place, to ensure it won’t come off.
Seagull Beak
In yellow
Rnd 1: Ch 4 [4]
Rnd 2: Skip first stitch, 1slst, 1sc, 1hdc [3]
Fasten off and leave a long tail for sewing. You should have made a long triangle shape. Sew the beak between rnds 4 and 5, directly between the eyes.
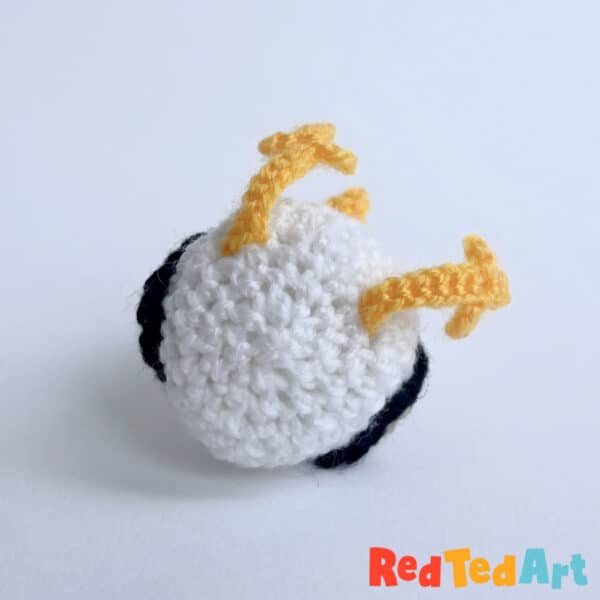
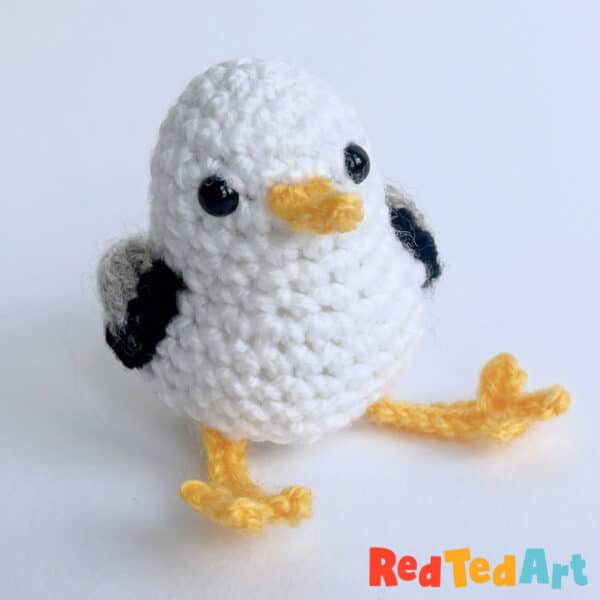
Seagull Legs x2
In yellow
Rnd 1: Ch 10 [10]
Rnd 2: Skip first stitch, 3slst, (ch 3 – Skip first stitch and 2slst down the ch –
slst into same stitch of the main crochet) x2, 6slst [15]
Fasten off and leave a long tail for sewing. Sew each leg to the base of the seagull, roughly between rnds 14 and 15. The legs should be in line with the eyes.
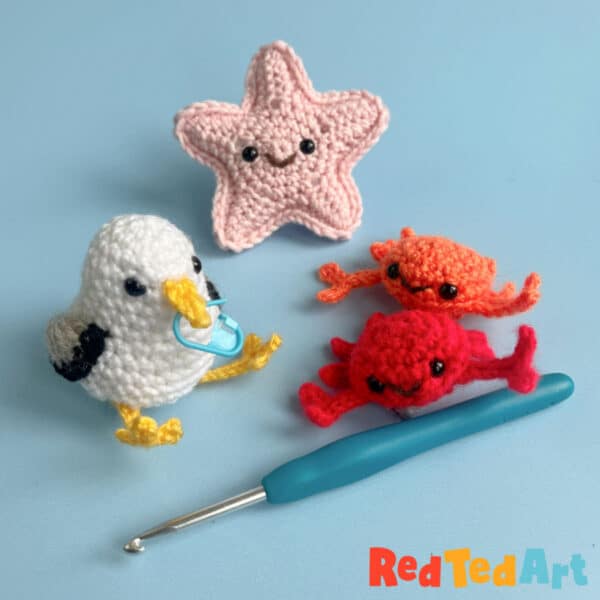
Loved the seagull? Are you hooked yet.. see the Seagull here with some of it’s ocean buddies – the star fish (learn to crochet two sides together) and the mini crabs. I love the crabs – as we had a go at them with our super plush yarn and they looked great in that too!! Why not grab yourself a copy of the book today?
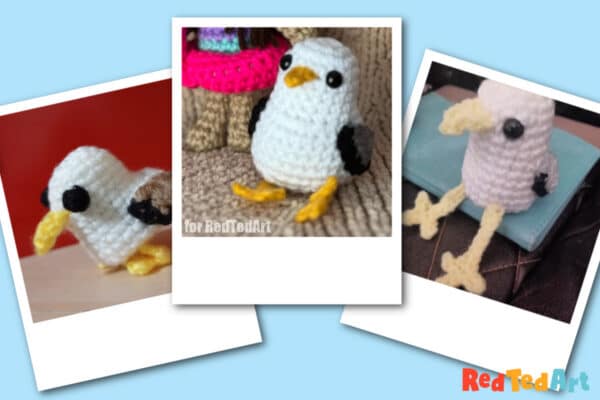
Check out our tester’s seagulls (I always LOVE LOVE LOVE seeing tester photos!).
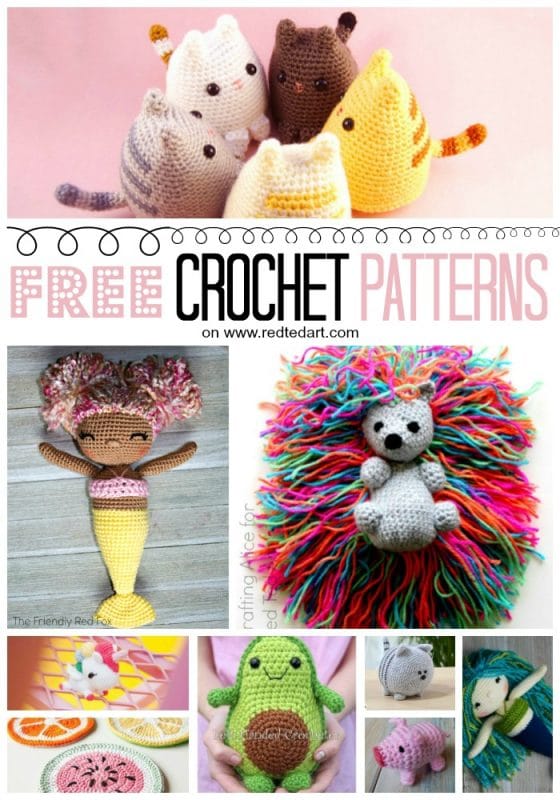
More great free crochet patterns here or alternatively, if you have a lot of white yarn left and are looking for white yarn crochet pattern ideas, check out this second collection!: