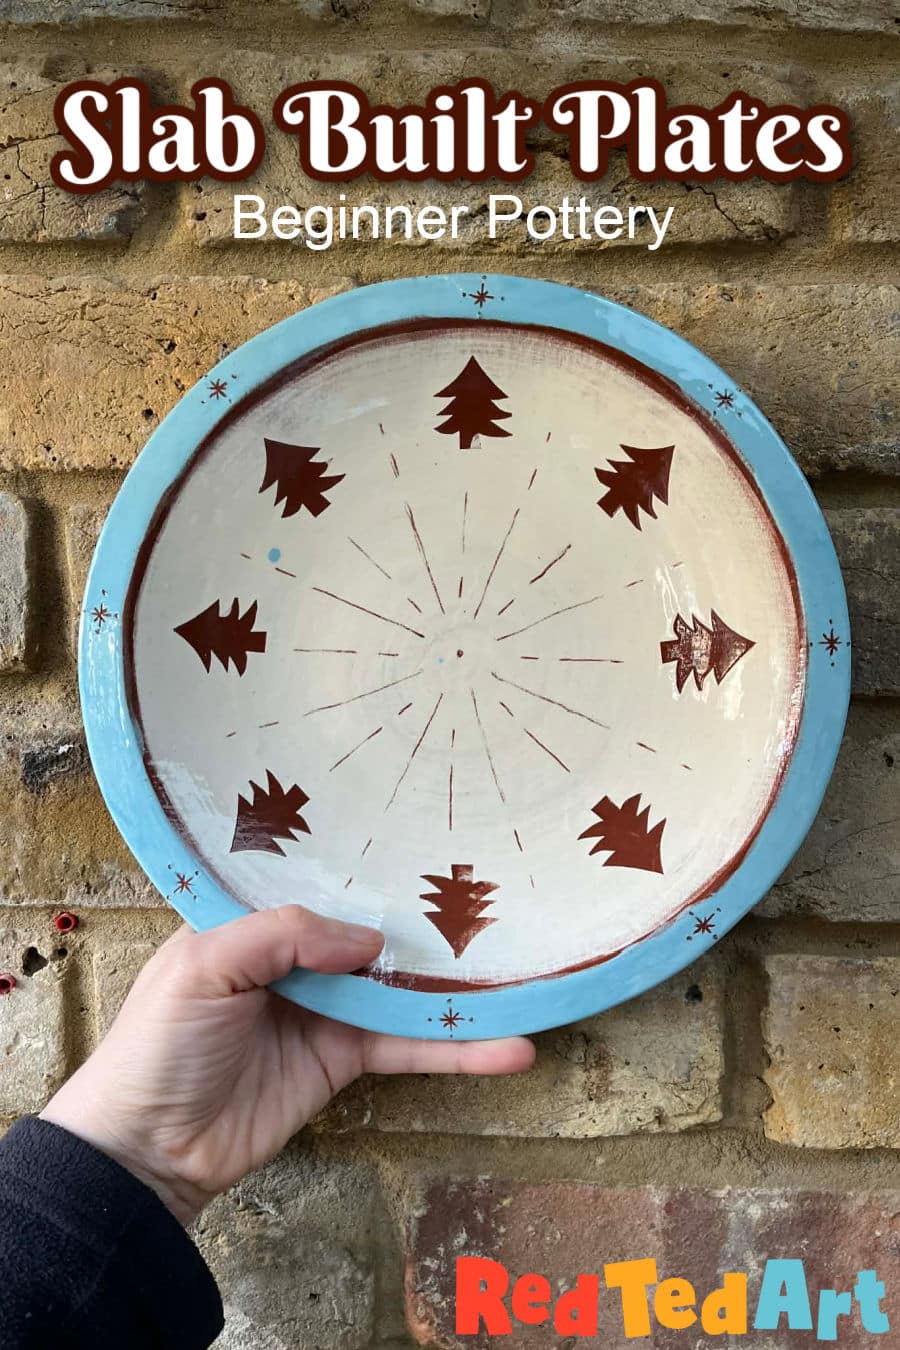
Beginner Pottery Part 1: Drape Mold a Slab Plate
As you know, I am always up for trying something new!! And I decided that 2026 would be the year, I moved on from air drying clay pinch pots (as much as I LOVE them) and give kilned fire pottery a go… which is quite different to working with air drying clay (both both are great for different reasons). The last few years have been all about learning to crochet in our house, so it was time for something new.
Disclaimer: these pottery posts, will be more about my journey, with some helpful resources (I hope) shared along the way.. not really ME teaching you… I have a long way to go for me to become a teacher! Ha.
To make our Sgraffito Terracotta Plates
For our first pottery project our instructor got us to use terracotta clay. We went through a 3 week process:
Week 1: Roll the slab and place/ shape in mould
Week 2: Once leather hard, we learnt to tidy the edges of the plate
Week 3: Decorate with resist and sgrafitto techniques
How to prepare your clay
First up as beginner potters, in our pottery class, we spent a good amount of time preparing our clay and practicing getting all the air out of your clay before you start working! We were shown how to Wedge Clay.
Here is a good little video on the Ram’s Head method:
Purpose of wedging
- Expell air pockets (these would explode in the kiln or make your pots go off centre on the wheel)
- Homogenise the clay – to help keep the clay centred when throwing
How to roll clay for slab pottery
Next we had started rolling our clay, so we could make a mold slab plate later. For this we needed:
- A piece of cloth (to work on and help us move our clay later)
- A rolling pin
- Two wooden guide bars
- A small knife (to poke out any air pockets, that needles to say us beginners still had!)
Once you are happy with the slab and it is big enough for your planned plate making method you can move on!
Making slab plates
Turns out, that the are LOTS of ways to make slab plates! And obvioulsy, we weren’t looking at all the methods in our pottery class, else we would have ended up with rather a lot of plates… we used a pourous mold and laid our slab clay inside.
This video shows the most similar process of what we did. BUT I am not sure the plastic cover in this video is an ideal thing to show – as both our instructor as well as the judges on the Great Potter Thrown Down, point out: plastic on molds can prevent your clay from drying to leather hard. You need your clay to dry slowly, so you can progress to the next step of tidying up your work and adding features. The concept of “leather hard” clay is really key here. I think that in this video the plastic was “ok”, because she didn’t cover the whole plate in it and the plate is thin – so moisture can still evaporate relatively ok.
I use the video, as it a similar mould that we draped our clay into.
Leather Hard & Tidying Up
You can watch the whole of this video to look at the different ways to make a slab plate, but I have “started it” 6min 24sec in, which is when our plates where “Leather Hard” and we started to tidy up our plates with a shredder tool. I found this a very satisfying process! It is a great way to make the plate rim look more even! The shammy leather at the end of the tidy is great too (and a good way to remove any finger prints added by accident!).
Once our plates where tidy, we let them dry again.
Decorating our Terracotta Plates
Our instructor showed us examples of different ways to decorate our terracotta plates:
- Resist art – shapes made from newspaper, secured on the clay with a little water
- Sgraffito – where you add the glazes and scratch in some designs
- Sponging – where you get a color contrast by layering two colors on top of each other with a sponge
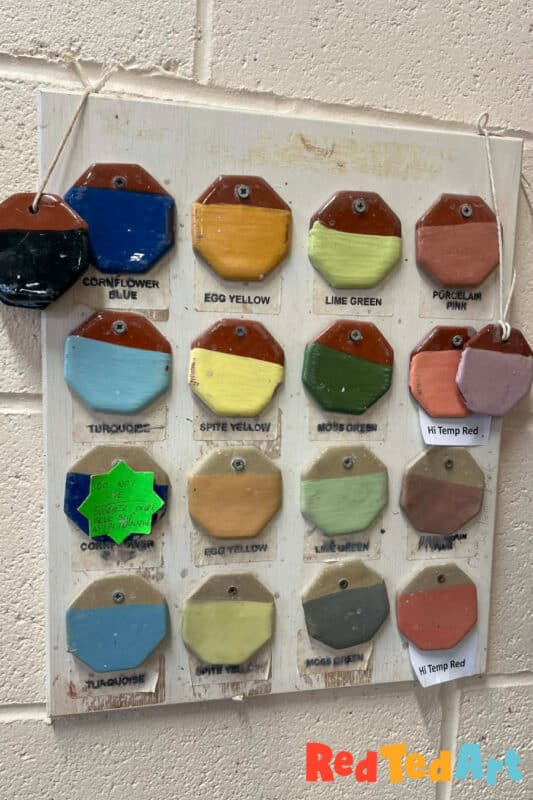
For the decorating process our plates continued to be stiff leatherhard vs fully dry! The top two rows in this image are the colours (+white) that we had to play with. I decided that I really wanted to highlight the the terracotta colour and “honor” the clay, so wanted to use the lighter colours in my design, which would have been the light green, the light blue, light yellow pink, puprle and white. I knew I wanted a Christmas design.. so ended up with a winter white and light blue!
I decided to add a combination of resist art and sgraffito and wanted to come up with a design that allows the lovely brown terracotta colour to shine through!
As there we were a couple of “drying” week inbetween steps for making our terracotta plates to , I had a little time to research and look into Sgraffito decorations.
The process I followed for my decorations:
We kept our leather hard plates IN their mould and place them on a banding wheel:
- I decided on a simple design (the simpler the better as a beginner, I thought, though there were some truly beautiful sgraffito designs out there).
- I cut out some little newspaper Christmas trees
- Secured the newspaper cut outs to the clay with a little water. I made one or two of the trees a little too wet, so they did slip a little. Which is where you can see some errors in my final plate.
- Add the slip with a broad brush, whilst turnin the banding wheel
- Dried the slip with a hair dryer
- Added a second and third layer (with hair drying in between)
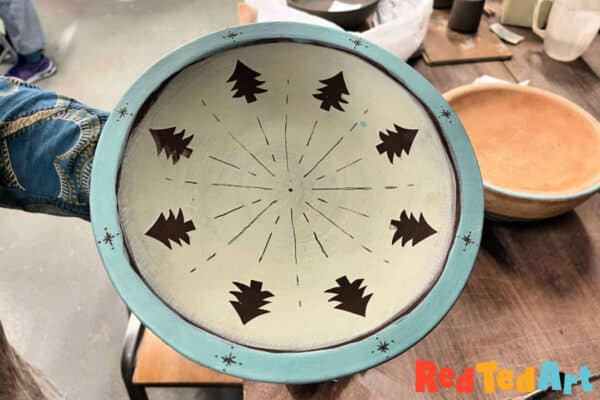
- Add my blue band to the terracotter plate
- Removed my news paper trees (which was super fun)
That was it for this session, the following week, I was to add the sgraffito designs. Here is a lovely video looking a the sgraffito process.
I wasn’t very brave with my sgraffito and only added some small details. Maybe I will do some more next time.
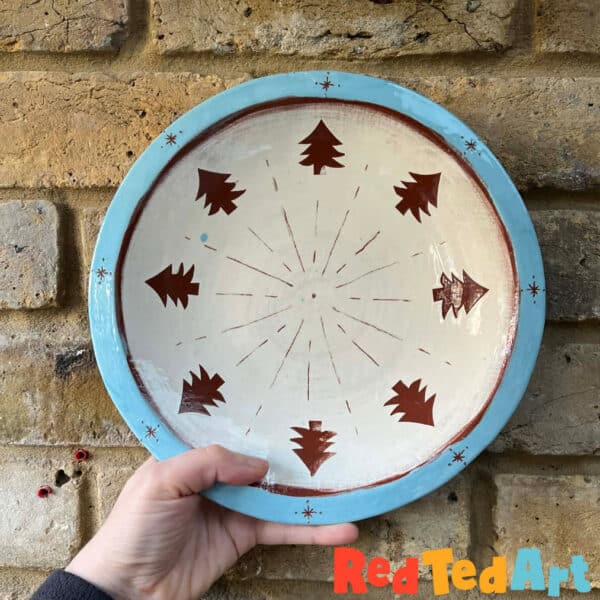
The plate was then fired. And the following week, we added a glaze and did a second firing. Adding the glaze for the first time was a little daunting.. I am really not very good with the “dipping process”… ha. But got there in the end. And this my first “perfect imperfect” pottery project. I love it, complete with slipped trees and blue trips!
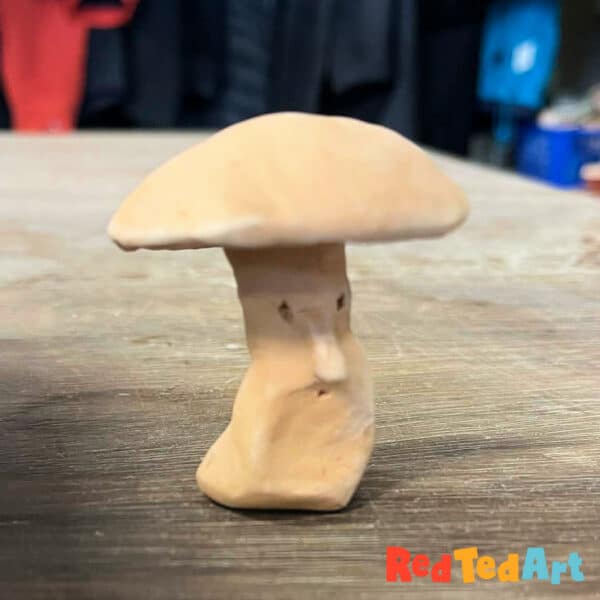
Happy making!!! The next pottery project we started (inbetween drying types), was a slab built mug! Watch out for more! And watch out for this little FUN GUY (get it get it??) that I made inbetween steps whilst waiting for my fellow students!
Also want to learn something new? Why not teach yourself to crochet here and grab yourself a fantastic amigurumi crochet book too: