Origami Bookmark: Mark Your Place with These Cute and Easy-to-Make Bookmarks
Welcome to another exciting arts and crafts project with Red Ted Art! Today we’ll be learning how to make an Origami Bookmark, perfect for marking your place in your favorite book or journal. The best part about this project is that it is easy to make and requires only a few household items. Let’s get started!
Basic Supplies for an Origami Bookmark:
- A square piece of paper
If decorating your bookmark you will need:
- Paper scraps
- Scissors
- Pencil
- Glue stick
STEP 1: CHOOSE YOUR PAPER
The first step in making an origami bookmark is to choose the paper you want to use. You can use any square piece of paper you have at home, including scrapbook paper, wrapping paper, or even plain printer paper. The size of the paper will determine the size of your bookmark, so choose accordingly.
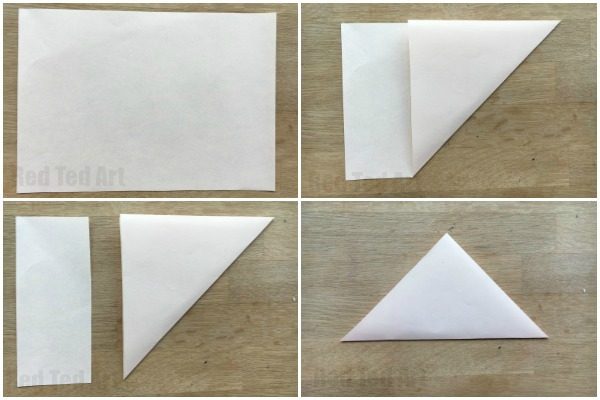
STEP 2: FOLD THE PAPER DIAGONALLY
If you only have a rectangular piece of paper: follow the first three photos above and trim off the edge.
If starting with a square piece of paper: Take your square piece of paper and fold it diagonally, bringing one corner to the opposite corner. Make sure the corners are lined up precisely and crease the paper well along the diagonal fold.
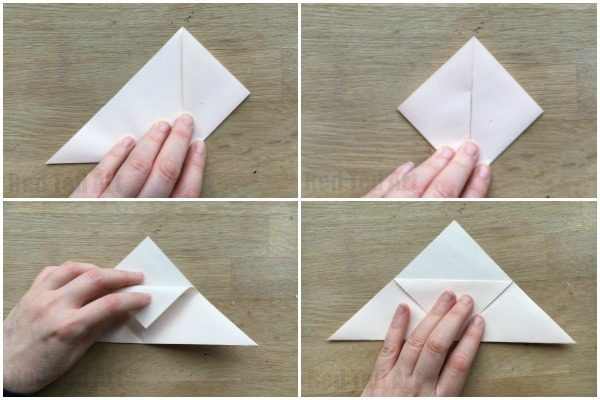
STEP 3: FOLD THE PAPER AGAIN
Next, fold the paper in half again, bringing the other two corners together. You should now have a creased center line that runs vertically down the middle of the paper.
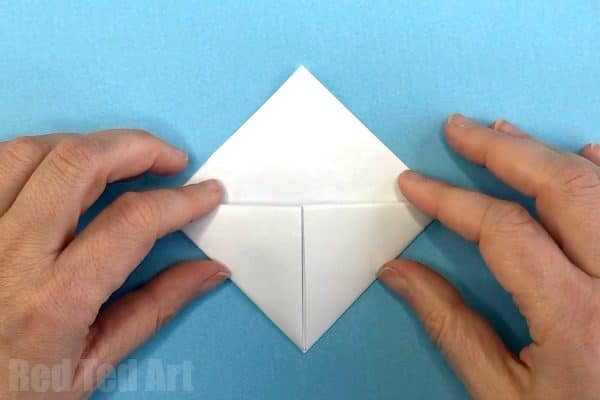
STEP 4: FOLD THE CORNERS
(Top two images): Take the right corner and fold it towards the center of the diamond, along the vertical crease. Repeat this step with the left corner, so that both sides are folded towards the center so that the paper looks like a diamond. UNFOLD AGAIN.
STEP 5: FOLD DOWN THE FLAP
Fold down the top flap. (See image bottom left and right).

STEP 6: TUCK THE FLAPS
Flip the paper over and fold down the top flap, tucking it into the pocket created by the folded sides. Press the flap down to create a tight crease.
Your basic origami bookmark is finished. Congratulations!
STEP 7: DECORATE YOUR BOOKMARK
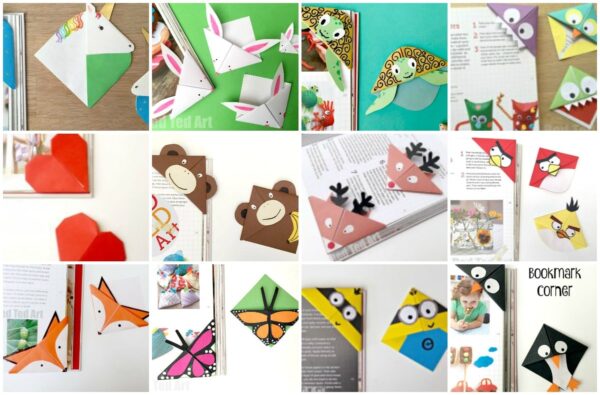
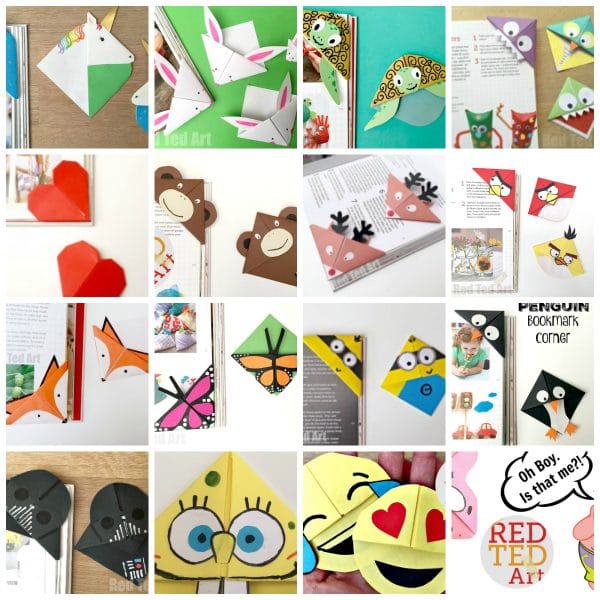
Now that your origami bookmark is complete, it’s time to add your own personal touch. You can decorate your bookmark using markers, stickers, or even washi tape. You can also use a pencil to draw a cute design on the front of the bookmark. Get creative and make it your own! There are 100s of ways to decorate a corner bookmark, to suit all occasions!
With these easy-to-follow steps, you can make a beautiful and functional origami bookmark in no time. You can use them for yourself or give them as a thoughtful gift to friends and family. This is also a great way to teach children the art of origami while encouraging a love of reading.
Tips and tricks:
- Experiment with different paper sizes and designs to create bookmarks that are truly unique.
- Be sure to crease your folds well to make a clean and neat bookmark.
We hope you enjoyed this fun and easy craft project with Red Ted Art. Don’t forget to share your creations with us on social media using the hashtag #RedTedArt. Happy crafting!
In the meantime.. here is are come Corner Bookmark Designs to inspire you: