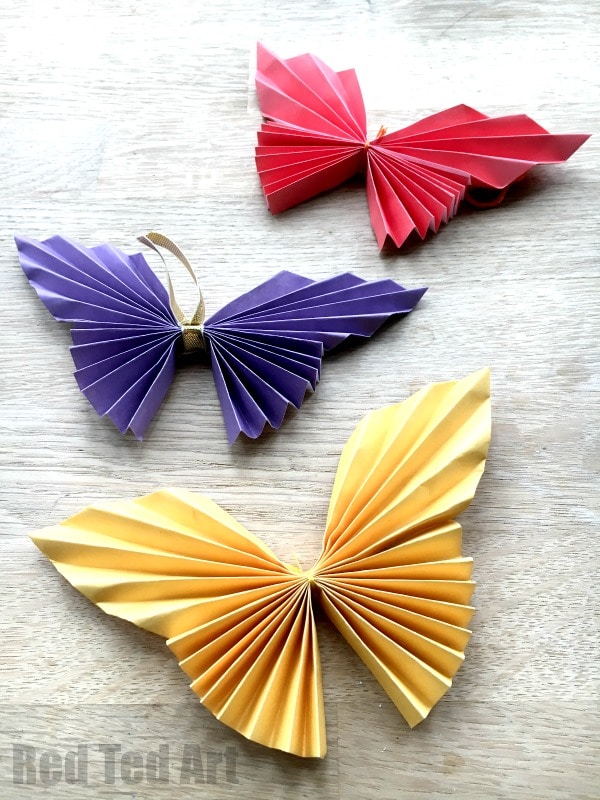
Easy Paper Butterfly with Step by Step Photo instructions
We have made a Simple Origami Butterfly before, but this easy paper butterfly, I think is indeed EVEN EASIER! Strictly speaking these are not “pure” origami, as there is a little cutting involved, as well as the need for a little bit of string or glue. We love these accordion fold butterflies. A wonderful technique for kids.
But I still think it is a great paper craft for kids and a wonderful introduction to origami for beginners as it uses some basic origami folds. You may also love to see these ecclectic and easy butterfly crafts!
How can I decorate with paper butterflies?
These paper butterflies can be used in lots of different ways:
- turn them into a darling butterfly mobile,
- decorate your wall.
- Make small ones and add them to an Alice band or brooch.
- Decorate a photo frame or
- glue on top of an Origami Box as a pretty DIY gift box.
I would love to hear what ideas you have for using these lovely easy paper butterflies!
Do I need a butterfly template to make these?
No, not at all! Making paper butterflies has never been easier! You just need a paper square cut into two rectangles. You will see how quick and easy it is to make these butterflies. They come out perfectly every time. So no Butterfly Template is needed!
Can I use construction paper to make these paper butterflies?
If you make a larger version of these butterflies, then construction paper should be ok. But personally, I find origami paper or ordinary “printer paper” better! It allows for neater creases and makes that contrast between shadow and light more effective. I find construction paper is “flatter” and somehow absorbs the light more!
How do you make a pleated butterfly?
A pleated butterfly craft is the same as an accordion butterfly! So do read on… and learn how to make an accordion butterfly with us today!
What does it mean to accordion fold? What is accordion fashion?
An accordion fold is a super popular paper crafting technique – which looks great and is easy to do. It is basically an “alternating” fold of same sized panels. Today’s tutorial shows you how to create this accordion fold technique. Read on!
Easy Paper Butterfly – Supplies needed:
You will find that you don’t need many supplies to make these adorable butterflies. No trips to the craft store or hobby lobby to make purchases necessary!

- a square sheet of paper (we used origami paper, but printer quality paper or thinner works great too. It doesn’t matter too much how big your paper is, but ours was approximately 15cm x 15cm – any color paper is lovely)
- scissors
- a piece of ribbon, wire or thread for tying and hanging!
Paper Butterfly Lesson Plan
If you find it convenient, I have a short lesson plan and one page worksheet for download in my teachers pay teachers store. Buying this allows you to support the upkeep and running of the blog! People find printing thse full instructions on one sheet of paper for the classroom really handy! 🙂
How to make an Easy Paper Butterfly tutorial with step photos:
In essence the video tutorial is a great help for showing you how to make these butterflies, but I will add simple written instructions below it!
Step by Step Photo tutorial:
If you prefer step by step instructions with photos (versus the video shared on auto play), read on.
Make your first set of wings

- Begin by cutting your square piece of paper in half
- Take one piece and fold it in half LENGTH ways.
- Open it up and fold in the corners, so you have a rectangle with pointy ends.
- Fold in half again – coloured side facing out.
- Now you need to “concertina each side”. Our concertinas are approximately half a centimeter wide.
Make your second set of smaller wings
You can use a different color paper to make the second set of wings if you wish! A lovely way to vary this cute paper butterfly craft and personalise to your DIY project.
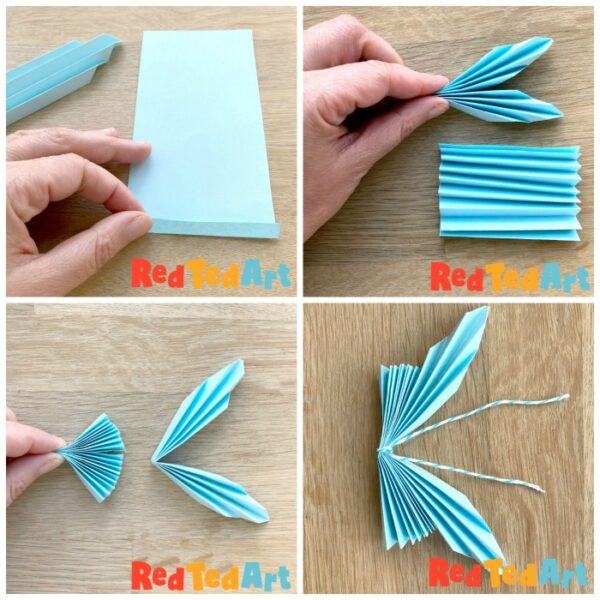
- Now take the second strip of your origami paper and start folding it into a conertina across the short width. This is what is known as an accordion fold and is a popular paper crafting technique!
- Fold both pieces in half.
- Tie with a ribbon or thread and secure. Some people like to secure the two butterfly wing halves with a hot glue gun. But I find robbons work well. Alternatively you can take a pipe cleaner for this part and make butterfly antennae too!
- Your easy paper butterfly is done!
My kids REALLY LOVE creating concertina paper – I have no idea why it is so appealing to them, but any craft involving making a paper concertina always fascinates them. I reckon this craft would work well as tissue paper butterflies as well? You could make large ones this way!
So this paper butterfly craft is just the thing for them. It is a great way to help them concentrate and follow a simple pattern and introduces the basis of origami for kids.
I think that the resulting butterfly craft is simply adorable and looks far more complicate than the craft actually is! I hope you enjoy this paper craft as much as we do!
These paper butterfly instructions are also available to print – if you which to include a bit more details and step photos, you can get copies on TPT – else grab a quick print out here:

Easy Paper Butterfly
Equipment
- Paper – 15cm x 15cm
- Scissors
- String for hanging
Instructions
- Cut the square paper in half
- Take one piece and fold it in half LENGTH ways
- Open it up and fold in the 4 corners to meet the
central fold, so you have a rectangle with pointy ends - Now you need to concertina the paper. And then fold
in half - Now take the second strip of your origami paper and
start folding it into a concertina across the short width. Fold in half - Tie with a ribbon or thread and secure. Finished!
Video
Notes
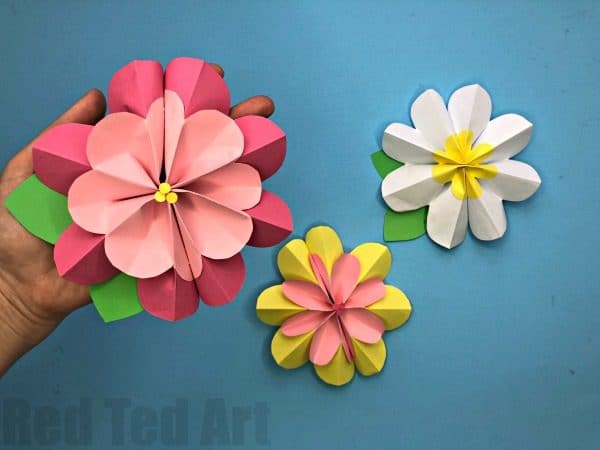
We also have some paper flowers using the accordion fold technique, that you may love:
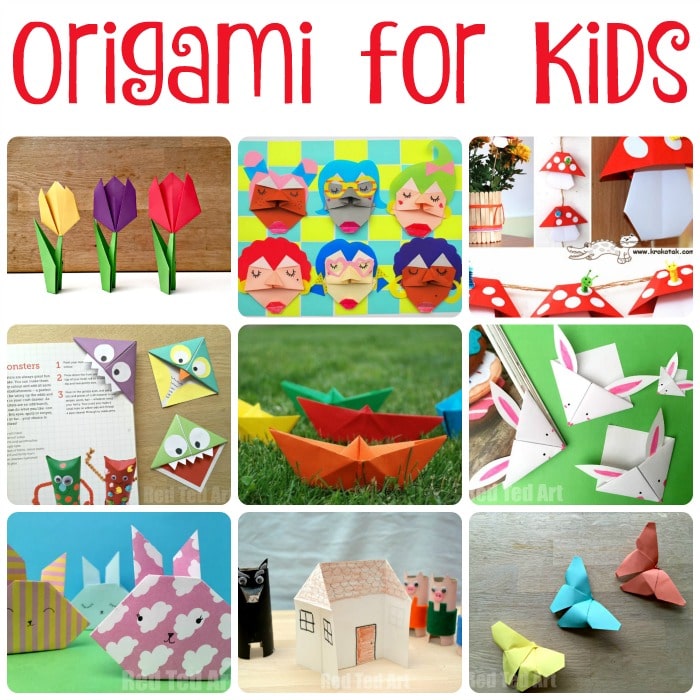
If you liked our easy paper butterflies, you will love this extensive set of origami for kids – check out all the ideas here: