Cat & Owl Colouring Pages – Print, Trace & Turn them into Sun Catchers
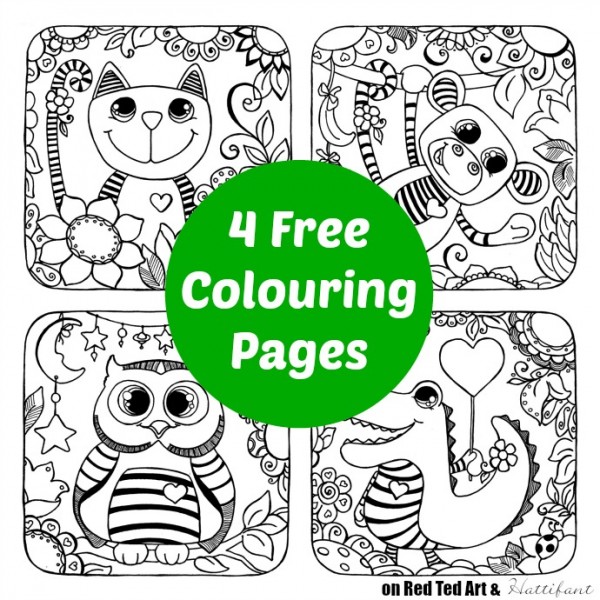
Welcome to another week of FREE Colouring Pages FUN!!!! Today, I have teamed up with the wonderful Hattifant – who has designed and created some wonderful animal colouring pages for you. We have a Cat Colouring Page, an Owl Colouring Page, a Monkey Colouring Page and a Crocodile Colouring Page to share between us.
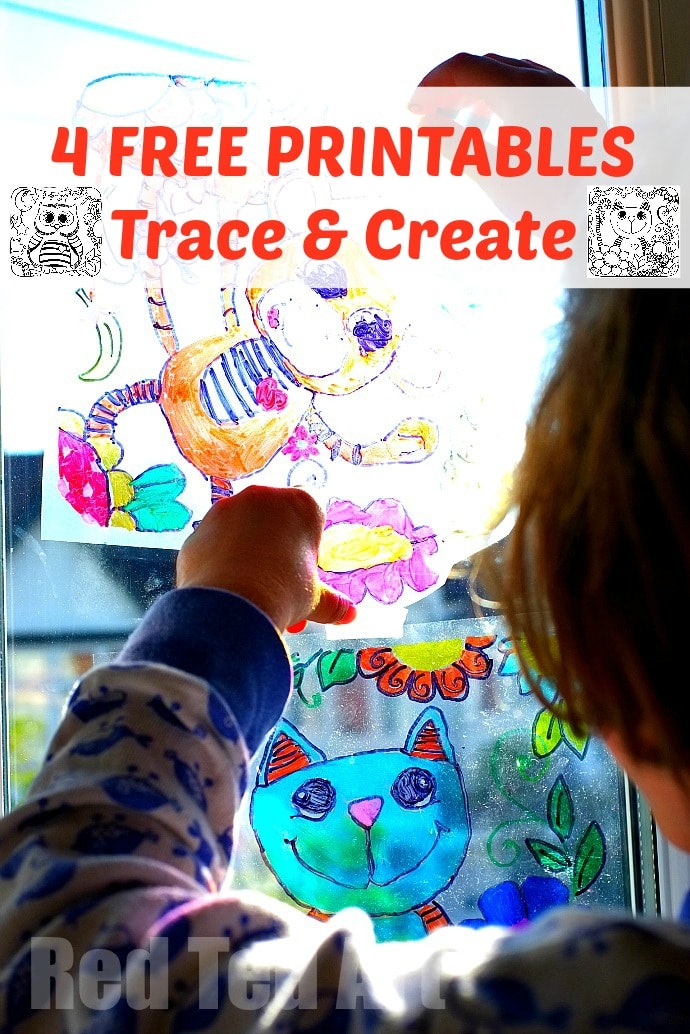
Though my kids love to “just colour” (they can literally do this for HOURS), we also like to get a little creative with our colouring pages, so today, Pip Squeak (5) and I have created easy SUN CATCHERS using Hattifants colouring pages.
Seriously – this is such a fun and quirky way to colour, you will wonder why you didn’t do it before.
The “tracing” element of this activity, is also fabulous for the children’s fine motor skills and hand writing development, so educational to boot!!!

To Create your Colouring Pages Sun Catchers you will need:
- Your colouring sheet of choice (links below)
- A plastic “subject divider” or overhead project sheet (though you can use tracing paper too)
- Permanent markers (we love to use sharpies – check here for US Readers/ UK Readers – affiliate links), if you are using tracing paper, then ordinary pens should still work
- Printer
- Magic Tape for sticking on the window (we find that magic tape easily peels off again – check here for US readers/ UK readers) or use adhesive putty (US) or blu tack (uk)
———————–> Click for FREE CAT COLOURING PAGE <——————————–
———————–> Click for FREE OWL COLOURING PAGE <——————————–
———————–> Click for FREE MONKEY COLOURING PAGE <—————————–
———————–> Click for FREE CROC COLOURING PAGE <——————————–
How To Create your Colouring Page Sun Catchers
1) Lay your plastic sheet (or tracing paper) over your colouring page. If working with younger children, you may wish to tape bothe the colouring page and the plastic sheet down, to avoid it moving too much.
2) My daughter decided that she wanted to trace the outlines first. Remember you don’t have to add ALL the details – and you may in fact wish to omit some of the finer details, as they will end up looking messy.
3) When done, move a WHITE sheet under your trace plastic sheet and start colouring. If need be add any additional black lines or details a the end (e.g. you may want to do the black stripes at the very end and colour a tail or wing in first!).
4) Cut to the square shape and hang!!
Stand back and admire your beautiful handy work!
Do visit Hattifant, for more fabulous ideas! I particularly love this never ending Princess Card (see it in action below!)


