Easy Cookie Painting with Kids – 3 Ways
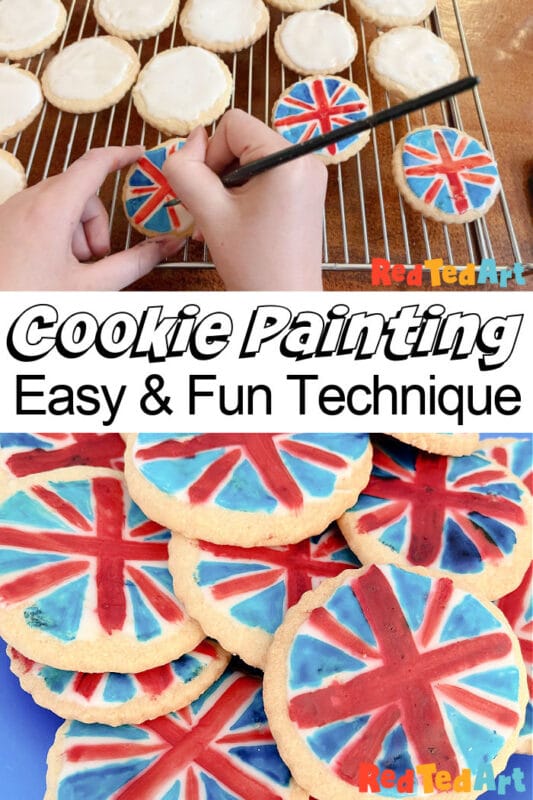
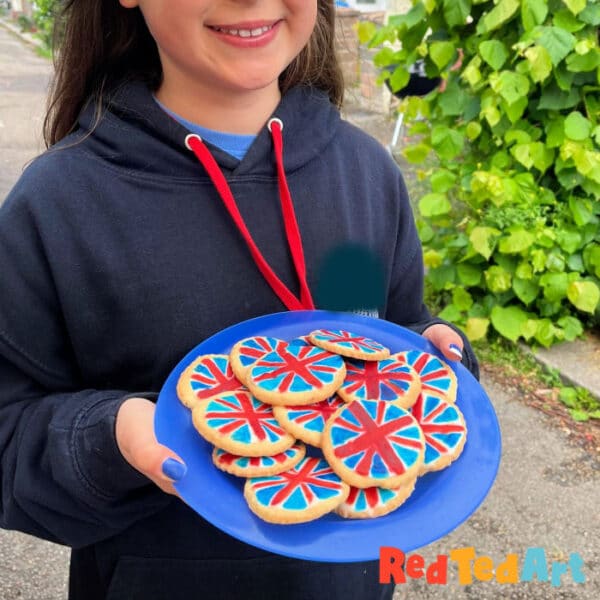
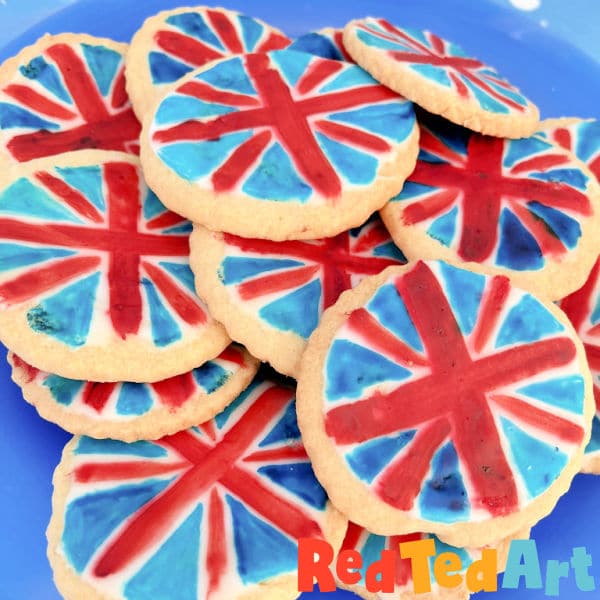
My 12yrs old recently decided to make some Union Jack Flag Cookies for our Jubilee Street Party. They were so easy to make and SUCH A HIT, that I thought I would share this easy cookie painting technique for kids with you – as they would also be fantastic for the King’s Coronation Big Lunch party! There are also some alternative ways of making these, if you like. But we found ours was the easiest and the tastiest (unless you LOVE fondant.. but that is your call). This is the next “level up” from our preschool American Flag Cookies that we made when the kids were, well, in preschool! Ha.
As mentioned, we created this simple Cookie Painting How for our Platinum Jubilee street party and of course they would be suitable for the King’s Coronation of May 6th 2023. We made them on a whim the day before the party and had them ready just in the knick of time.
As the kids cobbled these Union Jack Flag Cookies up in seconds, we thought you may enjoy seeing our Cookie Painting Tutorial – as it really was very easy.. and I can see this cookie painting technique coming in handy over the coming months too!! Oooh, I wonder how we cookie paint these for Halloween or maybe have a go at some handpainted Christmas Cookies? I shall discuss with my 12yrs old enthusiast! They would make great Teacher’s Gifts or Friends’ gifts at Christmas time for sure.
There are three different “Cookie painting recipes”, I share with you today, based on past cookie decorating experience. But today’s recipe is the simples of them all – but you could argue, therefore also has more scope for potential error. Which is why I included all there.
So whether you want to learn how to make flag cookies like we did here, so simply have fun with easy Cookie painting for Kids read on…
Easy Cookie Decorating with Kids
Make your Favourite Cookie Recipe or grab some Store Bought Cookies
Our favourite time of cookies are painted sugar cookies – sugar cookies are simple to make, EVERYONE loves the taste and you can use cookie cutters to make whatever shape you wish – you could even roll them out and cut them into squares and rectangles or use a glass as a cutter. So no fancy equipment needed!
Our favouirte sugar cookie recipe is this shortbread recipe (top tip: use unsalted butter, I always feel the cookies keep their shape better then.. but for handpainting cookies, the shape isn’t so important!
Similarly, you can use store bought coookies to create Handpainted Sugar Cookies – simplifying making process even more! In the UK, I would probably decorate digestive cookies or rich tea cookies with the kids, if I went for store bought.
The advantage of using store bought cookies, as this becomes a “no bake” activity. Perfect for a birthday party activity or a play date (I would probably err towards a play date, as the kids are easier to manage when they aren’t over excited.. and you are likely to have less kids over).
Ice your cookies to create a painting canvas
As mentioned, I am going to share three cookie painting recipes. Basically.. this basically a variation on different “canvases” for the kids to paint. I put them in order of MY preference…
Cookie Painting Technique 1: Simple Icing (what we used)
We love doing a super simple icing:
- Icing sugar
- Lemon juice or water (or other flavour you may wish to add)
This is the simplest of all cookie icing! But, you have to be super careful not to add to much liquid, else your icing willbe super runny… we like it though, as the lemon makes it so tasty and we also have the two ingredients to hand (and there is no egg separating and whisking to do).
Our method:
- Put icing sugar in a small bowl
- Add a few drops of lemon juice
- Stir..
- If need be add more lemon.. keep stiring until you have a slightly viscose paste/ mixture
- Sometimes, we add too much juice and have to add more icing sugar to thicken it up again
- When you think it is ready, use a spoon to scoop some on your cookie and smooth out with the back of the spoon
If the mixture is running off the cookie or doesn’t need the back of the spoon to spread, it is a little too wet. Add more icing sugar.
Let dry FULLY (at least half a day).
Cookie Painting Technique 2: Royal Icing Recipe
Royal icing usually is much neater and also harder – as the egg white goes quite hard. This makes for an easier surface to paint on and also a little (!) less likely to go soggy if you add to much water to your food coloring “paints” later.
A classic royal icing recipe:
- 1 large egg whites
- 1.5 cups icing sugar (160g)
- some lemon juice and/or water
Beat the egg whites until foamy.
Start adding the sugar and a little lemon juice.
Keep beating until you have a thick mixture – but not too runny.
If the mixture is runny, add more icing sugar.
Once you are happy with the consistency, spoon onto the cookie and spread with the back of the sppon.
Again let dry fully – if you leave it a day or two, it can go really hard, which is better for cookie painting!
Cookie Painting Technique 3: Roll out Fondant Icing
The final option is to buy some white fondant icing.
Simply roll it out. Cut shapes with a cookie cutter and “glue” it onto your cookie either with a little jam or a some icing sugar mixed with water.
Personally, we don’t enjoy fondant icing that much, so this is our least preferred method.
I would again let it dry out a little – so that the fondant icing goes harder. But in theory you should be able to paint straight away!
Cookie Painting Paints
Soooo what do we use as handpainted cookie paints??? The million dollar question, right?!
Edible markers
Some people like to use edible markers – but I think they are expensive and unnecessary.
Food coloring gels – our preferred option
Using your good quality food coloring like paints instead, works just as well. I do find using a food color PASTE is best. If you food coloring is too “wet”, it can make the icing sugar run. We use sugarflair food colors for ALL our baking, as they are simply amazing and last for ever. I believe Wilton is the go to brand in other parts of the world. But the “gel” is what you are after. Especially as it isn’t “wet” and won’t disolve your icing sugar.
Simply put a little of the food coloring gel on a dish. Then either using tiny drops of water, loosen the gel so you can paint it with a new clean brush.
We use fresh “normal” brushes, that we have given a wash before use.
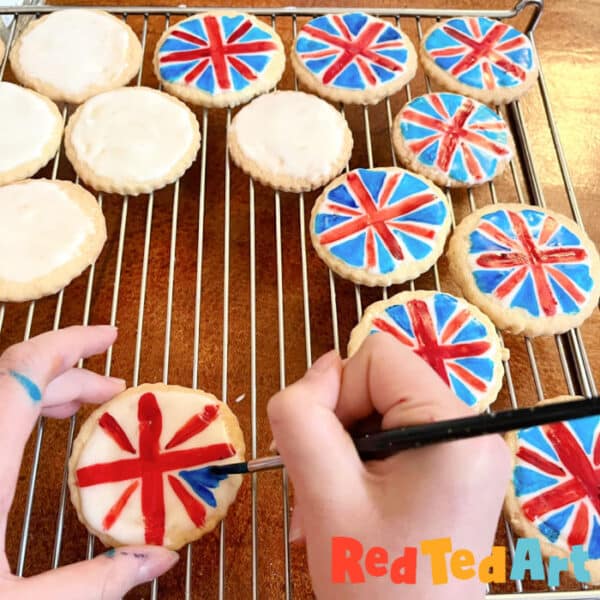
Get painting!!!
My daughter painted the Union Jack Flag Cookies during movie night.. they did take a while (she made many!), but it was a fun activity to do along side watching the movie!
Top Tips for Handpainted Sugar Cookies with kids
Here are our top tips:
- Make sure your icing is FULLY dry
- Avoid getting the icing wet whilst painting (e.g. dripping water on it)
- Use food color gels (instead of liquid food colors, that may be too “wet”)
- Draw 2 dimensional – you can’t really layer your colours that well.. well you can – but start with your light colors first, then darker colors on top. Remember that color theory applies – e.g. a yellow flower, with a blue middle, may end up looking green. It is easier to focus on simple designs, that don’t need layering or blendning of colors
- We actually used a drop of white rum instead of water, as it loosen the gel more efficiently without making it runny
- Dip the brush into the water/ rum and then into the gel. Don’t add the water to the gel – else it will end up too wet
HAVE FUN!!!!
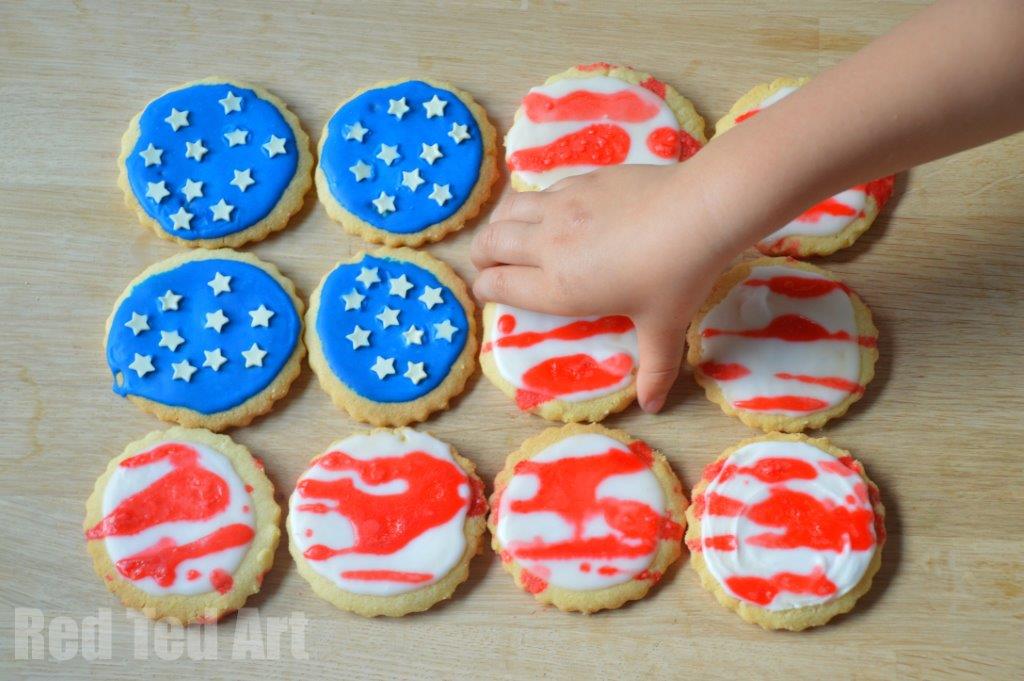
As mentioned, we made these super simple American Flag Cookies a while back:
If you are excited for some King’s Coronation Crafts & Activities, take a look at these:

