DIY Sensory Blocks How To
I LOVE LOVE LOVE sharing crafts from my readers/ viewers. Here are some brilliant DIY Sensory Blocks that a reader shared with me via Facebook. She made this for her 2yrs old granddaughter. I thought it was so sweet and simple, that I REALLY wanted to share them with you today. Such a caring and thoughtful gift to make!
NOTE: like with ALL HOMEMADE TOYS for young children, please do supervise during use, to ensure that the child remains safe. Hanka’s toy has been play with for a long time and they have had no issues, as their wood glue is strong and good.
DIY Sensory Blocks – Materials:
My reader, Hanka, used blocks of wood that were 6cm x 6cm.
A bit like these:

You can get some here (affiliate links):
US readers 2inches, a bit smaller
UK readers – a range of sizes available
Make sure the edges are nice and smooth and don’t splinter!
She also used a strong non toxic wood glue – a good quality PVA glue will work as well!
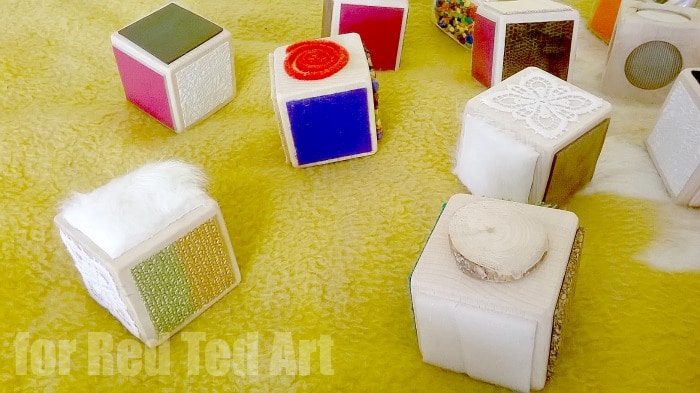
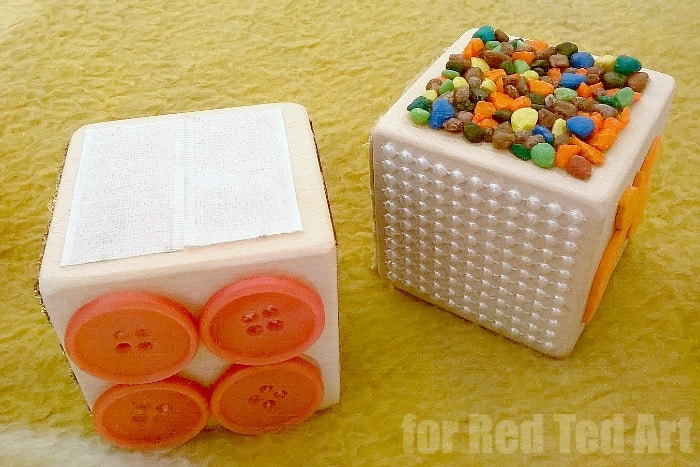
Finally hunt around the house and home for lovely textures – such as buttons, velcro, fabrics, felt, fake grass, lace, plastic netting ….
anything that you can find that has an interesting texture.
DIY Sensory Blocks DIY:
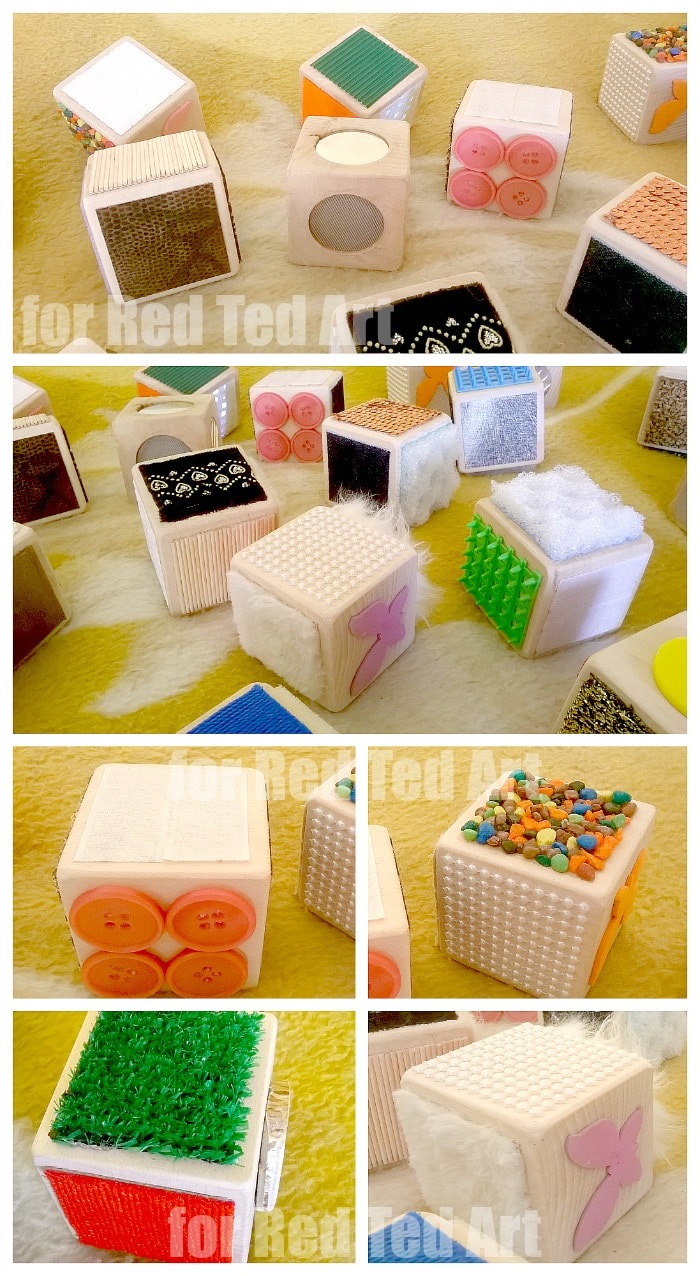
Simply cute your materials to size and glue on with your strong non toxic glue to create a new sensory cube surface.
You can also use some “flat drill parts” to make “indents” and add other interesting textures such as mirrors or coins in the recess.
I think this is a TRULLY WONDERFUL Sensory Gift and exploration toy, that ANY child, whether they have sensory issues or not, have a disablity or not, will enjoy discovering!!!
NOT: like with ALL HOMEMADE TOYS for young children, please do supervise during use, to ensure that the child remains safe. Hanka’s toy has been play with for a long time and they have had no issues, as their wood glue is strong and good.
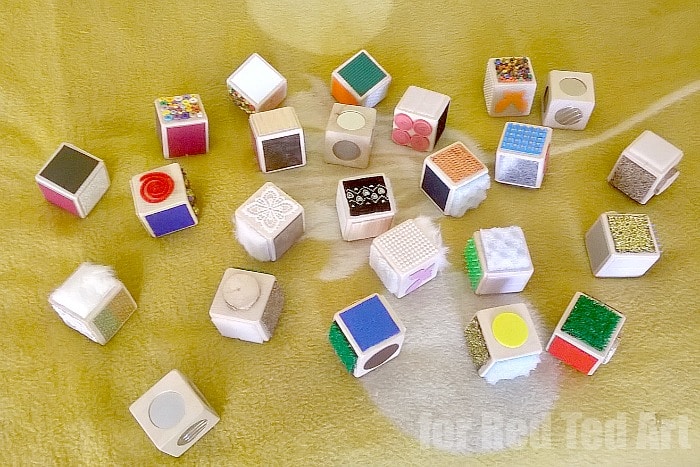
I simple love love the look of all the materials used for this sensory cubes – from corrugated cards, to fake grass, furry fabric and wood disc. Such a wonderful wonderful idea.. and one that I fancy playing with too!11