DIY Stone Pendants (easy)
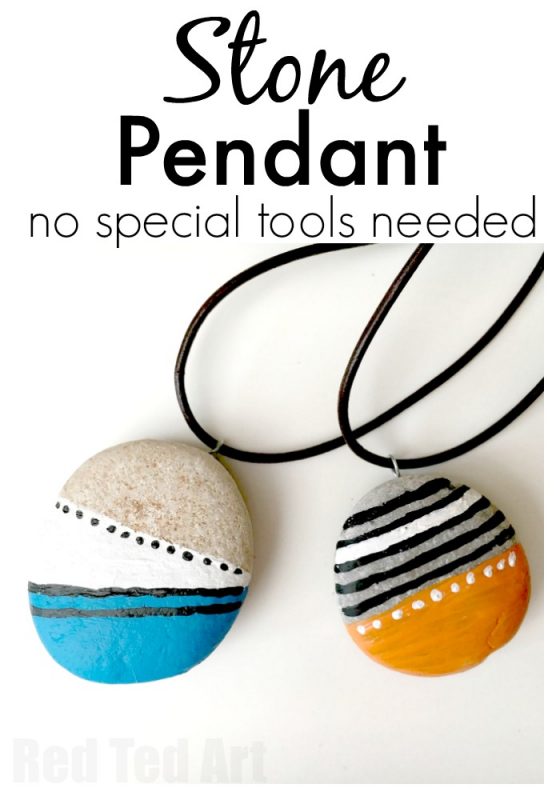
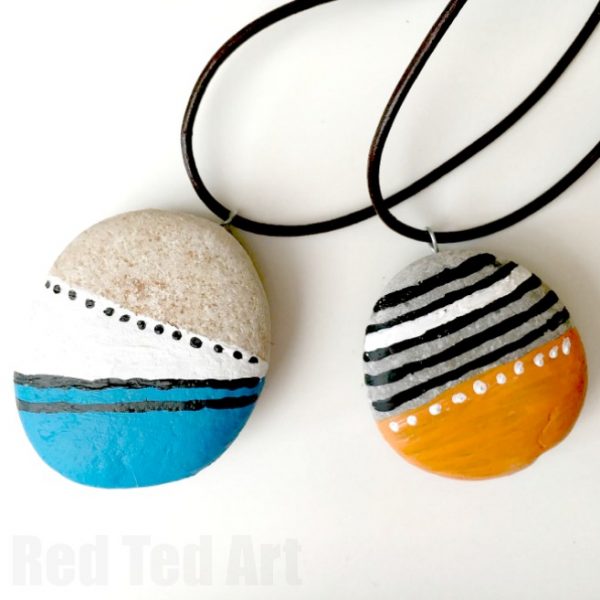
Learn how to make DIY Stone Pendants with this simple hack today! You can prep the necklaces and the kids can paint!!
We LOVE nature crafts and we love collecting items from nature – especially when on holiday – then the items haev extra special meanings! We have sme lovely gumnuts from a wedding in Australia, stones from Cyprus and shells from Portugal.

And of course many nature items from days out here in the UK (Pinecones, sticks, leaves.. you name it we have it). I am always looking to come up with new and easy ways to craft with said nature items – we love our shell mobile (so so sooo easy and oh so pretty), our little Gumnut Octopus.. and today, we share with you some easy stone pendants.. That is right EASY stone pendants – no special tools needed!! No drilling of holes and no finding of stones with holes already in them.. read on.
The best thing about these Stone Pendants, is that you can design them WHATEVER way you wish! We create a simple pattern… but you could turn them into stone owls, or stone face or stone fish or check out my friends gorgeous patterns.. whatever takes your fancy!
And if you like the idea of wearing your rock DIYs, we have now used the same technique to create easy rock ring DIYs!!
To make your stone pendants you will need:
(affiliates added for convenience)
- some flat stones – any size you prefer!
- some craft wire (any!)
- wire cutters (I can actually cut my wire with scissors)
- a piece of felt
- Acrylic Paints US (similar)/ UK
- Enamels US readers UK readers
- leather thread for wearing
GOOD GLUE, such as:
How to make stone pendants:
Watch the handy video or follow the steps outlined below!

- Cut a piece of wiere approx 6-8cm long. Fold in half.
- Cut a piece of felt that is smaller than the back of your stone and weav in your wire. Twist up the ends of the wire to prevent it from slipping out.
- Add lots of good glue
- Stick onto the back of the stone and let dry. If need be, secure with a clothes pin or similar whilst drying.
- Once dry, give the wire a twist by 90 degrees, so it faces the right hanging direction.
- Then decorate using your acrylics or enamel paints – you may need 2-3 layers
Aren’t they simply deliciously gorgeous?
Do check out Strawberry Rock Rings too.. I think you will love them!
And we have TONS more Colourful Nature Crafts for Kids here:


