Easy Origami Ghost Garland
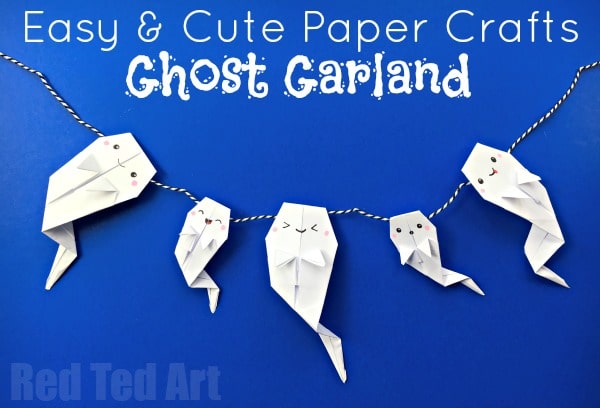
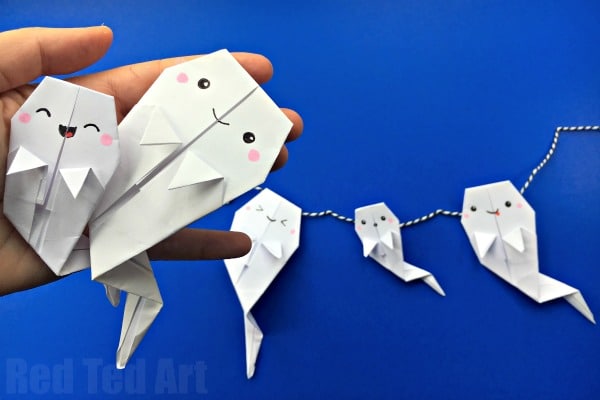
It has been a little while since we last posted an Easy Origami for Kids pattern.. so with Halloween rapidly approaching, we thought a cute and easy Origami Ghost would be JUST the thing. Not only are these darling kawaii paper ghosts easy to make (and learn how to make), but they look fabulous as a paper ghost garland… don’t you think???
So cute, so easy. Love the little darling kawaii faces.. and that all you need is some paper, pens and some string! Brilliant. The perfect paper Halloween craft for kids.
See all our Halloween Origami Projects for kids here.
Origami Ghost Garland – Materials
- Per ghost you will need one square sheet of paper. You can use fold an A4 sheet of paper to make 2 equal squares and use the scrap cut offs to make some baby ghosts
- Pens for decorating
- Some gorgeous black and white bakers twine for hanging
How to make an Origami Ghost Garland
You can watch our easy to follow origami ghost video or follow the step by step instructions below!
Step by Step Instructions for making an Origami Ghost!
The step by step video on auto play really is your best bet! Especially for the ONE tricky step at 1min 30 seconds into the video (the rest is super easy)… so if you want to start off with the photo step by step instructions and then switch, please do!
To begin with you will need to make two reference folds – making a diagnoal cross on your square piece of paper:
Fold the square piece of paper across the diagnoal to make a triangle. Crease. Open up.
Turn the paper by 90 degrees and repeat to make another diagnoal crease. Crease. Open up. You should now have a square with two lines running across it.
Take one edge (any edge!) and fold to align with a diagnoal (see top left photo)
Repeat on the other side. You should now have a basic kite shape, with one long edge and two shorter edges.
Take the shorted edges and again, fold to align with the central line.
Repeat on the other side.
This is the “tricky bit” – you can view it in the video at 1min 30 minutes.
Open up the flap. Pull out the fold and use the fold to reverse the fold and flatten.
Repeat on both sides, so you get this:
Flip your orugami around. And fold the edge to the middle.
Repeat on the other side.
Flip again. And fold down the point bits to make hands.
Fold down the top back to make a head shape (and a little paper hook to hang your paper ghost and make the Halloween Garland).
Now just shape the orgami ghost’s tail.
Finally add a kawaii face to your paper ghost. So cute!! You can then hang your ghost family onto some bakers twine, to turn it into a paper Halloween Garland. Too cute!
More wonderful PAPER Halloween Crafts, including lots of paper decorations (the 3d Paper Spiders are so cute and fun!)
And finally, a fantastic set of Halloween Printables (love the Bat Puppet!)
More fabulous Halloween Origami ideas and Origami for Kids ideas here:


